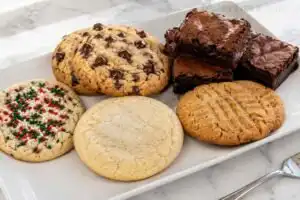
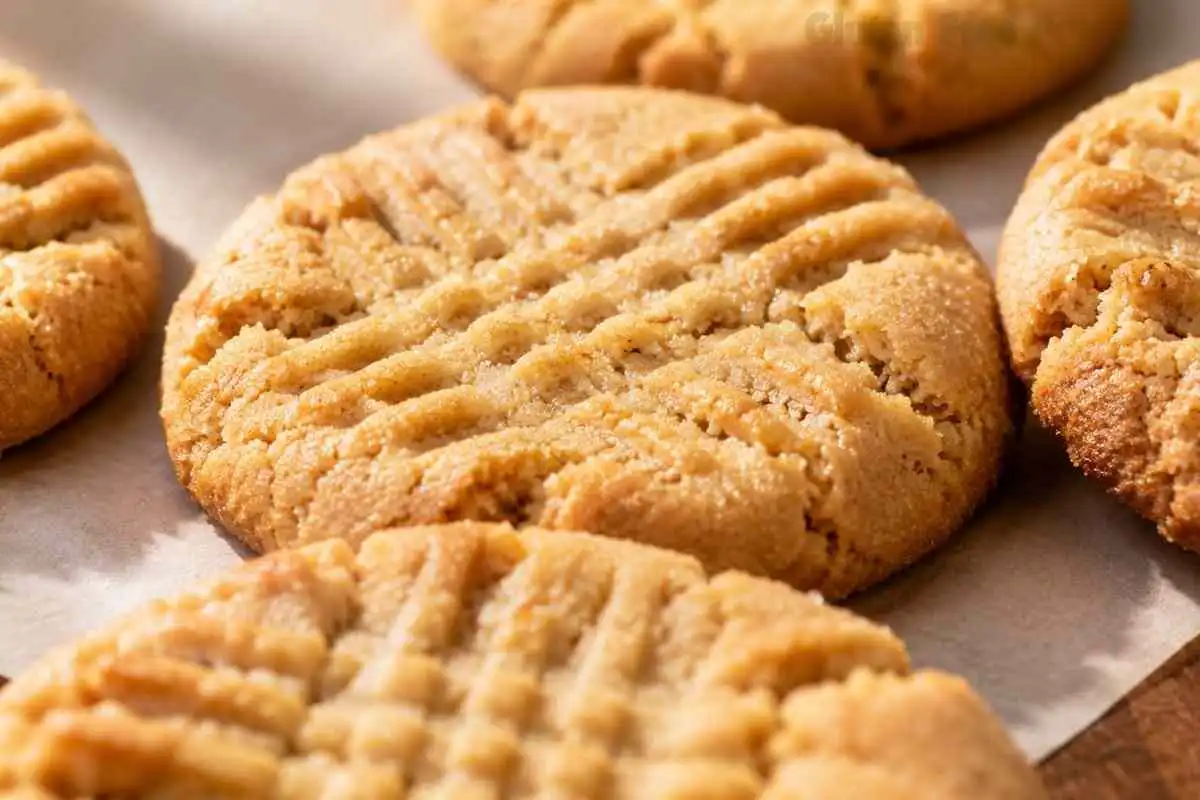
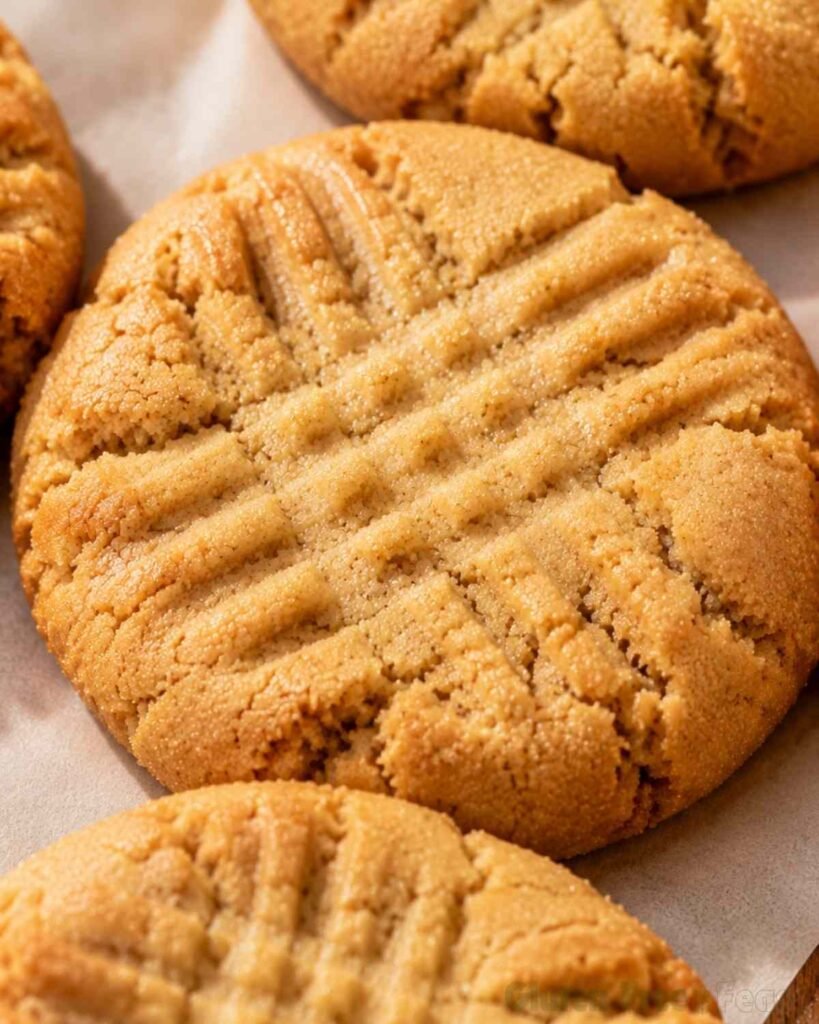
There is a specific moment when a batch of these gluten free peanut butter cookies comes out of the oven right. The edges are just barely set, the centers look almost underdone, and the whole kitchen smells like warm sugar and roasted peanuts. Let them cool for ten minutes. They firm into exactly what a peanut butter cookie should be: soft in the center, lightly crisp at the rim, and unmistakably peanut buttery.
After six rounds of testing in my dedicated gluten free kitchen, two things turned out to matter more than anything else. The first is chilling the dough for 30 minutes before baking. That is the step most people skip, and the one that separates a flat, spreading cookie from one with real height and structure. The second is creaming softened butter with the peanut butter rather than melting it, which keeps the centers chewy instead of thin and crisp.
If you have tried gluten free peanut butter cookies that came out greasy, crumbly, or strangely dense, this recipe addresses all three problems directly. It starts with the ingredient notes below.
Key takeaways
These gluten free peanut butter cookies bake at 375°F for 10 to 12 minutes and yield 24 soft, chewy cookies with lightly crisp edges, using certified gluten free all-purpose flour with xanthan gum (Pillsbury Gluten Free recommended) and certified gluten free baking powder (Rumford or Bob’s Red Mill Gluten Free). Creaming softened butter, not melted, with the peanut butter and sugars is what creates the chewy center; chilling the dough for 30 minutes before baking is what stops the cookies from spreading flat in the oven. The recipe is celiac-safe when all flagged ingredients carry a certified GF label, and includes a fully tested dairy-free swap (Earth Balance) and an egg-free version using Bob’s Red Mill Gluten Free Egg Replacer, plus a complete freeze-ahead system for both baked cookies and unbaked dough balls.
Prep Time: 10 mins · Cook Time: 10 mins · Chilling: 30 mins · Total Time: 50 mins
Table of Contents
Why You Will Love This Gluten Free Peanut Butter Cookies Recipe
- Soft and chewy centers, lightly crisp edges: creamed butter and a 30-minute chill give you the classic peanut butter cookie texture, not the thin, greasy version GF recipes often produce.
- Only 8 ingredients: everything here is a pantry staple if you bake gluten free regularly, and the whole recipe fits in one bowl.
- Ready in about 50 minutes: 10 minutes of prep, 30 minutes of chilling, and 10 to 12 minutes in the oven.
- Celiac-safe at every flagged ingredient: certified gluten free flour, certified gluten free baking powder, and specific peanut butter guidance for highly sensitive celiacs, all called out by name.
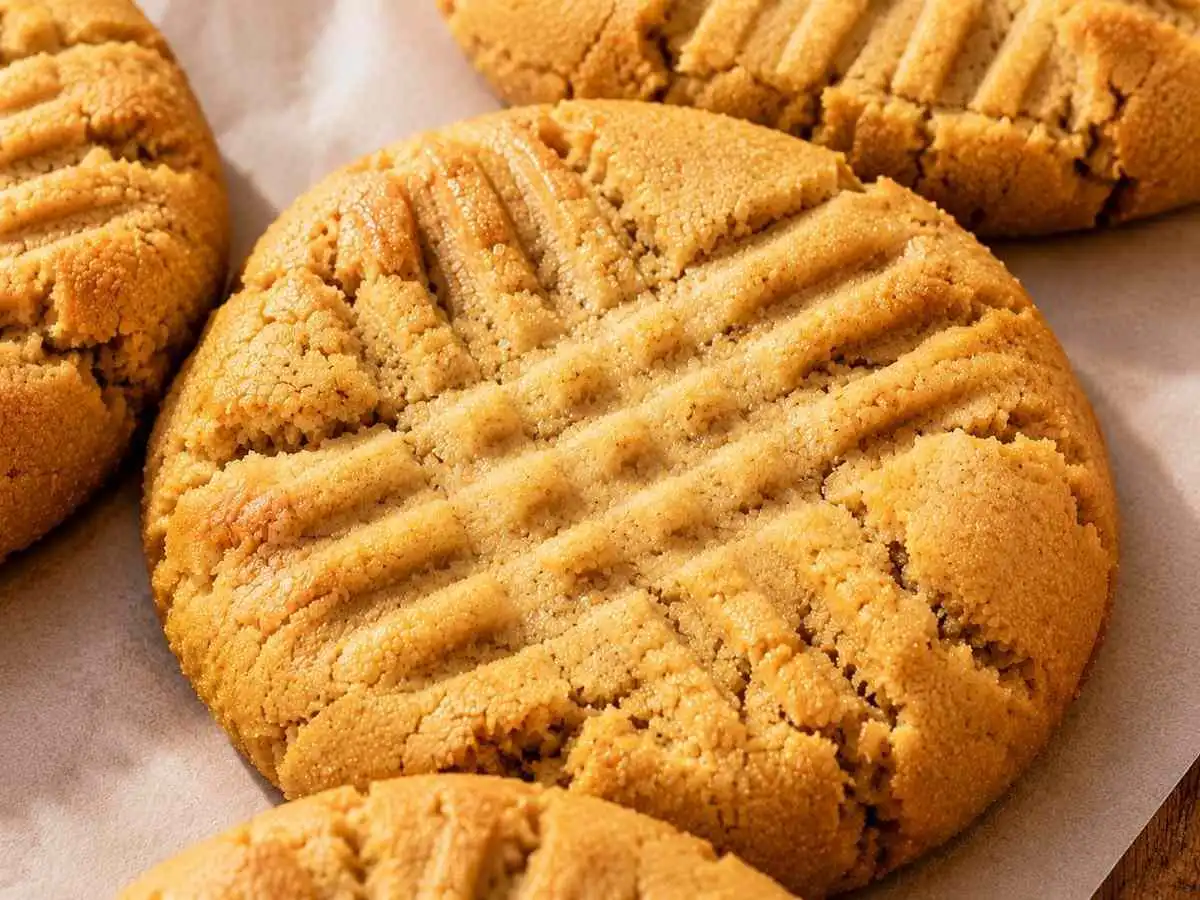
- Classic crosshatch look: a flour-dipped fork pressed twice over each dough ball gives you that signature crisscross pattern without sticking to the dough.
- Full make-ahead system included: freeze baked cookies for 3 months, freeze unbaked dough balls for 1 month, or refrigerate the dough for up to 48 hours. Not one competitor covers all three.
- Egg-free and dairy-free swaps tested: both work with straightforward ingredient changes listed below.

Gluten Free Peanut Butter Cookies
Ingredients
Equipment
Method
- In a large bowl, beat together the granulated sugar, brown sugar, softened butter, and peanut butter with a hand mixer or stand mixer on medium speed until fully combined and slightly lightened in color, about 2 minutes. Add the egg and molasses and mix until smooth.
- In a separate bowl, whisk together the certified gluten free flour, baking soda, and certified gluten free baking powder. Add the dry ingredients to the wet ingredients and mix until a soft dough just forms. Stop mixing the moment the flour is fully incorporated.
- Cover the bowl and refrigerate the dough for 30 minutes. While the dough chills, preheat the oven to 375°F (190°C) and line a baking sheet with parchment paper.
- Scoop 1 tablespoon portions of dough onto the prepared baking sheet, spacing them about 2 inches apart. Place 1 tablespoon of certified gluten free flour in a small bowl. Dip the bottom of a fork into the flour and press each cookie twice to create a crisscross pattern, re-dipping the fork every 2 to 3 cookies.
- Sprinkle the tops with granulated sugar if desired. Bake for 10 to 12 minutes, until the edges are lightly golden. The centers will look slightly underdone when pulled from the oven. Allow the cookies to cool completely on the baking sheet before serving; they firm up as they cool.
Nutrition
Notes
Gluten-Free Note
Tried this recipe?
Let us know how it was!Ingredients
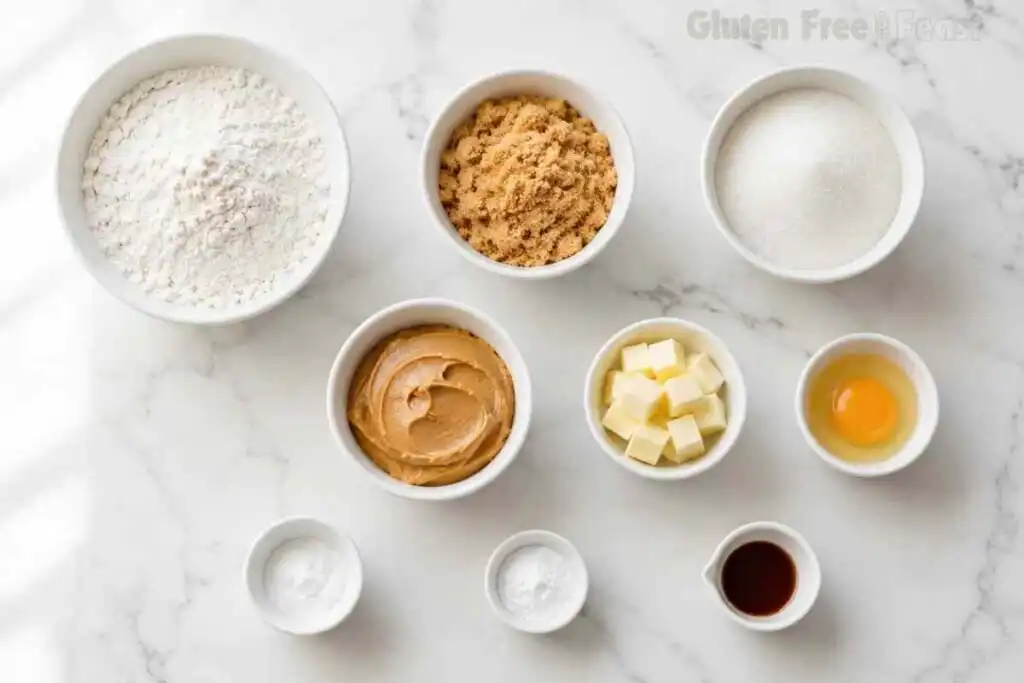
For the Cookies
- ½ cup non-separating peanut butter (Jif, Skippy, or Peter Pan; see notes for highly sensitive celiacs)
- ½ cup granulated sugar
- ½ cup brown sugar, packed
- ½ cup unsalted butter, softened
- 1 teaspoon molasses (pure unsulfured; Grandma’s or Brer Rabbit)
- 1 large egg
- 1¼ cups certified gluten free all-purpose flour with xanthan gum (Pillsbury Gluten Free recommended), plus 1 tablespoon for shaping
- ¾ teaspoon baking soda
- ½ teaspoon certified gluten free baking powder (Rumford or Bob’s Red Mill Gluten Free)
- 1 tablespoon granulated sugar, optional (for topping)
Ingredient Notes and Substitutions
Peanut butter: Use a non-separating brand such as Jif, Skippy, or Peter Pan. Natural peanut butter, where the oil separates at the top, introduces too much fat too quickly. The cookies spread flat and greasy. In testing, every batch made with natural PB produced a noticeably thinner cookie than batches made with a standard no-stir brand.
Most major peanut butter brands are naturally gluten free by ingredients. Highly sensitive celiacs should look for a jar that carries a certified gluten free label, since cross-contamination risk varies by facility. For more on how peanuts and celiac disease interact, the Celiac Disease Foundation’s sources-of-gluten guide is a useful reference.
Certified gluten free all-purpose flour with xanthan gum: Pillsbury Gluten Free is the blend I recommend here. It produced the fluffiest, most consistent result across testing. If your blend does not contain xanthan gum, add ¼ teaspoon separately. Sorghum-based blends like Bob’s Red Mill 1-to-1 absorb liquid faster; increase the flour to 1½ cups if using one.
Certified gluten free baking powder: Standard baking powder is usually gluten free by ingredients, but not all brands are manufactured in dedicated facilities. Rumford Gluten Free and Bob’s Red Mill Gluten Free Baking Powder are both produced with celiac safety in mind. Do not substitute a generic store-brand without checking the label for a certified GF mark.
Softened butter: Room temperature butter, not melted, is what makes these chewy rather than thin. Melted butter distributes fat more evenly throughout the dough, which produces a crisper, flatter cookie. Softened butter traps air when it creams with the sugars, and those air pockets give the centers lift and softness.
Molasses: One teaspoon of pure unsulfured molasses (Grandma’s or Brer Rabbit) deepens the flavor. It also adds just enough moisture to keep the centers from drying out. Do not skip it.
Celiac Safety Note: Please confirm every packaged ingredient carries a certified gluten free label before baking. For this recipe, check specifically your GF all-purpose flour blend, baking powder, and egg replacer if using one. Cross-contamination during manufacturing is a real risk for people with celiac disease. Look for the certified GF symbol, not just a marketing claim.
Also use dedicated GF baking equipment. Shared baking sheets or wooden spoons that have touched wheat flour are not safe for celiac-level baking.
How to Make Gluten Free Peanut Butter Cookies
Step 1: Cream the Wet Ingredients
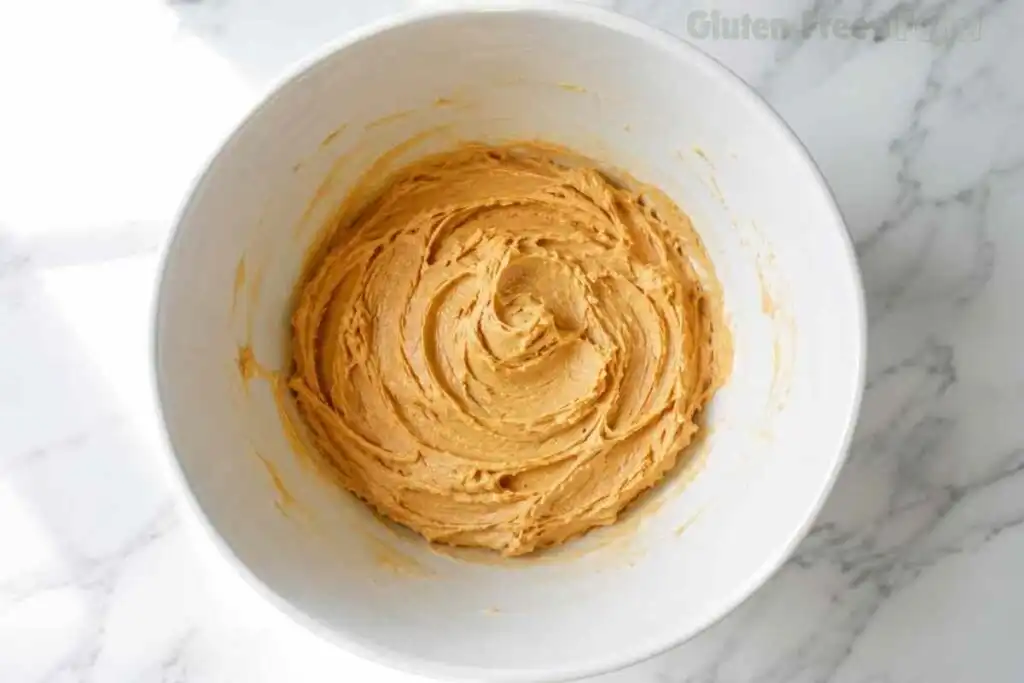
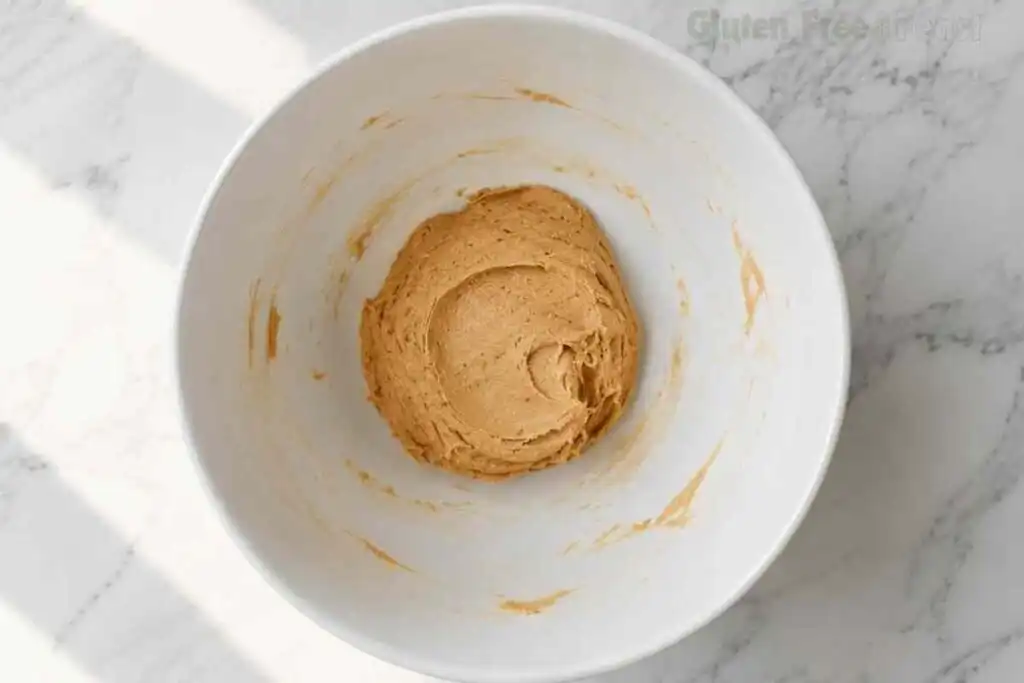
In a large bowl, combine the granulated sugar, brown sugar, softened butter, and peanut butter. Beat with a hand mixer or stand mixer on medium speed. Mix until fully combined and slightly lightened in color, about 2 minutes. Add the egg and molasses and mix until smooth and incorporated.
Step 2: Add the Dry Ingredients
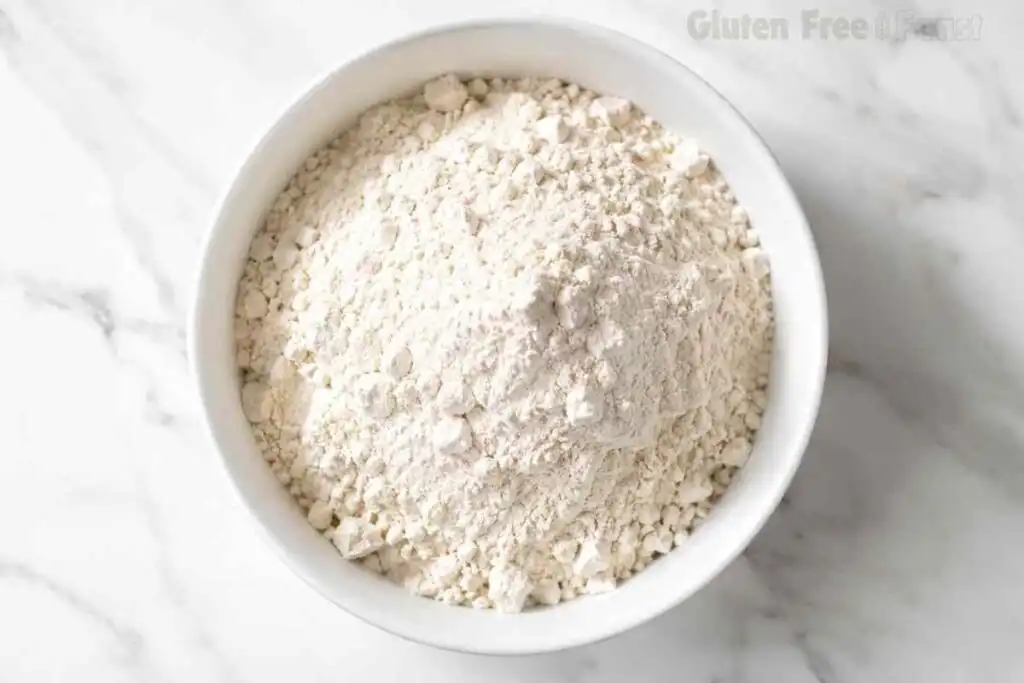
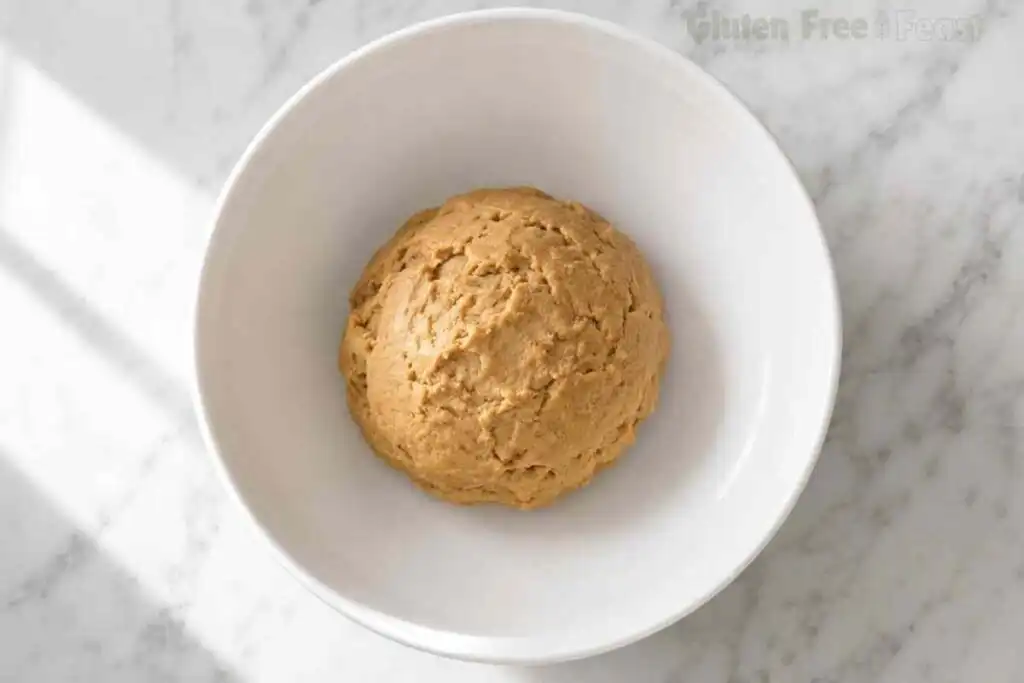
In a separate bowl, whisk together the certified gluten free flour, baking soda, and certified gluten free baking powder. Add the dry ingredients to the wet ingredients and mix until a soft dough forms. Stop the moment the flour disappears: over-mixing activates the starches in GF flour blends and makes the cookie denser than it should be.
Step 3: Chill the Dough
Cover the bowl and refrigerate the dough for 30 minutes. This step is not optional. Chilling solidifies the fat in the dough, which slows how quickly it melts in the oven. That slower melt keeps the cookies from spreading flat before the structure has time to set.
While the dough chills, preheat your oven to 375°F (190°C) and line a baking sheet with parchment paper.
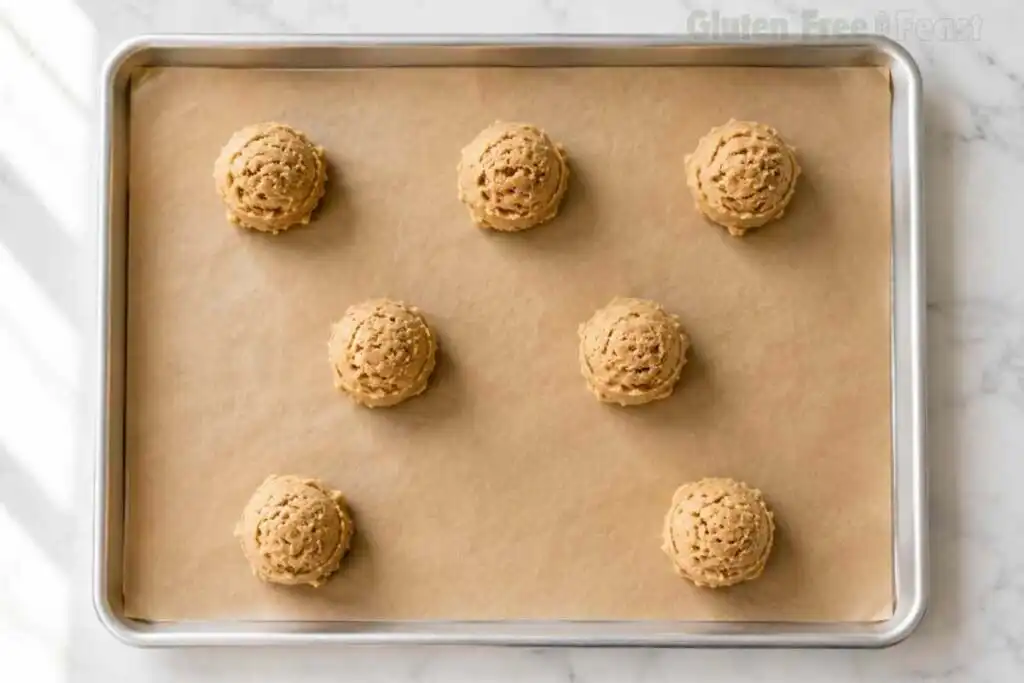
Step 4: Shape and Bake
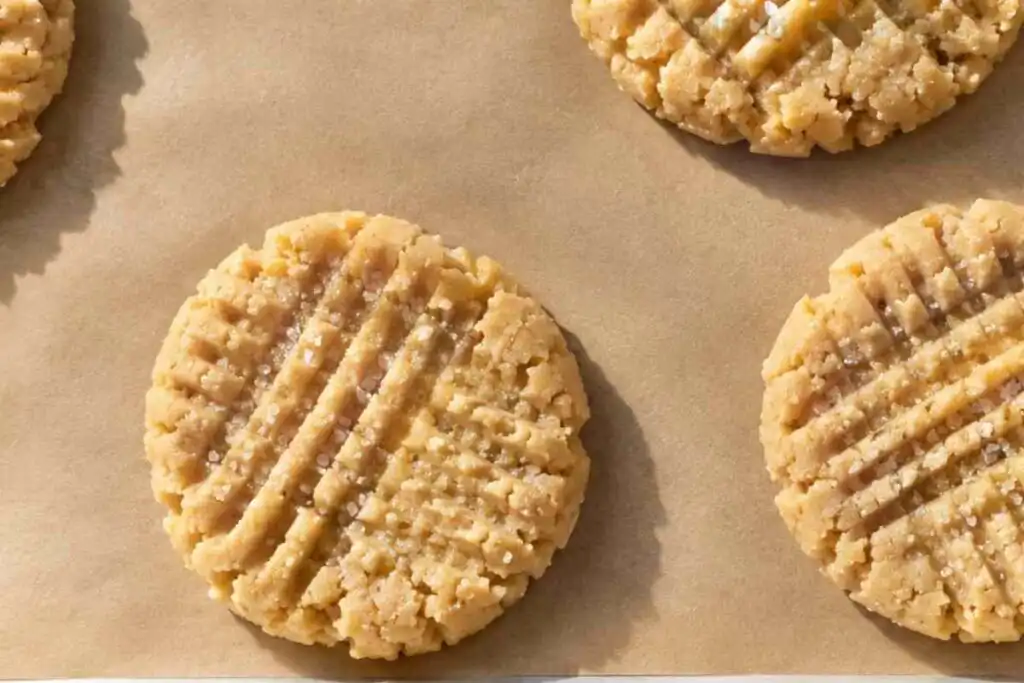
Scoop 1 tablespoon portions of dough onto the prepared baking sheet, spacing them about 2 inches apart. Place 1 tablespoon of certified gluten free flour in a small bowl. Dip the bottom of a fork into the flour and press each cookie twice to create a crisscross pattern. Re-dip the fork every 2 to 3 cookies to prevent sticking.
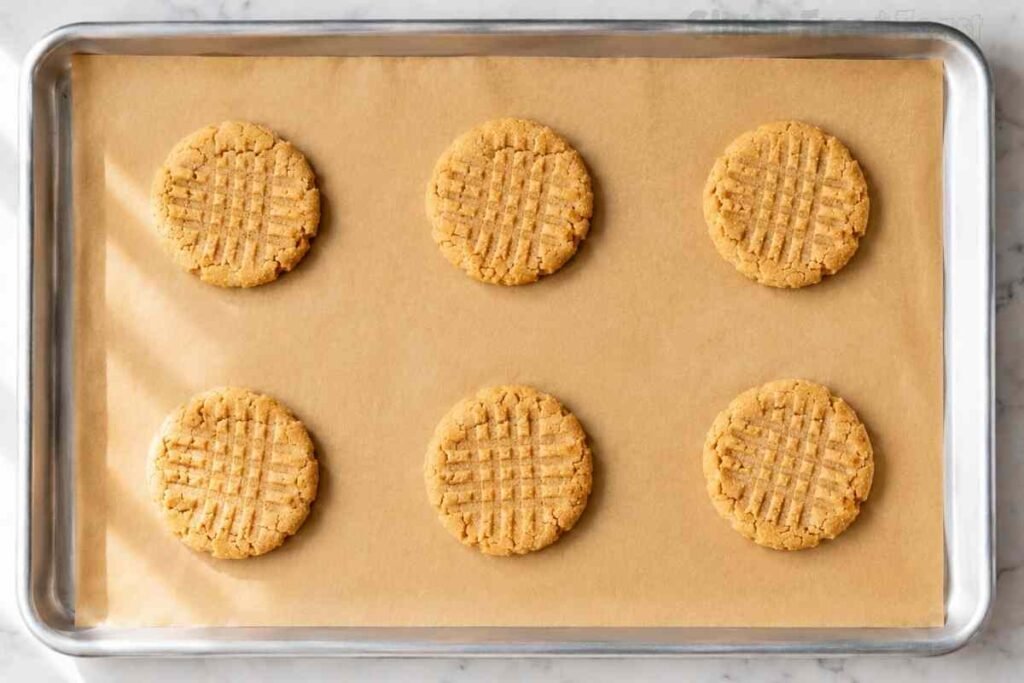
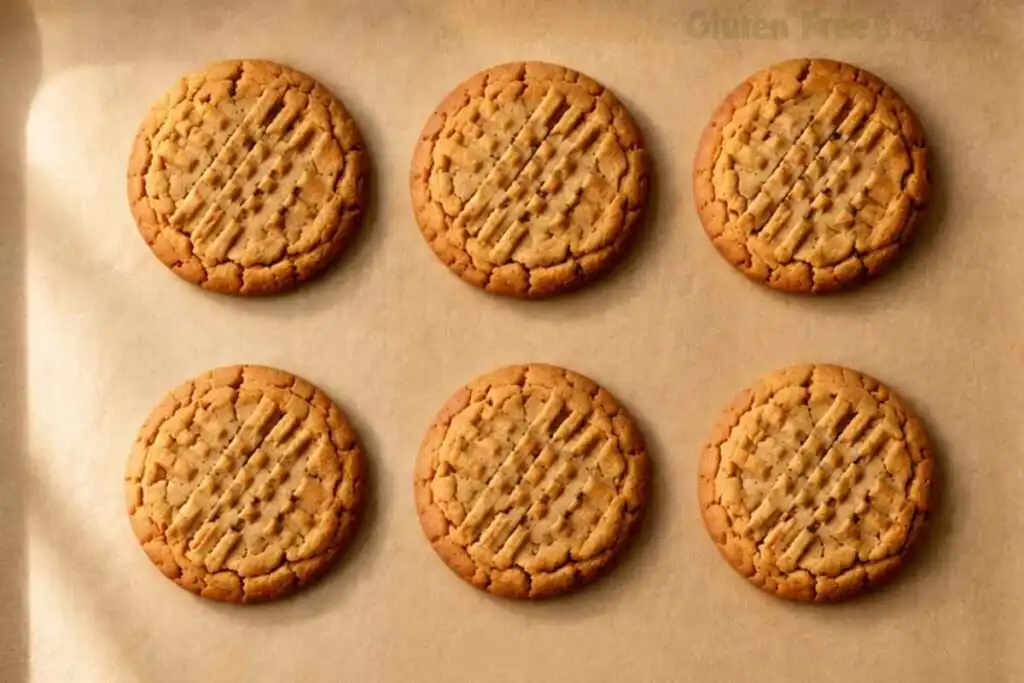
Sprinkle the tops with granulated sugar if desired. Bake for 10 to 12 minutes, until the edges are lightly golden. The centers will still look slightly underdone when you pull them. Allow the cookies to cool completely on the baking sheet before serving; they firm up as they cool.
Expert Tips for Best Results
- Do not skip the 30-minute chill. Of all the variables I tested, this one made the single biggest visible difference. Unchilled dough spread nearly twice as wide and produced a greasy, flat cookie. Chilled dough held its shape and produced a noticeably thicker result.
- Use softened butter, not melted. Melted butter distributes fat more evenly, which produces a thinner, crisper cookie. Softened butter, creamed with the sugars until slightly fluffy, keeps the centers soft and chewy.
- Use the spoon-and-level method for flour. Spoon the flour into the measuring cup and level it off with a knife. Scooping directly from the bag packs in up to 20% more flour than the recipe needs, which makes the cookies dry and crumbly.
- Flour the fork before each press. A dry fork drags the dough and tears the surface instead of leaving a clean crisscross. Dip it in flour each time.
- Pull the cookies while they look underdone. Gluten free dough does not firm up visually the same way wheat dough does. The edges will be lightly golden but the centers will look soft. Trust the timer, not your eyes.
- Let them cool completely before moving. GF cookies are more fragile warm than wheat-based ones. Give them at least 10 minutes on the baking sheet before transferring.
- Use a dedicated GF baking sheet. Wooden utensils and surfaces that have touched wheat flour hold gluten particles in their grain and cannot be cleaned to a celiac-safe standard. A dedicated baking sheet matters here.
Substitutions and Variations
Egg-free: Bob’s Red Mill Gluten Free Egg Replacer works well in this recipe. Mix it according to the package directions for one egg equivalent before adding to the wet ingredients. The texture will be very slightly less chewy but the structure holds well.
Dairy-free: Replace the butter with Earth Balance or Smart Balance, kept at room temperature so it softens the same way dairy butter does. Keep everything else in the recipe the same. For more dairy-free baking ideas, browse GFF baking recipes.
Flourless version: A 3-ingredient flourless peanut butter cookie (peanut butter, sugar, egg) is naturally gluten free. It produces a denser, fudgier result rather than a classic soft-and-chewy cookie. This recipe is built around the flour-based version that most people are looking for when they search for a peanut butter cookie.
Chocolate drizzle: Melt certified gluten free chocolate chips (Enjoy Life or Lily’s) and drizzle over the cooled cookies. Let the chocolate set at room temperature before storing.
Extra peanut flavor: Add ¼ teaspoon of pure peanut extract along with the molasses. This is subtle but noticeable, especially if your peanut butter brand is on the milder side.
What to Serve With Gluten Free Peanut Butter Cookies
Cold milk: The classic. The rich, nutty flavor of these cookies is built for a glass of cold milk alongside.
A cookie platter: Pair these with GFF gluten free chocolate chip cookies for a two-cookie spread that covers the two most requested flavors.
Vanilla ice cream: Press two cooled cookies around a scoop of vanilla ice cream for a simple peanut butter ice cream sandwich. A quick freeze for 15 minutes makes them easier to eat without falling apart.
Hot chocolate or coffee: The roasted peanut notes in these cookies pair surprisingly well with a bitter drink. The contrast does more for both than either one alone.
After-school snack boxes: These travel well once fully cooled. For more grab-and-go ideas that pack well, explore GFF snack recipes.
Dessert boards: Add these alongside dried fruit, certified gluten free pretzels, and a small dish of peanut butter. It makes a no-bake dessert board that works for mixed groups. For a broader selection of tested GFF sweets, see more gluten free desserts.
Storage and Make-Ahead Instructions
Room temperature: Store baked cookies in an airtight container at room temperature for up to 5 days. They hold their texture well and are just as good on day three as day one if the container is sealed properly.
Refrigerator (dough): Cover the dough and refrigerate for up to 48 hours. This is also a useful make-ahead strategy: mix the dough the night before, refrigerate it overnight, and bake fresh in the morning.
Freezer (baked): Cool completely, then freeze in a single layer before transferring to a zip-top freezer bag. Baked cookies keep well for up to 3 months. Let them thaw at room temperature for 15 minutes before serving, or warm briefly in a 300°F oven for 3 to 4 minutes.
Freezer (unbaked dough balls): Scoop the dough into balls, place them on a parchment-lined tray, and freeze until solid (about 1 hour). Transfer to a freezer bag for up to 1 month. Bake directly from frozen at 375°F, adding 2 to 3 minutes to the bake time. No thawing needed.
Why Trust This Recipe
I develop recipes the same way I approached lab work. Documented testing, controlled variables, and results that hold up in any kitchen, not just mine.
This recipe was tested through six rounds in my dedicated gluten free kitchen. I noted what failed and why, so you are not just following steps but understanding the process.
What that means for you:
- Six documented test batches before publishing
- Science-based notes on the steps that actually matter
- Honest substitution guidance, not guesswork
- Safe for celiac disease, with cross-contamination taken seriously at every step
Frequently Asked Questions
Are peanut butter cookies gluten free?
Standard peanut butter cookies are not gluten free, since most recipes call for regular wheat flour. This recipe uses a certified gluten free all-purpose flour blend in place of wheat. It is safe for celiac disease when every flagged ingredient carries a certified GF label. Peanut butter itself is naturally gluten free, but the other ingredients require careful sourcing.
Can peanut butter trigger celiac disease?
Peanut butter itself does not contain gluten, since peanuts are a legume with no natural connection to wheat, barley, or rye. The risk comes from cross-contamination during manufacturing. Major brands like Jif, Skippy, and Peter Pan are widely considered low-risk for most people with celiac disease. Highly sensitive celiacs should look for a jar that carries a dedicated certified gluten free label to be certain.
Beyond Celiac’s cross-contact guidance
Can you freeze gluten free peanut butter cookies?
Yes, both the baked cookies and the unbaked dough freeze well. Baked cookies keep in a freezer bag for up to 3 months; thaw at room temperature for 15 minutes. Unbaked dough balls freeze for up to 1 month. Bake them directly from frozen at 375°F, adding 2 to 3 extra minutes to the bake time.
How do you make 4 ingredient gluten free peanut butter cookies?
A flourless version using peanut butter, sugar, an egg, and a pinch of salt is one option that is naturally gluten free. That version produces a fudgier, denser result than a flour-based cookie. For the soft, chewy texture of a classic peanut butter cookie with crisp edges, the flour-based recipe on this page is the better match.
How long do you bake gluten free peanut butter cookies?
At 375°F, these cookies bake in 10 to 12 minutes. Pull them when the edges are lightly golden and the centers still look slightly soft. They firm up as they cool on the baking sheet, so taking them out while they look underdone is correct, not a mistake.
What flour is best for gluten free peanut butter cookies?
A certified gluten free all-purpose flour blend that already contains xanthan gum is the most reliable choice. Pillsbury Gluten Free, Better Batter Original, and Bob’s Red Mill 1-to-1 all work in this recipe. Blends with sorghum flour absorb liquid faster and produce a wetter dough; increase the flour to 1½ cups if you use one of those.
Final Thoughts
These gluten free peanut butter cookies taste exactly like what they are supposed to be, without any of the usual compromises. Make a batch this weekend, shape the extra dough into balls, and freeze them so you always have a warm cookie within easy reach.