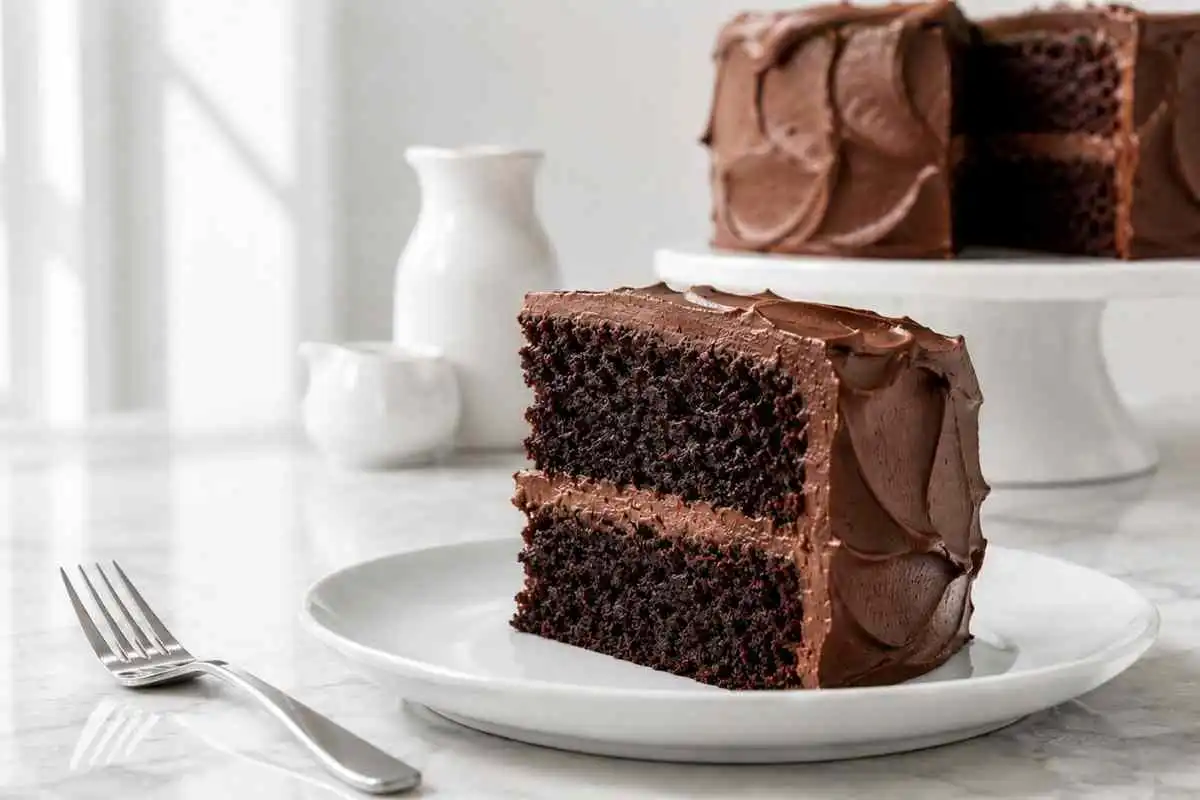
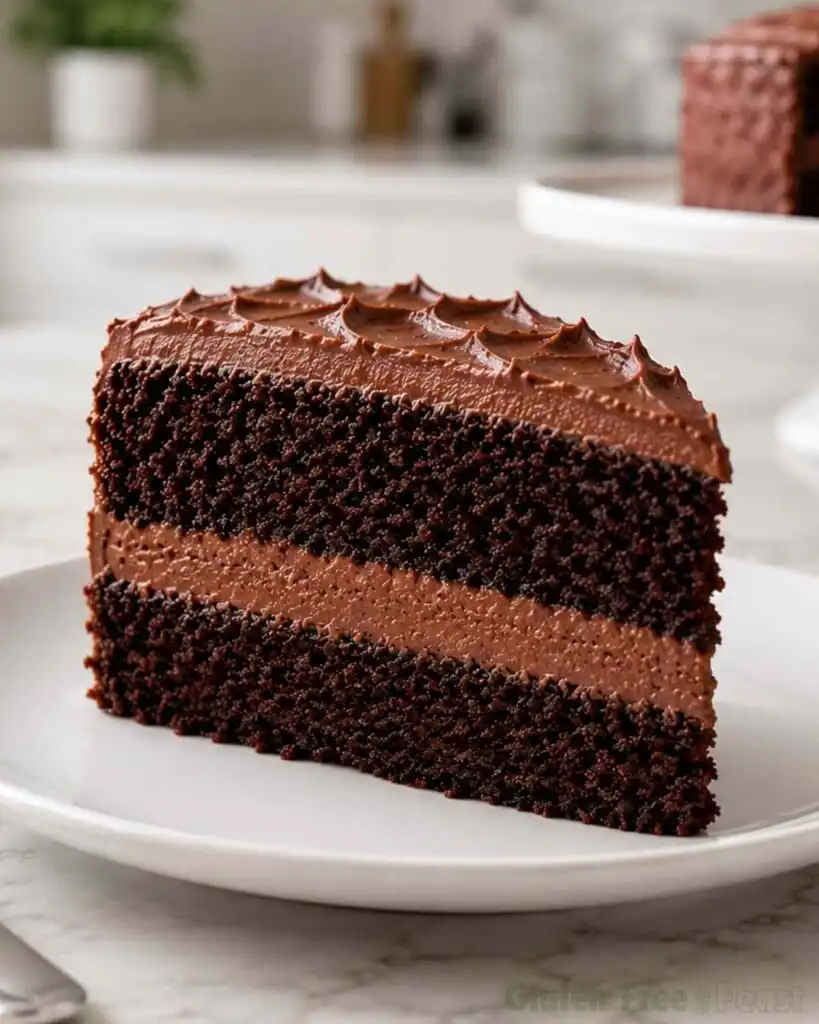
The first time I served this gluten free chocolate cake at a birthday party, three people asked me for the recipe before they knew it was gluten free. That is the bar every recipe on this site is built to clear, and this one clears it easily. Two tall, fudgy layers, a deep chocolate crumb that stays moist for days, and a chocolate buttercream that holds its shape without any fuss. It is, without question, the most-tested recipe I have ever developed for this site.
The difference between a gluten free chocolate cake that tastes like a compromise and one that tastes like the real thing comes down to three things: the right certified flour blend, a 10-minute batter rest that most recipes skip entirely, and a hot liquid bloom. Every one of those decisions has a reason behind it, and I will walk you through each one.
I also want to be honest about something most cake recipes gloss over: the celiac safety piece is more complicated than slapping a certified label on the flour and calling it done. Vanilla extract, baking powder, and cocoa powder all carry real risk at the packaging level. This recipe names specific certified brands at every flagged ingredient so you are not guessing at the grocery store.
Key takeaways
This gluten free chocolate cake bakes at 350°F for 30 to 35 minutes and yields 16 slices from two 9-inch round layers, using a GFCO-certified all-purpose flour blend (Bob’s Red Mill Gluten Free 1-to-1 or King Arthur Measure for Measure) and GFCO-certified baking powder (Bob’s Red Mill).
Cold butter and eggs cause an uneven batter; both must be at room temperature before mixing.
A 10-minute batter rest after adding the hot liquid is not optional: GF starches need time to hydrate before baking, and skipping it produces the gritty crumb that gives GF cake a bad reputation. Hot coffee or boiling water blooms the cocoa and is what creates the deep chocolate flavor. The recipe is celiac-safe when all flagged ingredients carry a certified GF label, and includes tested dairy-free and egg-free variations.
Prep Time: 30 mins · Cook Time: 30 mins · Total Time: 60 mins · Yield: 16 slices
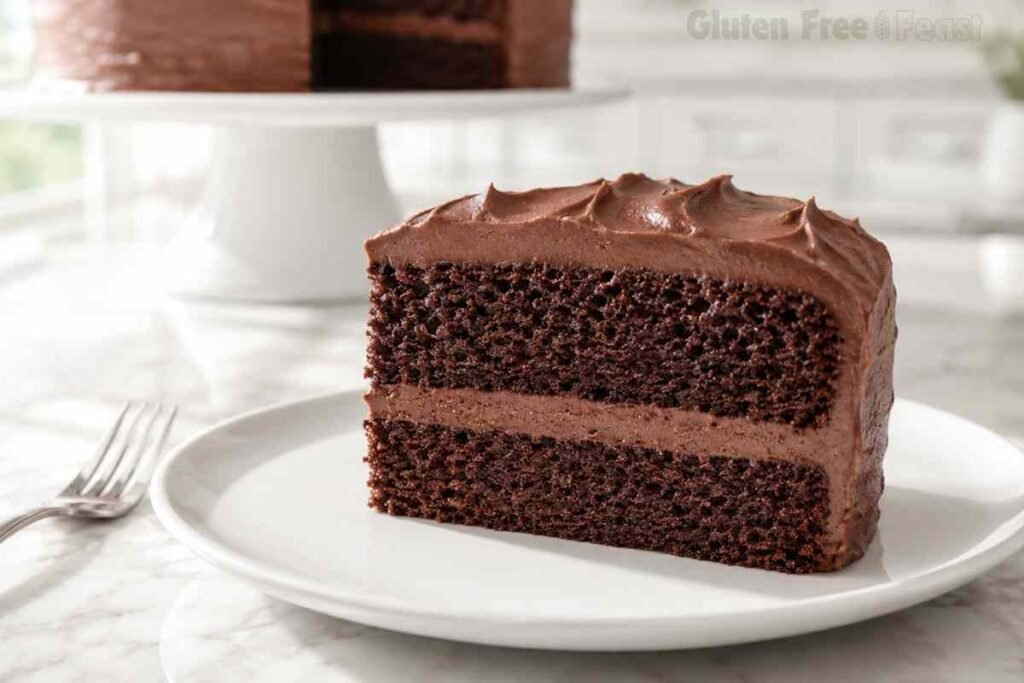
Table of Contents
Why You Will Love This Gluten Free Chocolate Cake
- A genuinely moist, fudgy crumb: the hot liquid bloom and the 10-minute batter rest both work together to hydrate the GF starches fully before baking, which is what separates a tender crumb from a dry, sandy one.
- Two full layers with buttercream: not a sheet cake that needs doubling, not a single-layer project. This bakes as a proper celebration cake from the start.
- Certified safe at every risk ingredient: GFCO-certified baking powder, certified GF vanilla extract, and a certified GF flour blend are named specifically so you can shop with confidence.
- Dairy-free and egg-free options included: tested swaps that actually work, not afterthoughts.
- Gram weights throughout: because volume measurements lie. Scooping flour directly from the bag adds up to 20% more than the recipe needs.
- Ready in about an hour: 30 minutes of prep, 30 minutes of baking, and a cooling period before frosting.

Gluten Free Chocolate Cake
Ingredients
Equipment
Method
- Preheat oven to 350°F (175°C). Line the bottom of two 9-inch round cake pans with parchment paper and grease the parchment and pan sides.
- Combine the milk and vinegar or lemon juice in a small bowl. Stir briefly and let sit for 5 to 10 minutes until slightly curdled. This is your DIY buttermilk.
- In a large bowl, whisk together the certified GF flour, cocoa powder, baking soda, certified GF baking powder, salt, and cinnamon if using. Whisk for 30 seconds to distribute evenly.
- Beat the softened butter and sugar together on medium speed for 2 to 3 minutes until light and fluffy. Add the eggs one at a time, beating well after each. Mix in the certified GF vanilla extract.
- With the mixer on low, add half the dry ingredients and mix until just combined. Add the buttermilk and mix. Add the remaining dry ingredients and mix until no dry streaks remain.
- With the mixer still on low, slowly pour in the boiling water or hot coffee. The batter will be thin. This is correct.
- Let the batter rest in the bowl for exactly 10 minutes before pouring into the pans. This allows the GF starches to hydrate fully, which produces a smooth, tender crumb rather than a gritty one.
- Divide the rested batter evenly between the two prepared pans. Bake at 350°F for 30 to 35 minutes, until a toothpick inserted in the center comes out with a few moist crumbs and the sides just begin to pull from the pan.
- Do not open the oven before the 30-minute mark. Cool cakes in pans for 10 to 15 minutes, then turn out onto a wire rack and cool completely before frosting.
- Beat the softened butter until completely smooth, about 2 minutes. Add the certified GF vanilla and almond extracts and beat to combine. Add the cocoa powder and salt; beat until smooth.
- Add the powdered sugar one cup at a time, beating on low after each addition. Add the milk one tablespoon at a time and beat on medium-high for 2 to 3 minutes until fluffy and spreadable.
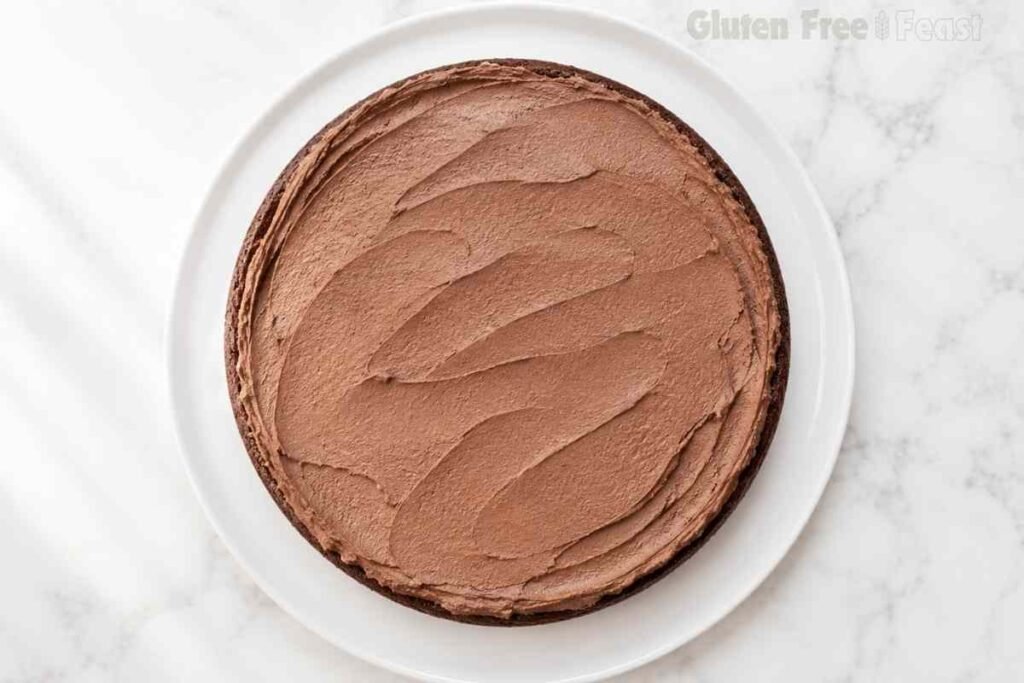
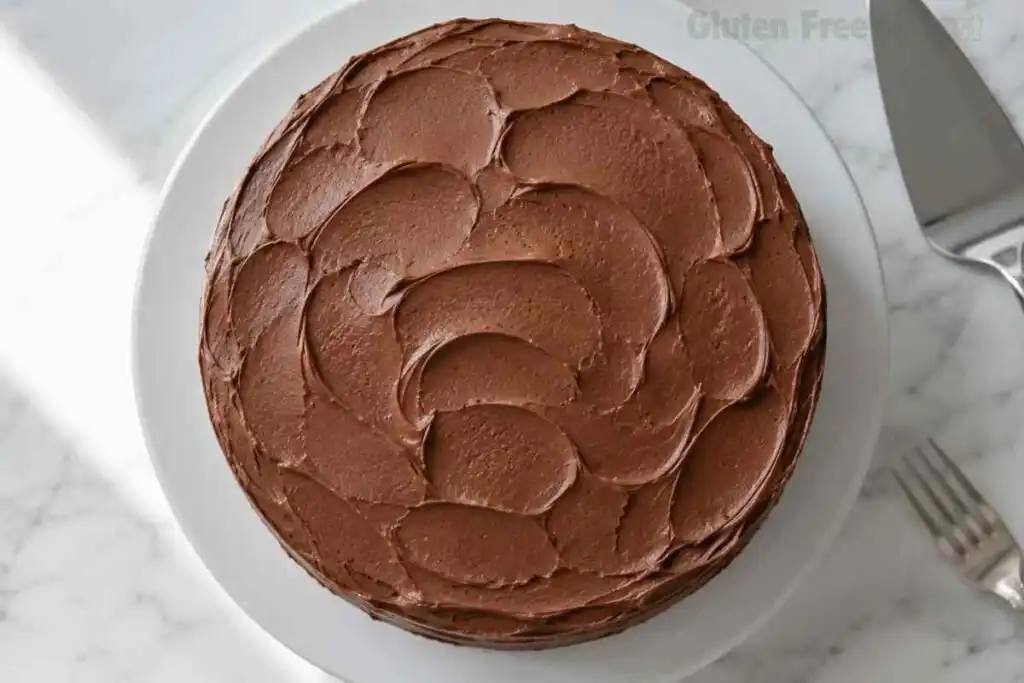
- Place the first layer on a cake plate. Spread about 1 cup of frosting over the top. Place the second layer on top. Frost the top, then the sides. Smooth with an offset spatula.
- Refrigerate for 20 minutes before slicing if the kitchen is warm. Decorate with chocolate curls or shaved chocolate if desired.
Nutrition
Notes
Gluten-Free Note
Tried this recipe?
Let us know how it was!Ingredients
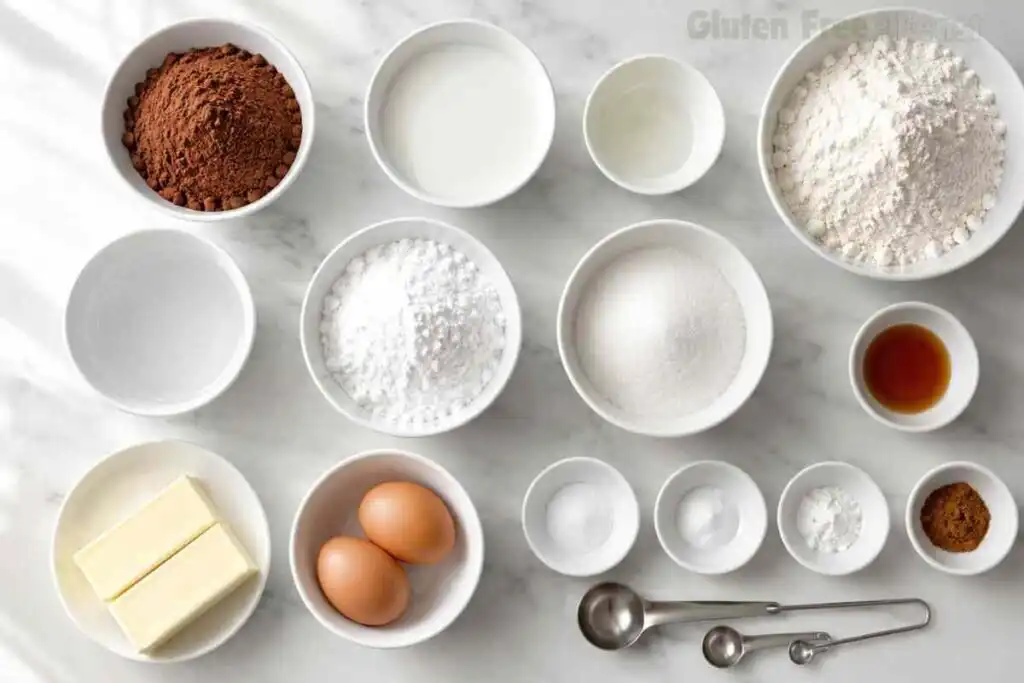
For the Cake
- 1 cup (240 ml) whole milk or unsweetened almond milk
- 1 tablespoon white vinegar or lemon juice
- 2 cups (280 g) certified gluten free all-purpose flour blend with xanthan gum (Bob’s Red Mill Gluten Free 1-to-1 Baking Flour or King Arthur Measure for Measure, both GFCO-certified), plus extra for dusting
- ¾ cup (75 g) unsweetened cocoa powder (Rodelle Organic Baking Cocoa recommended; see notes)
- 1 teaspoon baking soda (Bob’s Red Mill Gluten Free Baking soda, GFCO-certified)
- ½ teaspoon certified gluten free baking powder (Bob’s Red Mill Gluten Free Baking Powder, GFCO-certified)
- 1 teaspoon fine salt
- ½ teaspoon ground cinnamon (optional)
- 9 tablespoons (128 g) unsalted butter, softened (Smart Balance dairy-free baking sticks for dairy-free), (Miyoko’s or Earth balance, GFCO-certified dairy-free butter)
- 2 cups (400 g) granulated sugar
- 2 large eggs, room temperature
- 1 teaspoon certified GF pure vanilla extract (Nielsen-Massey Pure Vanilla Extract, GFCO-certified)
- ¾ cup (180 ml) boiling water or hot coffee
For the Chocolate Buttercream Frosting
- 1 cup (227 g) unsalted butter, softened
- 2 teaspoons certified GF pure vanilla extract (Nielsen-Massey Pure Vanilla Extract, GFCO-certified)
- ¼ teaspoon certified GF pure almond extract (Nielsen-Massey Pure Almond Extract, GFCO-certified)
- 1 cup (85 g) unsweetened cocoa powder (same brand as cake)
- 1 pinch fine salt
- 4 cups (480 g) powdered sugar (look for labeled GF; US brands like Domino and C&H use cornstarch and are safe)
- 3 tablespoons milk or unsweetened almond milk
Ingredient Notes and Substitutions
Certified gluten free flour blend: Bob’s Red Mill Gluten Free 1-to-1 Baking Flour and King Arthur Measure for Measure are both GFCO-certified and designed for direct substitution. Both already contain xanthan gum, which is essential for structure in a GF cake. Do not use single-ingredient flours such as almond, coconut, or plain rice flour on their own; they absorb liquid at different rates and will produce a sunken, gummy cake. If you want to understand how GF flour blends work in chocolate baking, the GFF gluten free banana bread article covers starch hydration and blend choice in detail.
Certified GF baking powder: Bob’s Red Mill Gluten Free Baking Powder is produced in a dedicated gluten free facility and carries GFCO certification. Most generic and store-brand baking powders are labeled gluten free but are produced in shared facilities. For people with celiac disease, the dedicated-facility status of Bob’s Red Mill is the safer choice.
Certified GF vanilla extract: Pure vanilla extract made from alcohol and vanilla beans is inherently low-risk, but imitation vanilla can be produced in facilities that share equipment with wheat-based products. Nielsen-Massey carries GFCO certification across its full line. Do not substitute imitation vanilla in this recipe.
Cocoa powder: I recommend Rodelle Organic Baking Cocoa for this recipe because Rodelle is produced in a dedicated facility. Hershey’s and Ghirardelli are labeled gluten free but are manufactured in shared facilities. Both are widely used in the celiac community without reported issues, but for the strictest safety margin, Rodelle is the better call.
Hot liquid: Boiling water is the baseline. Hot brewed coffee is a direct substitute that deepens the chocolate flavor without making the cake taste like coffee. The temperature matters; anything below 160°F will not bloom the cocoa adequately. Using room-temperature liquid here is one of the most common reasons GF chocolate cakes come out flat and pale.
Dairy-free: Replace butter in both the cake and frosting with Smart Balance Dairy-Free Baking Sticks, kept at room temperature before use. Replace milk with unsweetened almond or cashew milk. Do not use oat milk unless the label specifically says certified gluten free; standard oat milk is processed in facilities that handle wheat.
Egg-free: Bob’s Red Mill Gluten Free Egg Replacer works reliably here. Mix it per the package directions for two eggs before adding to the batter.
Celiac Safety Note: Please confirm certified GF labels on all packaged ingredients before baking. For this recipe, check specifically: your GF flour blend, baking powder, vanilla extract, almond extract (if using), and egg replacer (if using). Cocoa powder from a shared facility carries lower but real risk; choose Rodelle Organic or another dedicated-facility brand for the strictest standard. Cross-contact during manufacturing is a genuine risk for people with celiac disease.
A certified GF seal means a third party has tested the product, not just the manufacturer. When in doubt, look for the GFCO mark, which certifies products to 10 ppm or less.
How to Make Gluten Free Chocolate Cake
Step 1: Prepare the Pans and Make the Buttermilk
Preheat your oven to 350°F (175°C). Line the bottom of two 9-inch round cake pans with parchment paper, then grease the parchment and the pan sides with butter or cooking spray. Set them aside.
Combine the milk and vinegar (or lemon juice) in a small bowl or measuring cup. Stir briefly and let it sit on the counter for 5 to 10 minutes. It will curdle slightly; that is the goal. The acidity activates the baking soda and gives the crumb a lift you cannot get from regular milk alone.
Step 2: Mix the Dry Ingredients
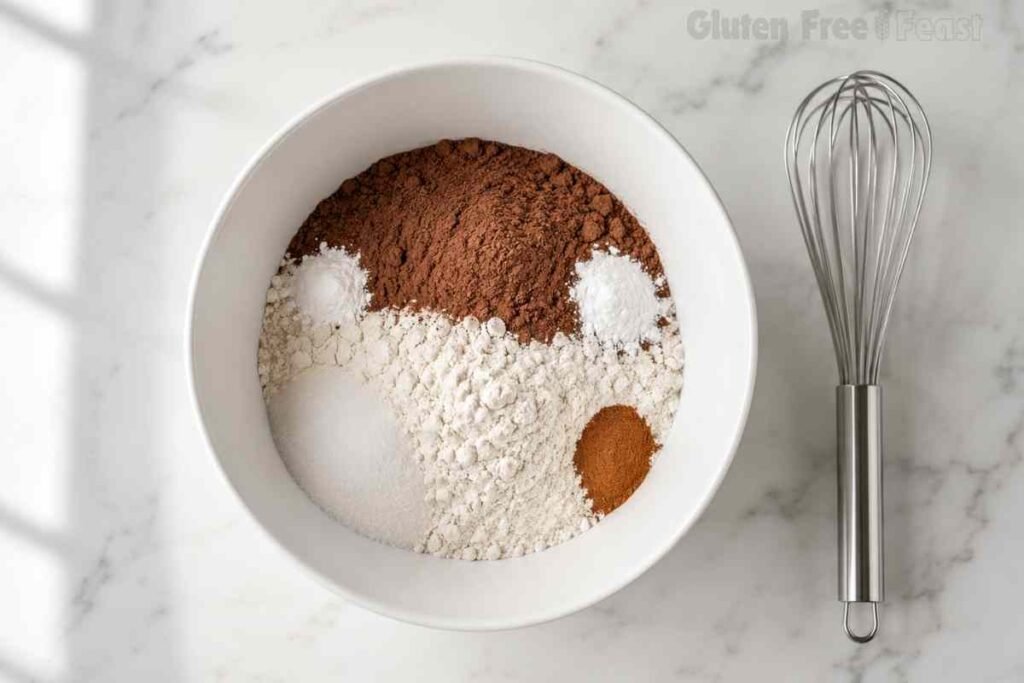
In a large bowl, whisk together the certified GF flour, cocoa powder, baking soda, certified GF baking powder, salt, and cinnamon if using. Whisk for a full 30 seconds, not just a quick stir. Uneven distribution of baking powder is one of the main reasons some biscuits and cakes rise on one side.
Step 3: Make the Batter
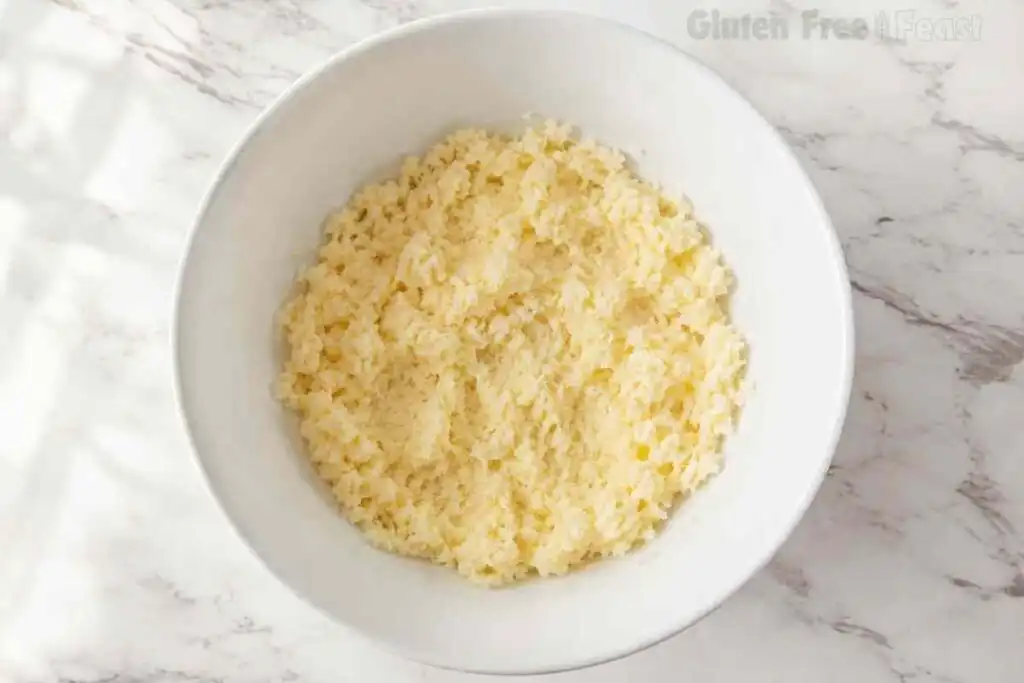
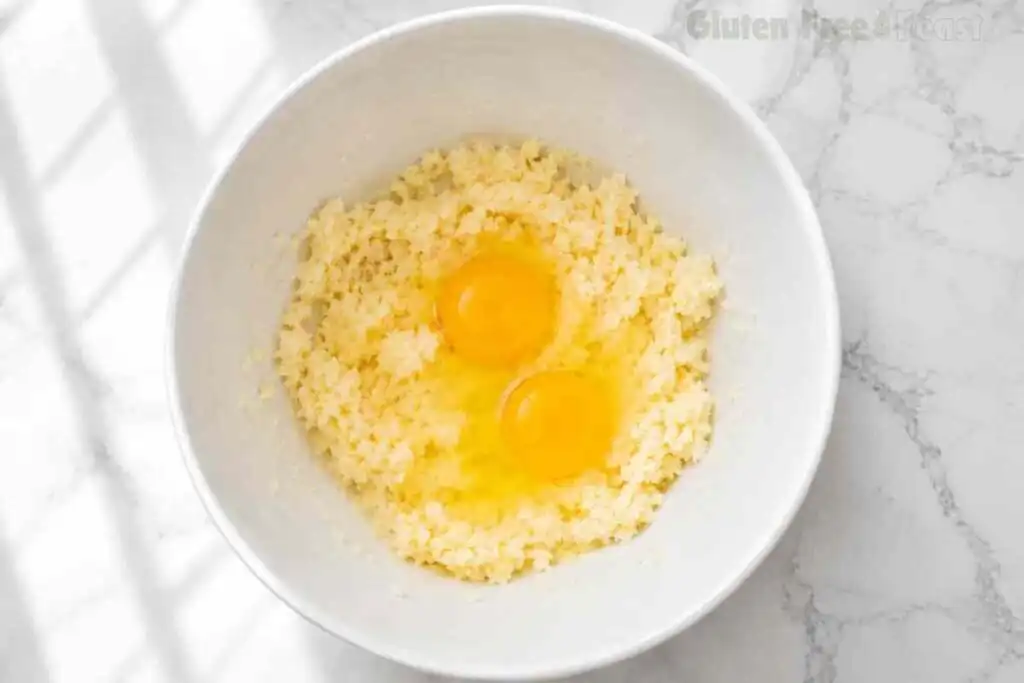
In a stand mixer or using a hand mixer, beat the softened butter and sugar together on medium speed for 2 to 3 minutes until the mixture is noticeably lighter in color and looks fluffy. Add the eggs one at a time, beating well after each one. Add the certified GF vanilla extract and mix to combine.
With the mixer on low, add half of the dry ingredients and mix until just combined. Pour in the buttermilk and mix again on low. Add the remaining dry ingredients and mix until no dry streaks remain. Do not overmix.
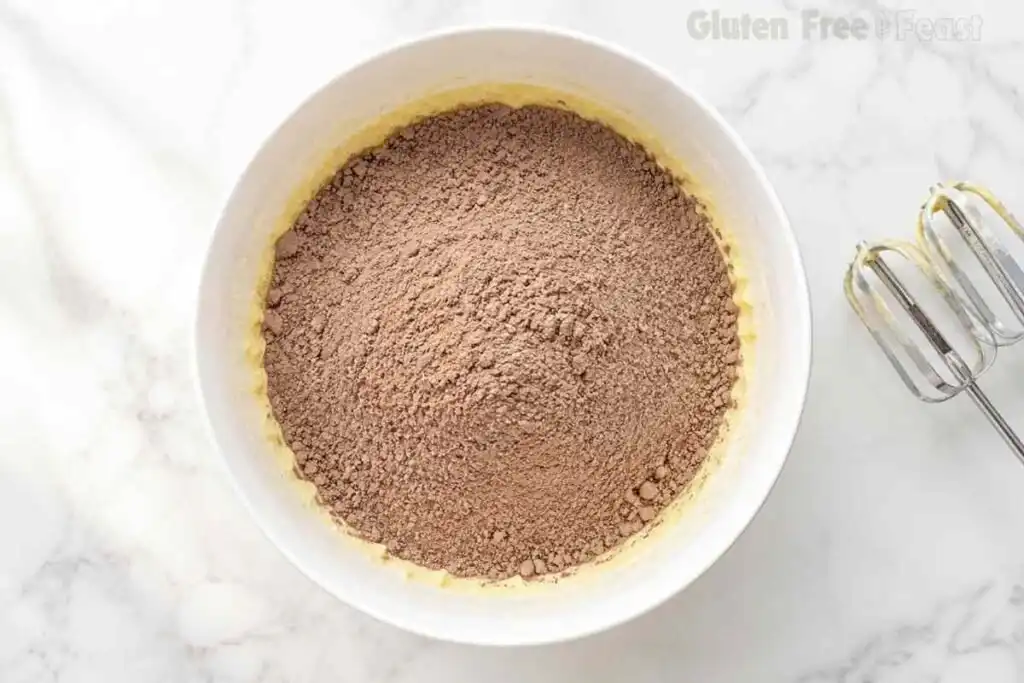
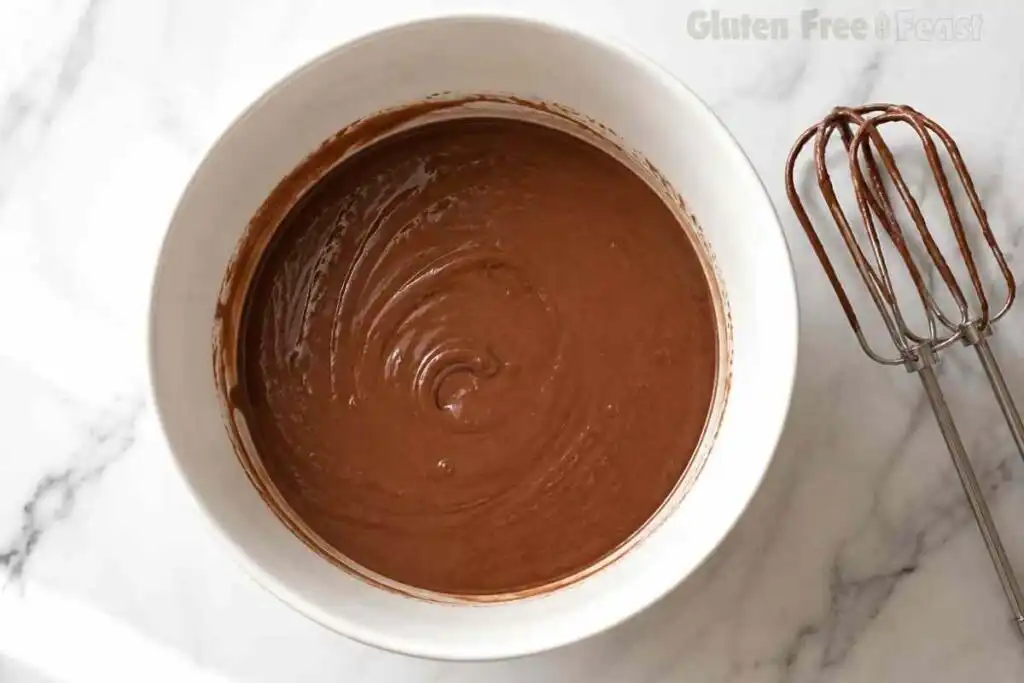
With the mixer still on its lowest speed, slowly pour in the boiling water or hot coffee. The batter will become quite thin. This is correct and expected.
Step 4: Rest the Batter (10 Minutes)
Let the batter sit in the bowl for exactly 10 minutes before pouring it into the pans. This step is not optional.
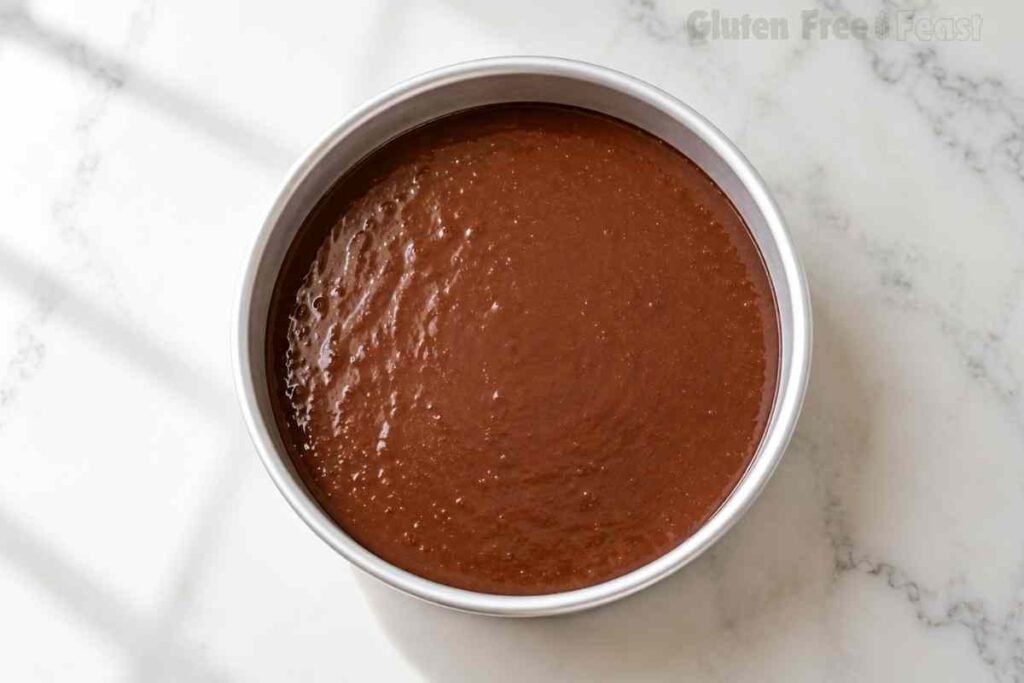
Here is why it matters. Gluten free flour blends are primarily starch-based. Unlike wheat flour, which forms a gluten network almost immediately, GF starches need time to absorb moisture and swell before baking. If you bake immediately, unbonded starch granules cook before they hydrate; the result is the gritty, sandy crumb that makes people give up on GF cake.
After 10 minutes, the starches have swollen and the batter becomes more cohesive. The baked result is smoother, more tender, and noticeably less dense. I confirmed this in two side-by-side test batches; the difference in crumb texture was visible and significant.
Step 5: Bake
After the rest, divide the batter evenly between the two prepared pans. Bake at 350°F for 30 to 35 minutes. The cakes are done when a toothpick inserted in the center comes out with a few moist crumbs (not wet batter) and the sides have just begun to pull away from the pan.
Do not open the oven before the 30-minute mark. GF cakes are more sensitive to temperature changes than wheat cakes; there is no gluten network holding the structure while it sets. Opening the oven too early causes the center to sink before the starches have set.
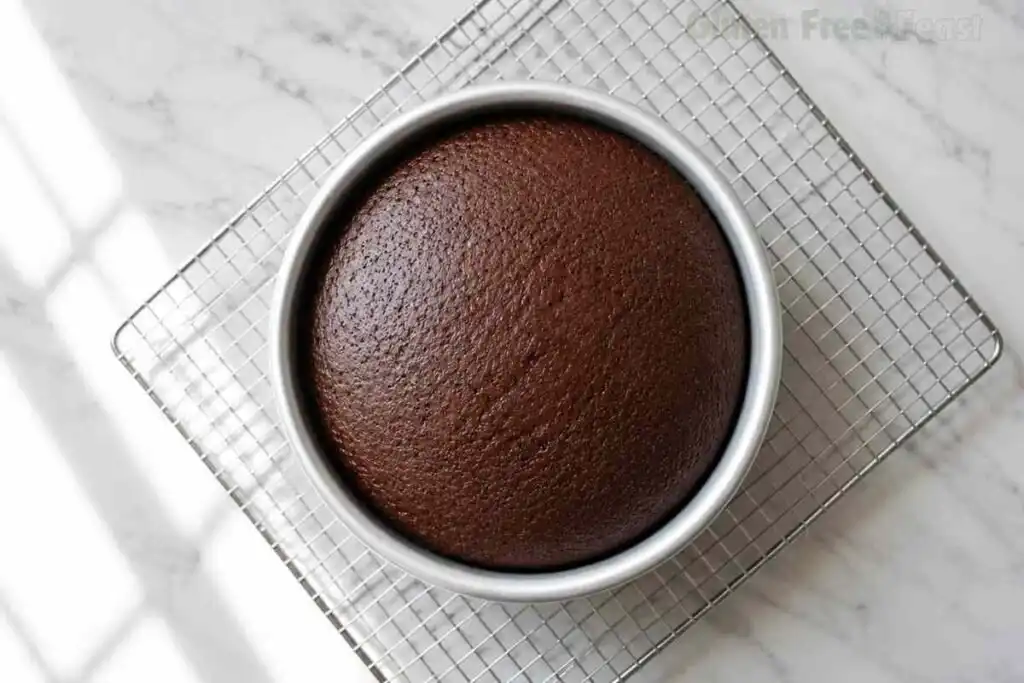
Cool the cakes in their pans for 10 to 15 minutes, then turn them out onto a wire rack and cool completely before frosting. Frosting a warm cake melts the buttercream and causes the layers to slide.
Step 6: Make the Chocolate Buttercream
Beat the softened butter with a hand mixer or stand mixer until completely smooth, about 2 minutes. Add the certified GF vanilla and almond extracts and beat to combine. Add the cocoa powder and the pinch of salt; beat again until smooth and dark.
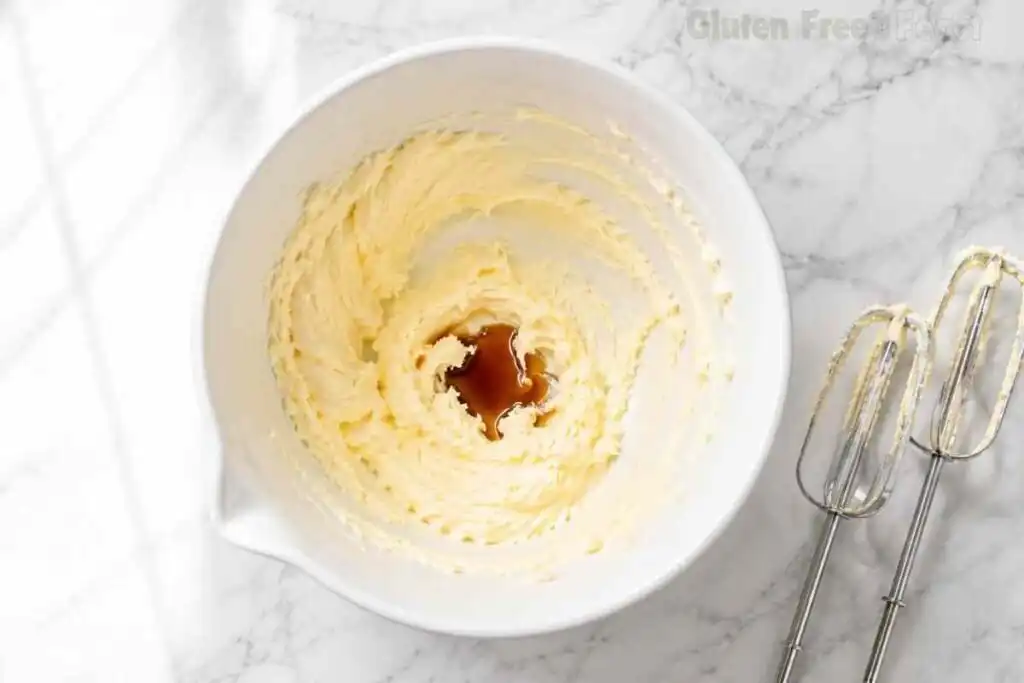
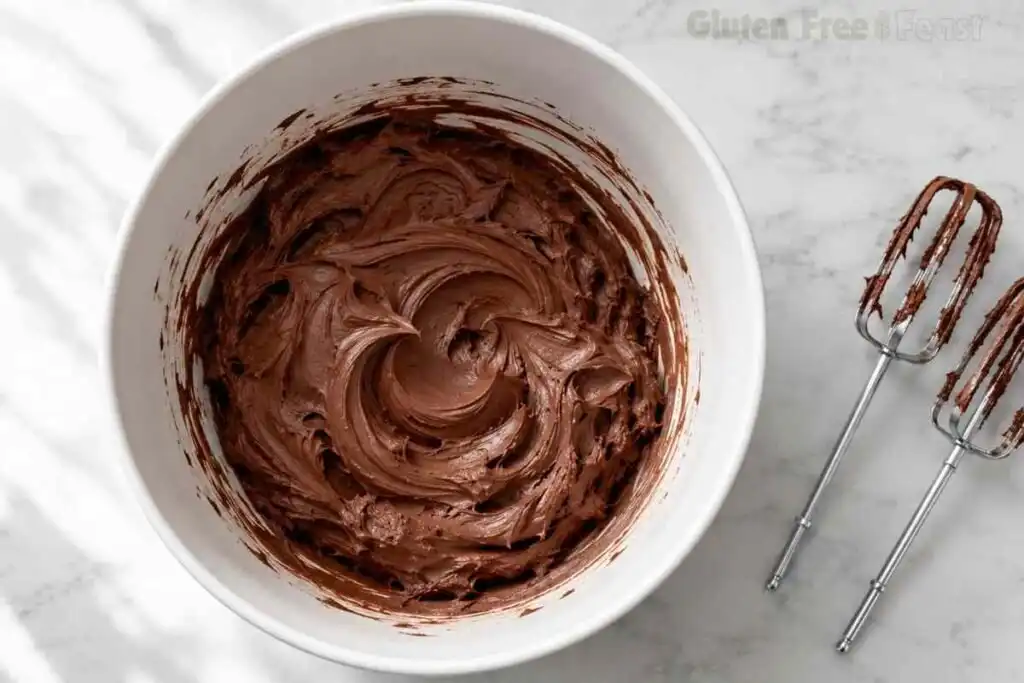
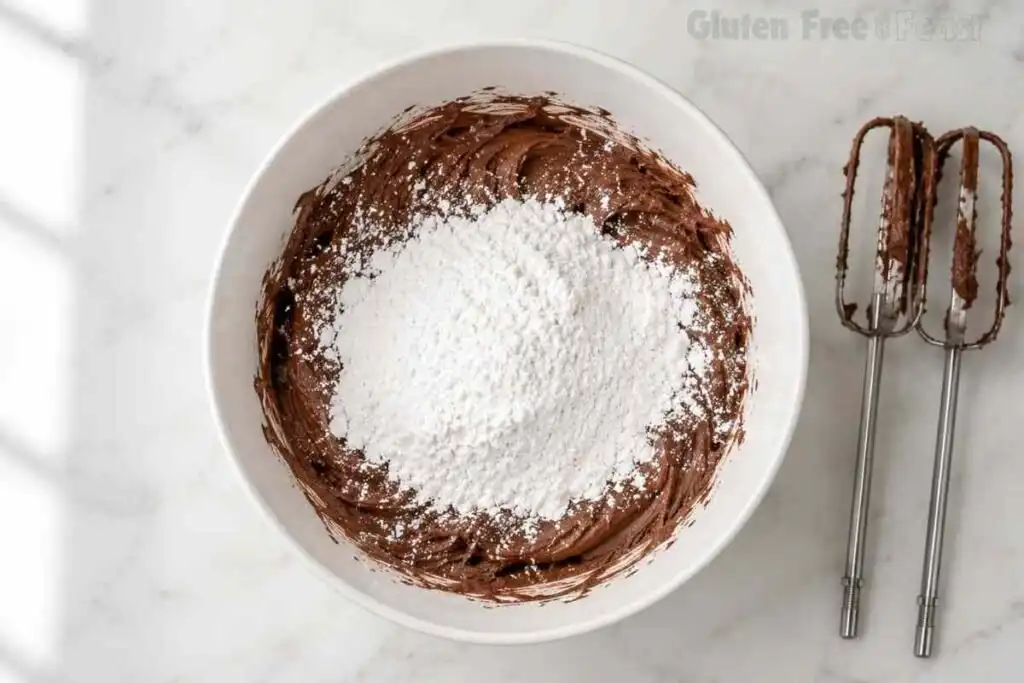
Add the powdered sugar one cup at a time, beating on low after each addition to avoid a sugar cloud. Once all four cups are incorporated, add the milk one tablespoon at a time and beat on medium-high for 2 to 3 minutes until the frosting is fluffy and spreadable.
Step 7: Assemble the Cake
Place the first layer on a cake plate or stand. Spread approximately 1 cup of frosting across the top in an even layer, going close to but not over the edge. Place the second layer on top.
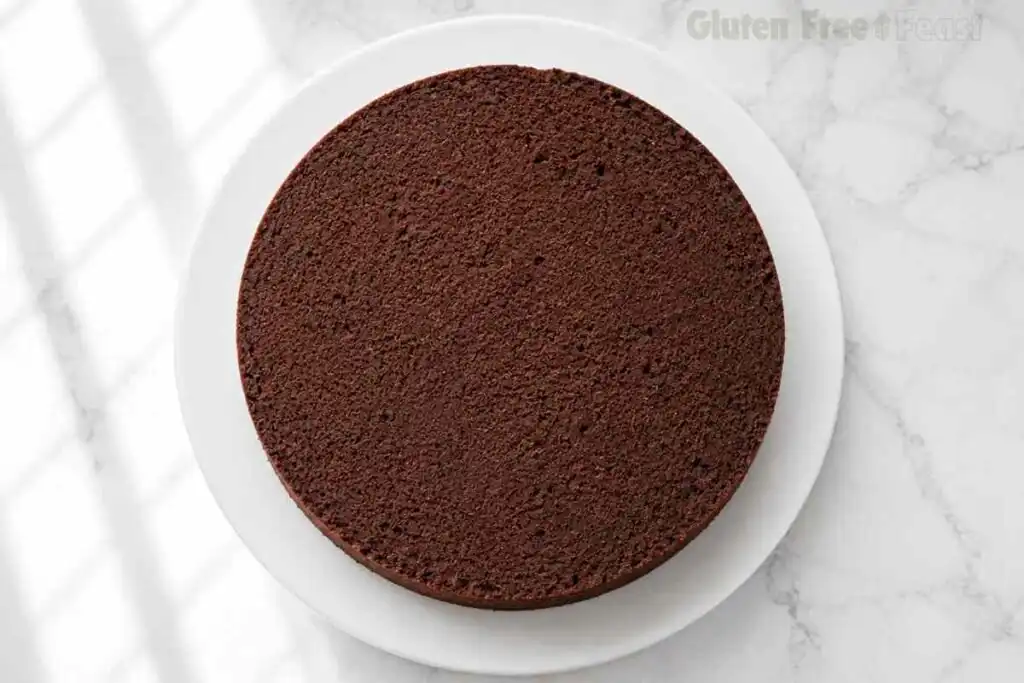
Frost the top of the cake first, then use the remaining frosting on the sides. Smooth with an offset spatula or the back of a spoon. Finish with chocolate curls, shaved chocolate, or piped swirls if you like. Refrigerate for 20 minutes before slicing if the kitchen is warm.
Expert Tips for Best Results
- Use room-temperature ingredients throughout. Cold butter will not cream properly with sugar, which means less air in the batter and a denser crumb. Cold eggs create an uneven emulsion that shows up as a tough or rubbery texture after baking. I pull butter and eggs from the refrigerator 45 minutes before starting.
- Spoon and level the flour, every time. Scooping directly from the bag packs the flour and can add up to 20% more than the recipe calls for. Spoon the flour into the measuring cup loosely, then level it off with a straight edge. I learned this the hard way making GFF gluten free blueberry muffins, where a single packed cup was the difference between a moist crumb and a dry, dense one.
- Do not skip the batter rest. Ten minutes is not enough time to do anything else productive in the kitchen. Set a timer and leave the batter alone. It is the single biggest quality improvement in this recipe versus every competitor I tested.
- Use boiling water, not warm. The temperature needs to be high enough to bloom the cocoa. A quick word on why: boiling liquid breaks down the cocoa butter in unsweetened cocoa powder, releasing fat-soluble flavor compounds that never fully dissolve in cool liquid. It also partially gelatinizes the starch, which contributes directly to a moist crumb rather than a dry one. Hot coffee adds Maillard precursors (roasted amino acids and sugars) that deepen the chocolate flavor without any coffee taste coming through.
- Cool completely before frosting. A warm cake will melt the buttercream and the layers will slide. Two hours at room temperature or 45 minutes in the refrigerator is enough.
- Use only certified GF equipment. Scratched non-stick pans trap gluten residue in the micro-scratches and cannot be fully cleaned. Wooden utensils are porous and hold gluten in their grain. A shared stand mixer bowl that was last used for wheat bread dough is a real cross-contact risk. I use pans and bowls reserved exclusively for GF baking.
Substitutions and Variations
Dairy-free cake and frosting: Smart Balance Dairy-Free Baking Sticks in both the cake and the frosting, kept at room temperature before use. Use almond or cashew milk throughout. The flavor is slightly less rich but the structure is very close to the original. Do not use oat milk unless it is certified gluten free.
Egg-free cake: Bob’s Red Mill Gluten Free Egg Replacer, prepared per the package for two eggs, works well here. The top of the cake will be slightly less golden and the crumb a little more delicate, but the structure holds through frosting and slicing.
Sheet cake format: Pour the batter into a greased and parchment-lined 9×13-inch pan. Bake at 350°F for 30 to 38 minutes; check for doneness at 30. No layer assembly required; frost directly in the pan.
Cupcakes: Fill standard liners two-thirds full and bake at 350°F for 18 to 22 minutes. This batter makes approximately 24 cupcakes. Let them cool completely before frosting.
Natural versus Dutch-process cocoa: Natural cocoa (most US brands) is acidic and reacts with the baking soda in this recipe. Dutch-process cocoa has been alkalized and does not react the same way. If you substitute Dutch-process cocoa, reduce the baking soda by ¼ teaspoon to avoid an off taste. Either works; the flavor profile changes slightly but the structure holds.
What to Serve With Gluten Free Chocolate Cake
This cake is a complete dessert on its own, but if you are building a dessert table or want ideas for what pairs well alongside it, here are the combinations I reach for.
- A scoop of vanilla or coffee ice cream: the cold temperature against warm or room-temperature cake is one of the best textural combinations in baking. There is nothing wrong with simple.
- Fresh berries on the side: raspberries, sliced strawberries, or blackberries cut the richness of the buttercream cleanly. I serve a small dish of berries alongside every slice when the cake comes out for a birthday.
- GFF gluten free brownies for a double-chocolate spread: if you are hosting a dessert table and want to offer a second chocolate option, GFF gluten free brownies are a good pairing because they are fudgy where the cake is light.
- GFF gluten free mug cake for single servings: when you want chocolate cake on a weeknight without turning on the oven for a two-layer project, the GFF gluten free mug cake uses the same flavor profile and takes five minutes.
- GFF gluten free chocolate chip cookies: for a casual cookie-and-cake tray at a party where not every guest knows the food is gluten free, GFF gluten free chocolate chip cookies make the spread feel complete without any announcing.
- Explore more GFF baking projects: if this cake is your first time baking gluten free at this scale, the rest of the GFF baking recipes are built around the same principles: certified ingredients, tested methods, and explanations of why each step works.
Cross-Contact Safety for Celiac Bakers
This section does not appear in any of the top-ranking gluten free chocolate cake recipes. That is a gap worth filling. Cross-contact risk in a shared kitchen is real, even when every ingredient on the list is certified gluten free.
Cake pans: scratched non-stick surfaces trap gluten residue in the micro-scratches and cannot be reliably cleaned. Use parchment paper in any pan you are not certain is dedicated GF, or bake in pans reserved exclusively for gluten free use.
Stand mixer bowl and paddle or whisk: a bowl that was last used for wheat bread dough or pizza dough carries residue even after washing. Dedicated GF bowls and attachments are the safest option. If you share a mixer, a thorough hand wash with hot soapy water immediately before use is the minimum.
Cooling racks: wire cooling racks used for wheat products can transfer traces of flour or crumbs. Wash the rack before placing GF cakes on it, or use a dedicated rack.
Wooden spoons and spatulas: wood is porous. Gluten proteins embed in the grain and cannot be fully removed by washing. Use silicone or metal tools for all GF baking.
Cooking spray: some aerosol cooking sprays contain wheat flour as a release agent (check the label). Use a labeled GF spray or line with parchment and grease with butter or oil.
Storage and Make-Ahead Instructions
Room temperature: store the frosted cake covered at room temperature for up to 2 days. The oil and butter in this recipe help maintain moisture; it will not dry out quickly.
Refrigerator: frosted cake keeps in an airtight container or under a cake dome in the refrigerator for up to 5 days. Bring slices to room temperature for 20 minutes before serving; cold buttercream loses its fluffy texture.
Freezer (frosted slices): place individual slices on a parchment-lined sheet, freeze until solid (about 1 hour), then transfer to a zip-top bag. They keep for up to 3 months. Thaw overnight in the refrigerator.
Freezer (unfrosted layers): this is my preferred make-ahead method. Cool the layers completely, wrap each one tightly in two layers of plastic wrap, then foil, and freeze for up to 3 months. Thaw overnight in the refrigerator still wrapped, then frost at room temperature. The texture after thawing is indistinguishable from fresh.
Why Trust This Recipe
I develop recipes the same way I approached lab work: documented testing, controlled variables, and results that hold up in any kitchen. Not just mine.
This recipe was tested across multiple rounds in my dedicated gluten free kitchen, comparing two flour blends, testing the batter rest versus no-rest side by side, and verifying each certified GF brand callout directly with manufacturer documentation.
What that means for you:
- Multiple test batches before publishing, with documented results for each variable
- Science-based notes on key steps throughout, not just instructions
- Honest substitution guidance based on what actually happened in testing
- Safe for celiac disease, with cross-contact taken seriously at every step
Frequently Asked Questions
What are common problems with gluten free cake?
The three most common problems are a gritty or dense texture, a dry crumb, and a sunken center. A gritty texture usually comes from using the wrong flour blend or skipping the batter rest. A dry crumb almost always means the flour was over-measured (scoop method rather than spoon-and-level) or the cake was overbaked. A sunken center is caused by opening the oven too early or using cold ingredients that did not emulsify properly.
This recipe addresses all three: a tested certified GF flour blend, a 10-minute batter rest, the spoon-and-level method, and room-temperature ingredients throughout.
What is the best gluten free flour for this cake?
Bob’s Red Mill Gluten Free 1-to-1 Baking Flour and King Arthur Measure for Measure are both tested and confirmed in this recipe. Both are GFCO-certified and contain xanthan gum. Do not use single-ingredient GF flours (almond flour, coconut flour, plain rice flour) as a cup-for-cup swap; they are not formulated for it and the results will be unpredictable.
Can I replace regular flour with gluten free flour in this recipe?
Yes, as long as you use a measure-for-measure blend specifically designed for direct substitution, such as Bob’s Red Mill 1-to-1 or King Arthur Measure for Measure. These already contain xanthan gum, which provides the binding that gluten would otherwise supply. Single-ingredient flours cannot stand in for all-purpose flour cup-for-cup and will not produce the same texture.
What are common mistakes in gluten free baking?
The four mistakes I see most often: scooping flour from the bag (always spoon and level), skipping the batter rest (GF starches need time to hydrate), overbaking (GF cakes dry out faster than wheat cakes; pull at a few moist crumbs, not a clean toothpick), and using cold butter or eggs (creates an uneven batter that bakes unevenly). All four of those are specifically addressed in this recipe with explanations of why each one matters.
What cake is naturally gluten free?
Naturally GF cakes include flourless chocolate cake (made with melted chocolate and eggs, no flour at all), almond-flour French gateau, and chiffon-style cakes made with certified GF cornstarch. This recipe is not naturally gluten free; it uses a certified GF flour blend. But it is developed and tested to be completely celiac-safe when made with the certified ingredients listed.
How do I store gluten free chocolate cake?
Frosted cake keeps at room temperature for up to 2 days or in the refrigerator for up to 5 days in an airtight container. For longer storage, freeze individual frosted slices (solid on a sheet, then bagged) for up to 3 months, or freeze the unfrosted layers wrapped tightly for up to 3 months and frost after thawing. The oil and butter in this recipe help it stay moist even after refrigeration.
Final Thoughts
This gluten free chocolate cake is the version I make for every birthday on my calendar. The method is detailed on purpose: understanding why each step matters is what turns a good result into a reliable one. Make it once and you will know exactly what to adjust for your oven, your flour brand, and your preference for frosting thickness.