There is a particular smell that fills my kitchen when these gluten free biscuits come out of the oven: warm butter, a little tang from the buttermilk, and that golden top that tells you the layers underneath are going to pull apart exactly the way they should. My husband grew up on Southern biscuits, and the first time I handed him one of these, he asked what flour I used before he even noticed it was gluten-free.
That reaction is the whole point of this recipe. After six rounds of testing in my dedicated gluten-free kitchen, I landed on a method that skips rolling entirely in favor of a simple fold, which turned out to be the difference between a flat, dense puck and a biscuit with real, visible layers. The dough comes together in one bowl, rests for zero minutes, and bakes in under 20.
If you have tried gluten free biscuits before and been disappointed by something dry, crumbly, or strangely gummy in the middle, keep reading. The science behind why that happens, and exactly how to avoid it, is what the rest of this recipe is built around.
Key takeaways
These gluten free buttermilk biscuits bake at 450°F for 15 to 20 minutes and yield 12 soft, fluffy biscuits with pull-apart layers, using certified gluten free all-purpose flour (Pillsbury Gluten Free recommended) and certified gluten free baking powder (Bob’s Red Mill GF or Rumford). Cold butter, cut to pea-sized pieces and kept frozen until the last moment, is what creates the steam pockets that produce flaky layers in a gluten-free dough. A simple two-fold method replaces rolling entirely, preserving those butter shards rather than flattening them. The recipe is celiac-safe when all flagged ingredients carry a certified GF label, and includes fully tested dairy-free options (Earth Balance butter, almond or coconut milk buttermilk) and an egg-free version using Bob’s Red Mill Gluten Free Egg Replacer.
Bake temp: 450°F · Bake time: 15–20 min · Yield: 12 biscuits · Key technique: fold, don’t roll
Table of Contents
Why You Will Love This Gluten Free Biscuits Recipe
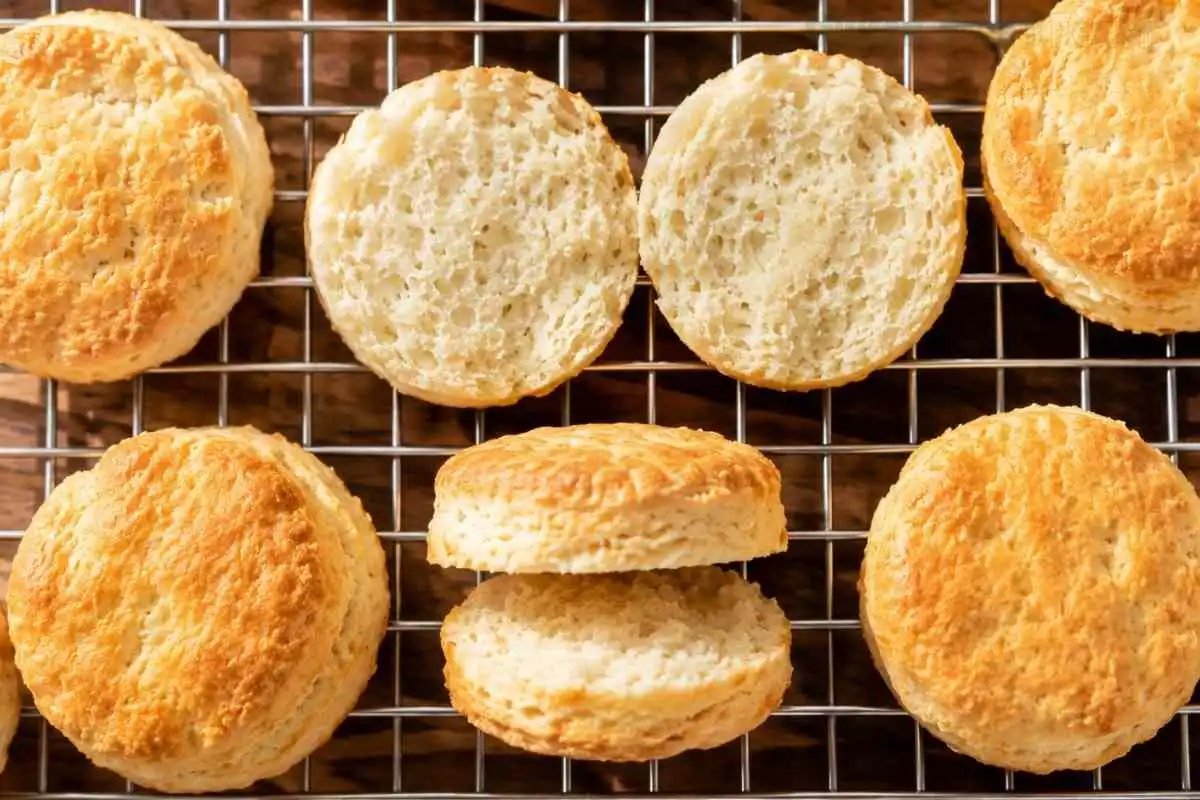
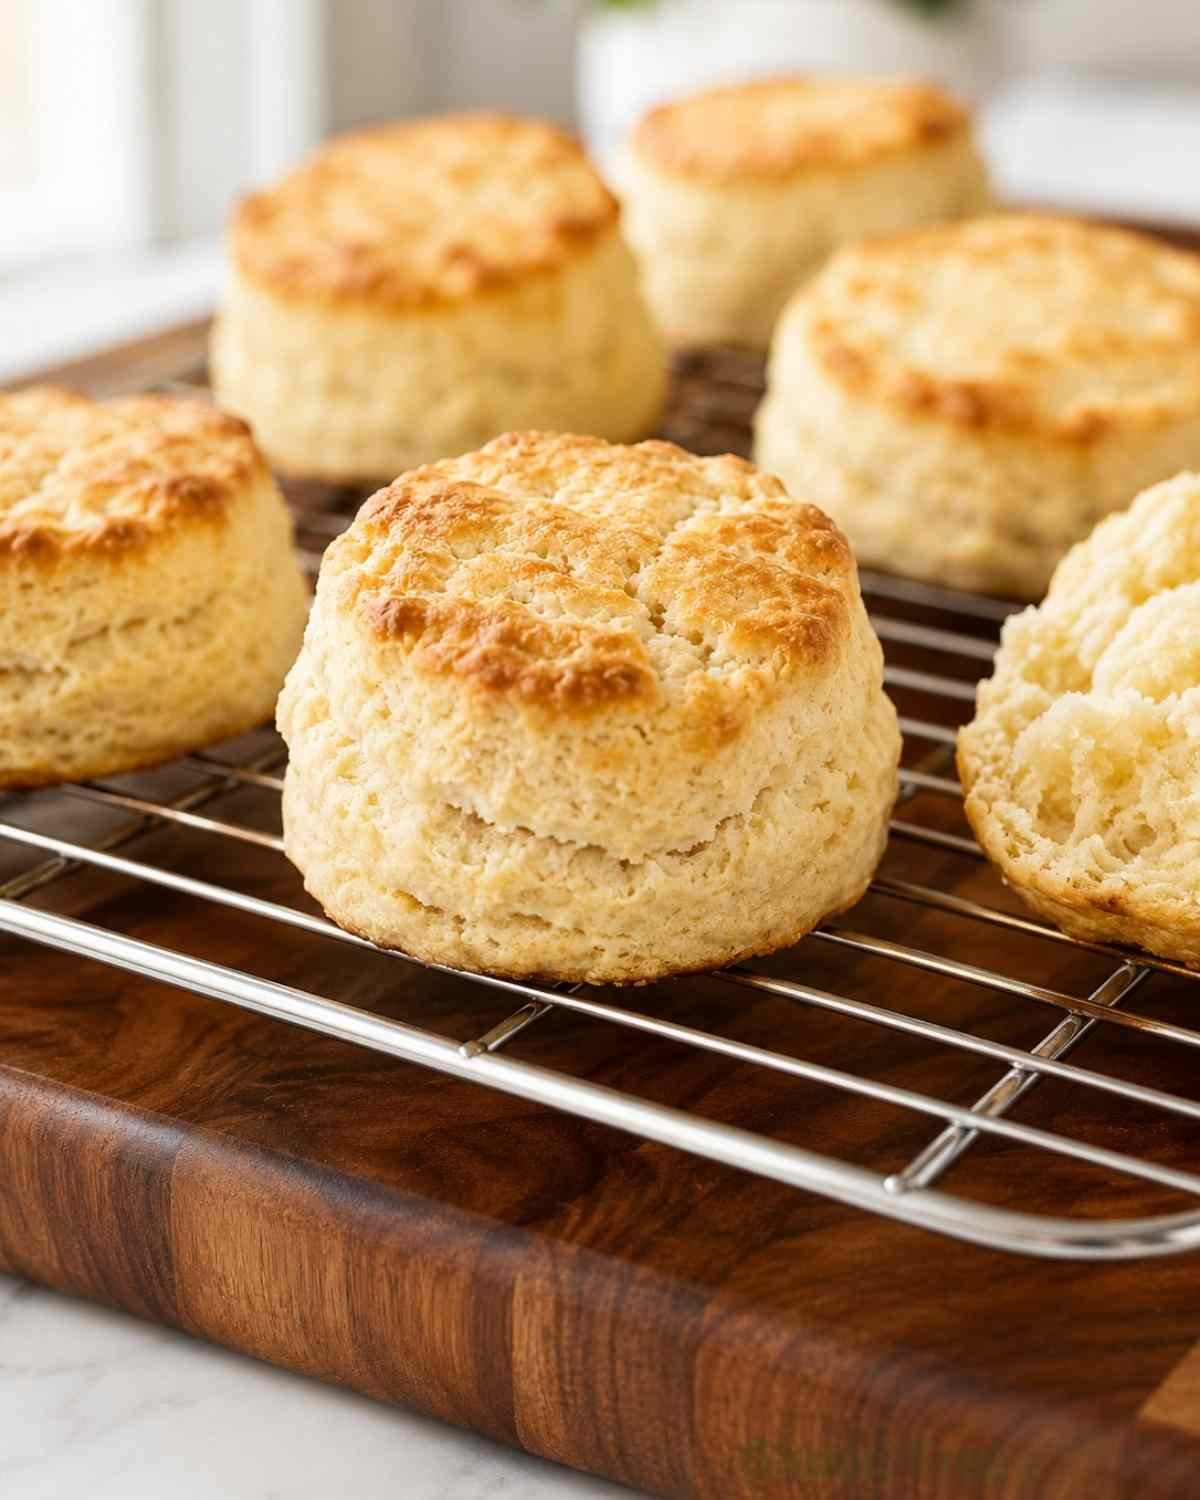
- Truly flaky, pull-apart layers: the fold method (not rolling) keeps butter shards intact so every biscuit tears open with visible layers.
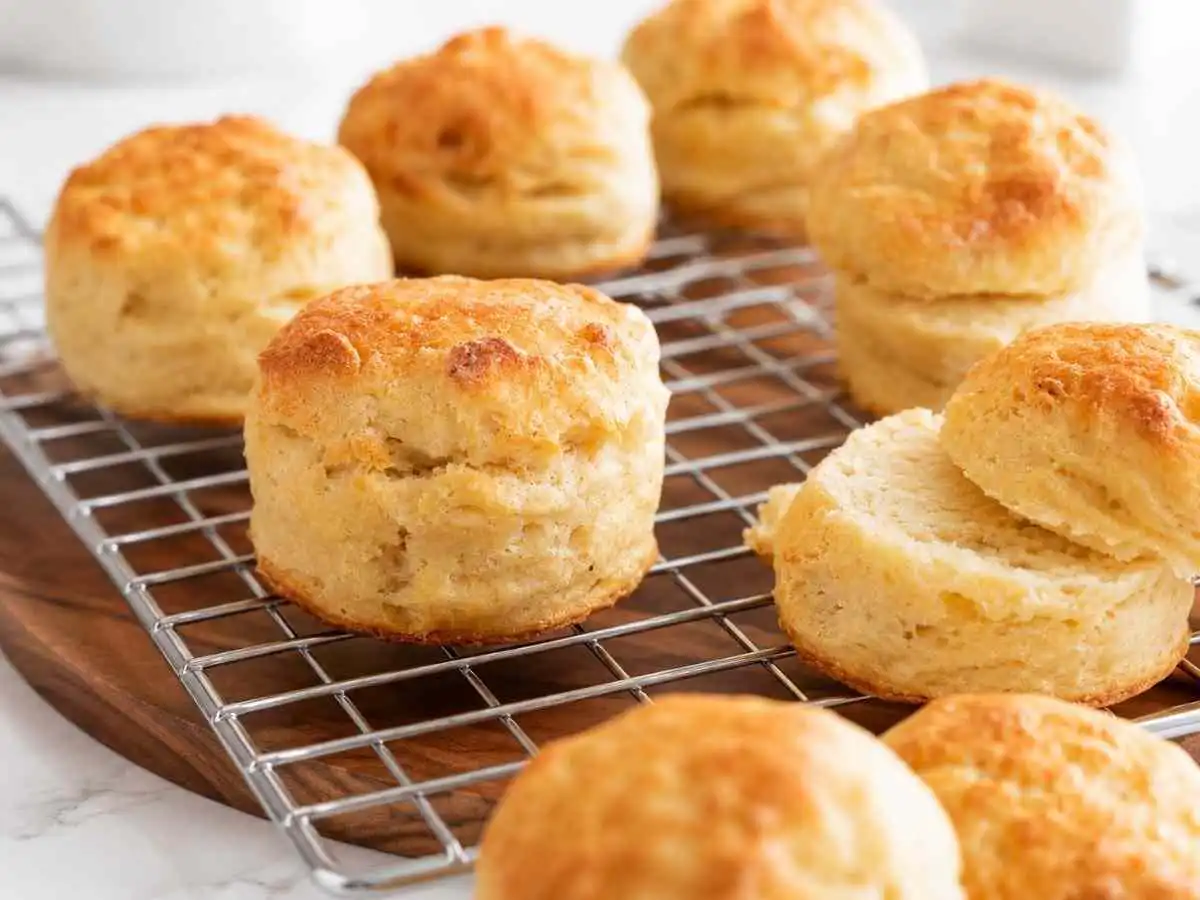
- Soft and fluffy inside, golden outside: high-heat baking at 450°F sets the rise fast before the biscuits have a chance to spread flat.
- Ready in 30 minutes: no chilling, no lamination, no complicated technique. Mix, fold, cut, bake.
- Celiac-safe at every ingredient: certified gluten free baking powder, a trusted GF flour blend, and a full cross-contamination note so nothing slips through.
- Dairy-free and egg-free options included: with tested swaps that actually work, not just theoretical substitutes.
- Only 8 ingredients: everything is a pantry staple if you bake gluten free regularly.
Gluten-Free Buttermilk Biscuits
Ingredients
Equipment
Method
- Cut the butter into small pieces and place in the freezer for 10 minutes. If making DIY buttermilk, combine milk and 1 tablespoon of vinegar or lemon juice in a measuring cup and refrigerate. Preheat oven to 450°F (232°C).
- In a large bowl, whisk together the certified gluten-free flour, xanthan gum (if needed), certified gluten-free baking powder, salt, and sugar until evenly combined.
- Add the cold butter pieces to the flour mixture. Use a pastry cutter or fork to cut the butter into the flour until the pieces are roughly the size of small peas. Do not over-process: visible butter chunks create flaky layers during baking.
- Whisk the egg directly into the cold buttermilk. Pour the mixture into the flour and butter. Stir until a soft, sticky dough just comes together. Stop mixing the moment no dry flour patches remain: over-mixing makes the biscuits dense and gummy.
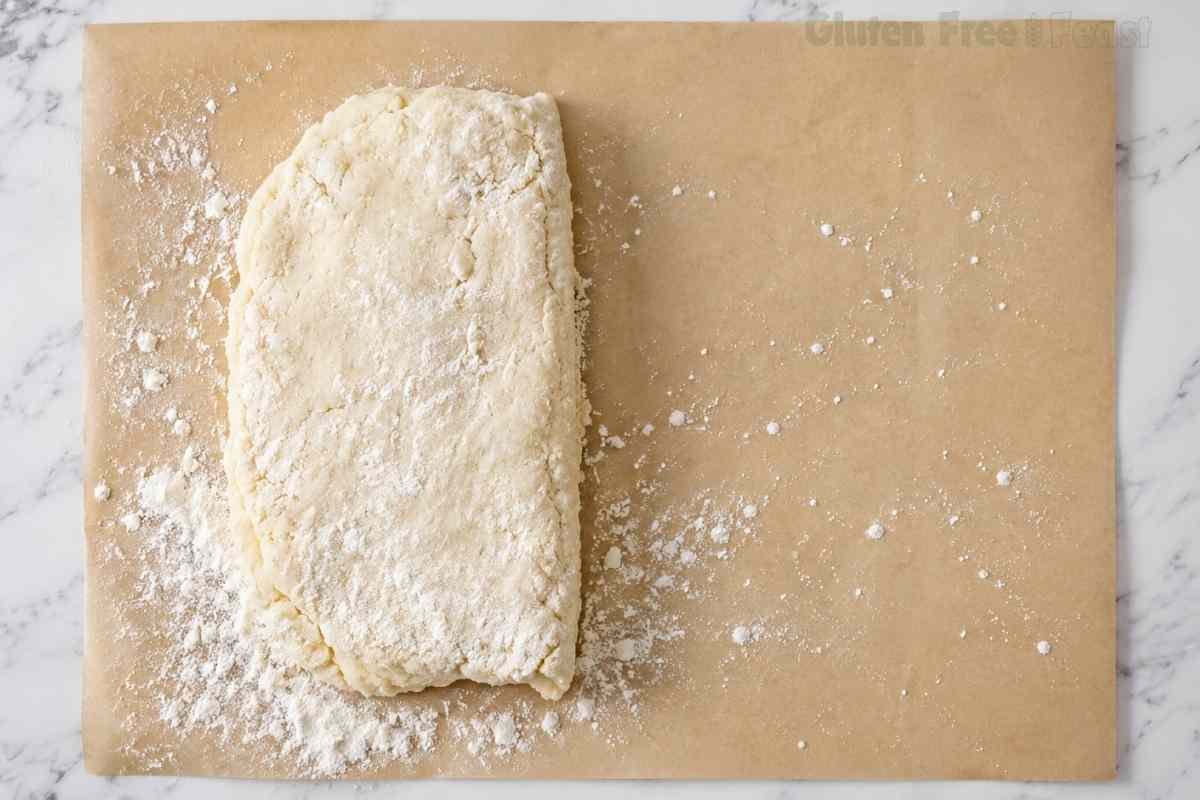
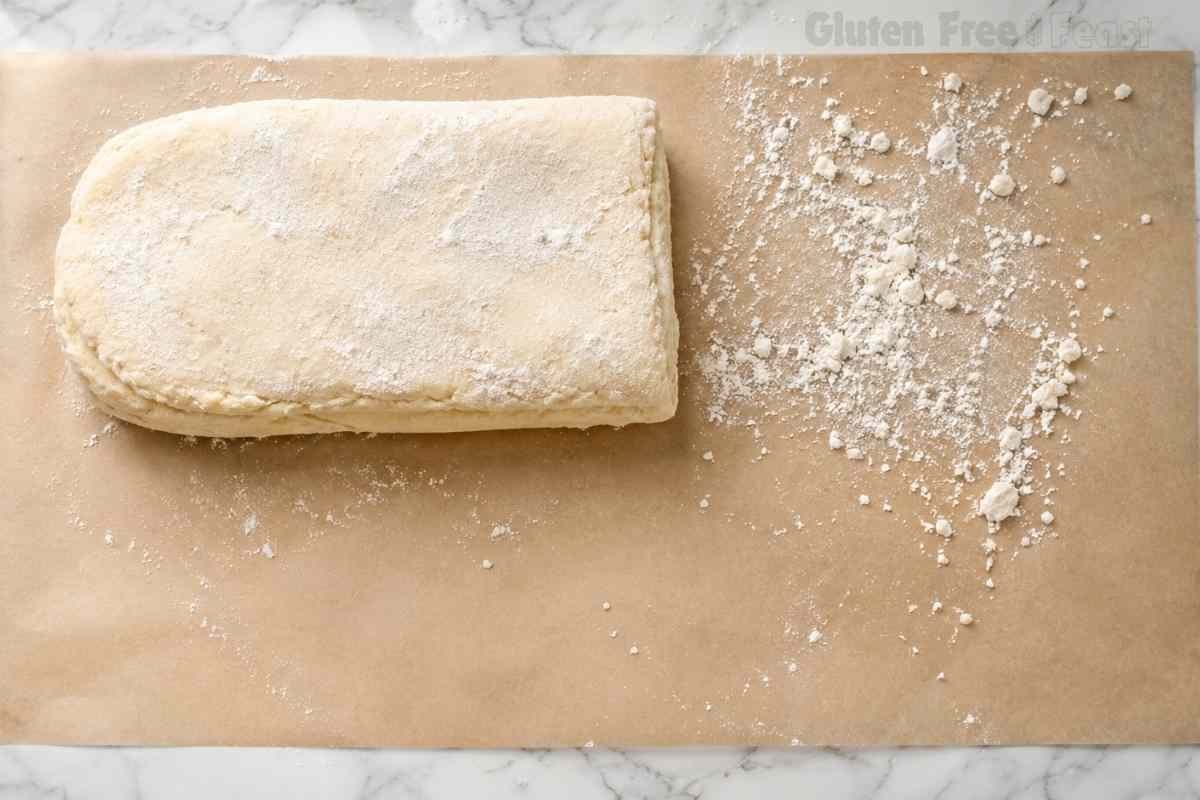
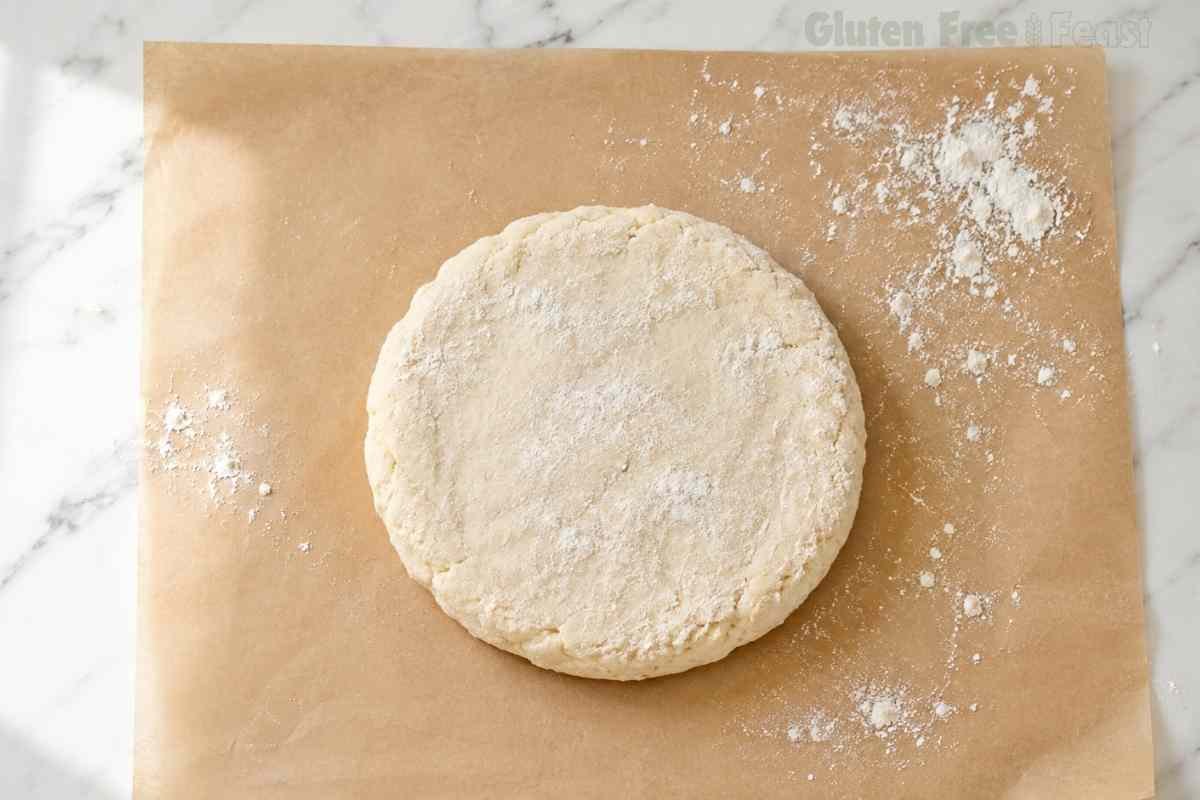
- Dust a large piece of parchment paper with 1 tablespoon of flour. Turn the dough out onto it and dust the top with the remaining tablespoon of flour. Gently fold the dough in half over itself, then fold in half one more time. Do not roll. Press with your hands into a round about 7 inches across and 1 inch thick.
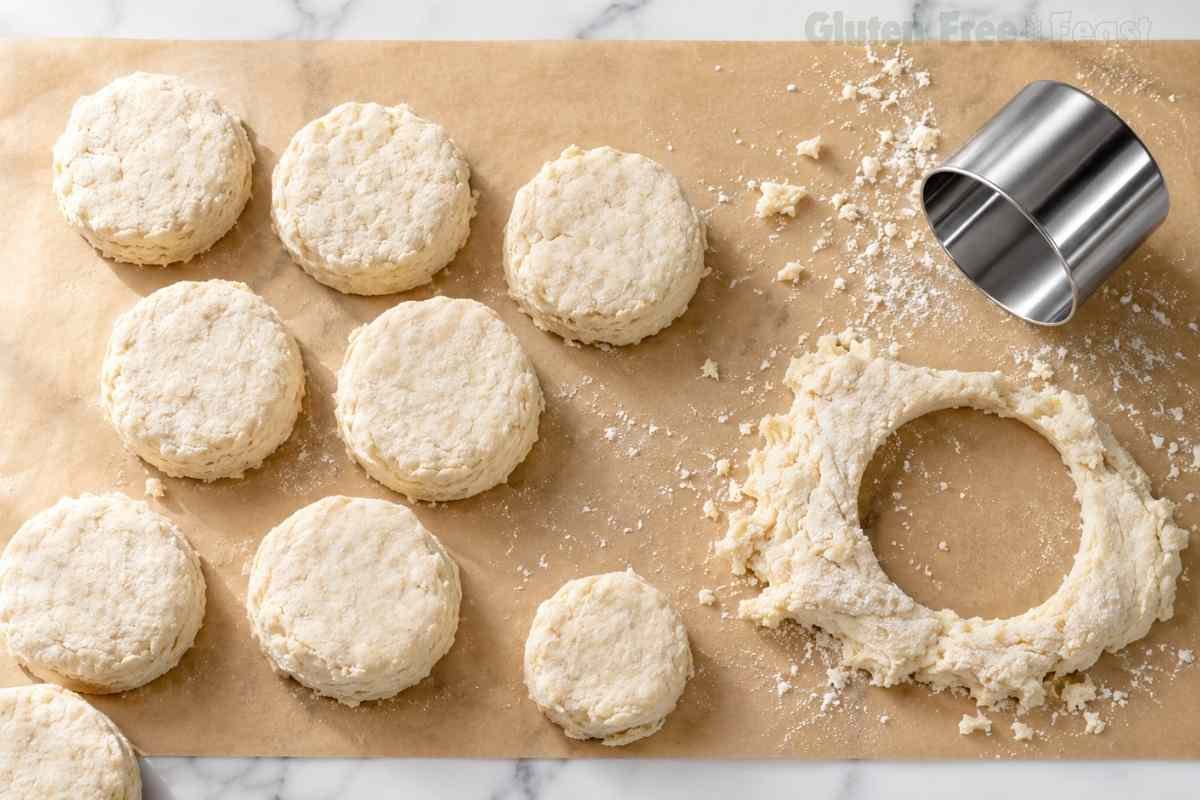
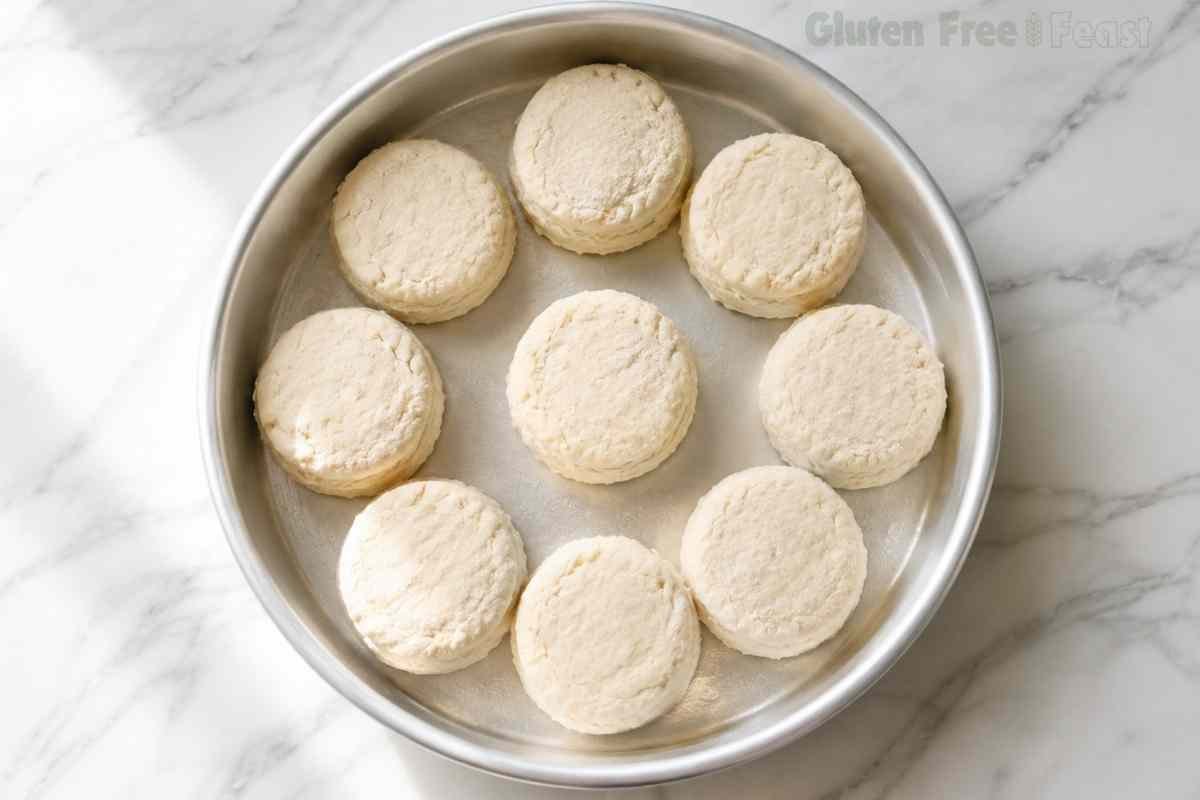
- Press a floured 2-inch biscuit cutter straight down without twisting and lift straight up. Twisting seals the edges and prevents the biscuit from rising. Gather scraps, press into a round, and cut again until you have 12 biscuits total.
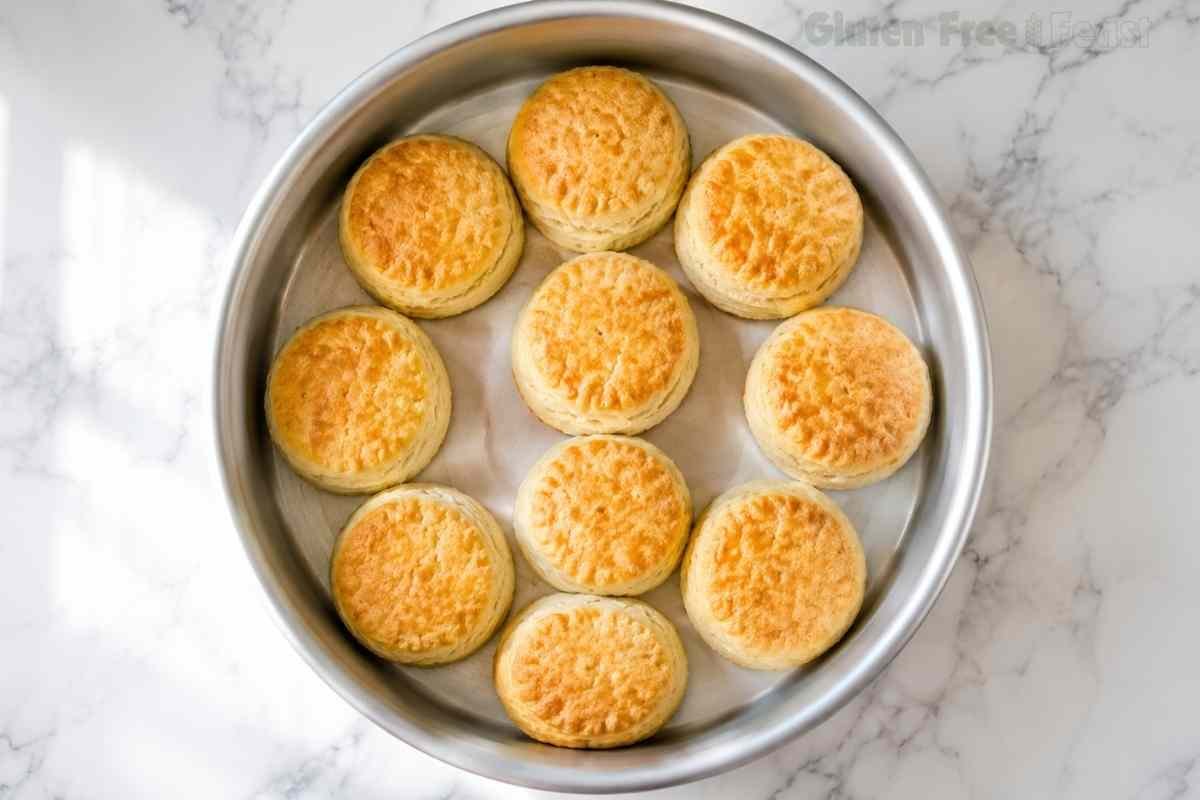
- Place biscuits on a greased cast iron skillet or baking sheet. Bake at 450°F for 15 to 20 minutes until tops are deep golden brown. Check at 15 minutes. Brush with melted butter immediately after removing from the oven, if desired. Serve warm.
Notes
Ingredients
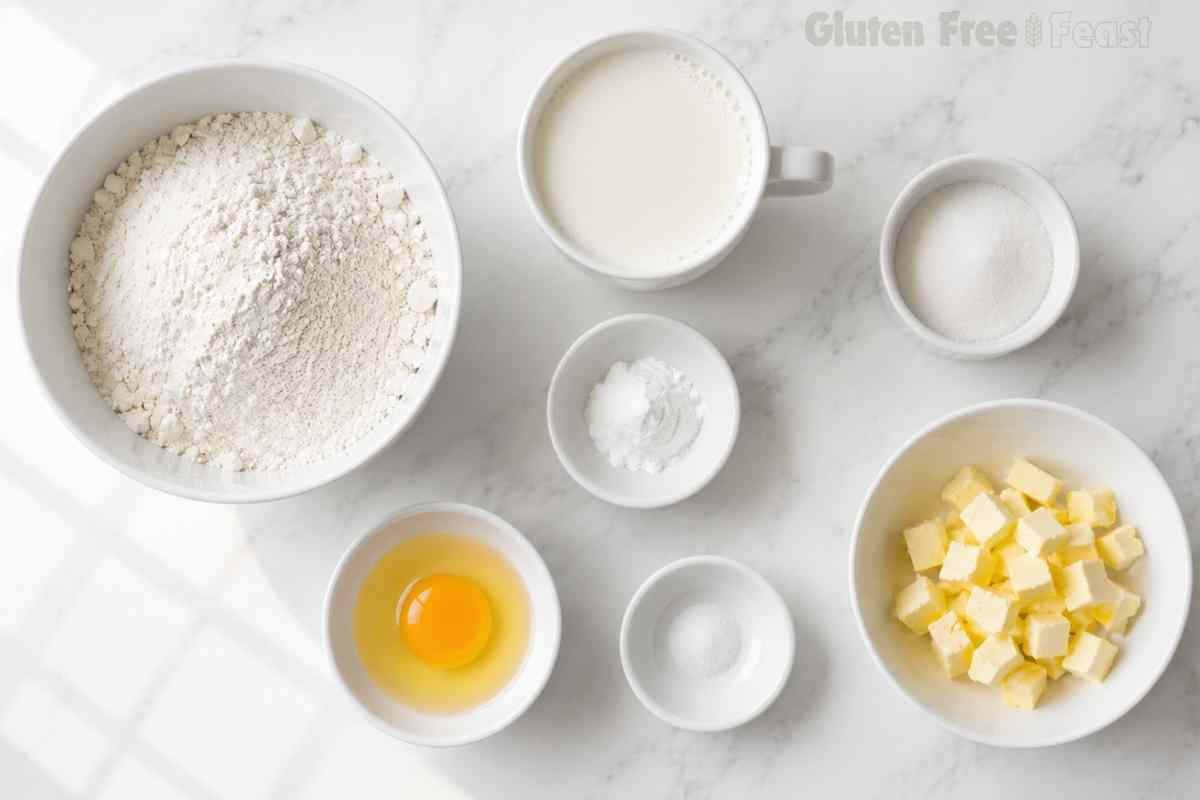
For the Biscuits
- 2 cups certified gluten free all-purpose flour blend (Pillsbury Gluten Free recommended; see notes for other blends), plus 2 tablespoons for dusting
- ½ teaspoon xanthan gum (omit if your flour blend already contains it)
- 1 tablespoon certified gluten free baking powder (Bob’s Red Mill Gluten Free or Rumford)
- 1 teaspoon salt
- 2 tablespoons granulated sugar
- 6 tablespoons unsalted butter, cold
- 1 large egg
- 1 cup buttermilk, cold (see notes for DIY and dairy-free options)
Ingredient Notes and Substitutions
Certified gluten free all-purpose flour blend: Pillsbury Gluten Free is the recommended blend for this recipe. In my testing across six batches, it produced the fluffiest interior and most consistent rise. Blends that contain sorghum flour (Bob’s Red Mill 1-to-1, King Arthur Measure for Measure, Pamela’s) absorb liquid differently and make the dough wetter. If you use one of those, increase the flour to 2½ cups and expect a slightly denser result.
Xanthan gum: This is the binding agent that replaces gluten’s elasticity. Without it, GF biscuits crumble instead of holding their shape through the fold. Check your flour bag first: Pillsbury GF already contains xanthan gum, so you would omit the half teaspoon listed here. A blend without xanthan gum needs it added.
Certified gluten free baking powder: Standard baking powder is usually gluten free, but not all brands are produced in dedicated facilities. Bob’s Red Mill Gluten Free Baking Powder and Rumford are the two I trust. Do not use a generic store-brand baking powder without checking the label for a certified GF symbol.
Cold butter: Temperature is not optional here. Cold butter releases steam during baking, and those steam pockets are what create flaky layers. I cut the butter into small pieces and freeze it for 10 minutes before starting.
Dairy-free: Smart Balance, Earth Balance, or plain shortening all work. Keep whichever you use cold.
Buttermilk: The acidity in buttermilk reacts with the baking powder to give these biscuits lift and a subtle tang. DIY version: add 1 tablespoon of white vinegar or lemon juice to 1 cup of milk, stir, and let it sit in the refrigerator for 5 to 10 minutes. Dairy-free buttermilk: use the same method with almond, cashew, or coconut milk. One important warning: do not use oat milk unless it is specifically labeled certified gluten free oat milk: standard oat milk is processed in facilities that handle wheat and is not safe for celiac disease.
Egg: Egg-free or vegan: Bob’s Red Mill Gluten Free Egg Replacer works well here. Follow the package directions for one egg equivalent.
Celiac Safety Note: Please ensure all packaged ingredients carry a certified gluten free label. For this recipe, check specifically: your GF flour blend, baking powder, and egg replacer (if using). Cross-contamination at packaging facilities is a real risk for people with celiac disease.
When in doubt, look for the certified GF symbol on the package, not just a “gluten free” marketing claim. Also check your dairy-free milk: oat milk is not safe for celiac disease unless it is certified gluten free.
How to Make Gluten Free Biscuits
Step 1: Prepare the Butter and Buttermilk
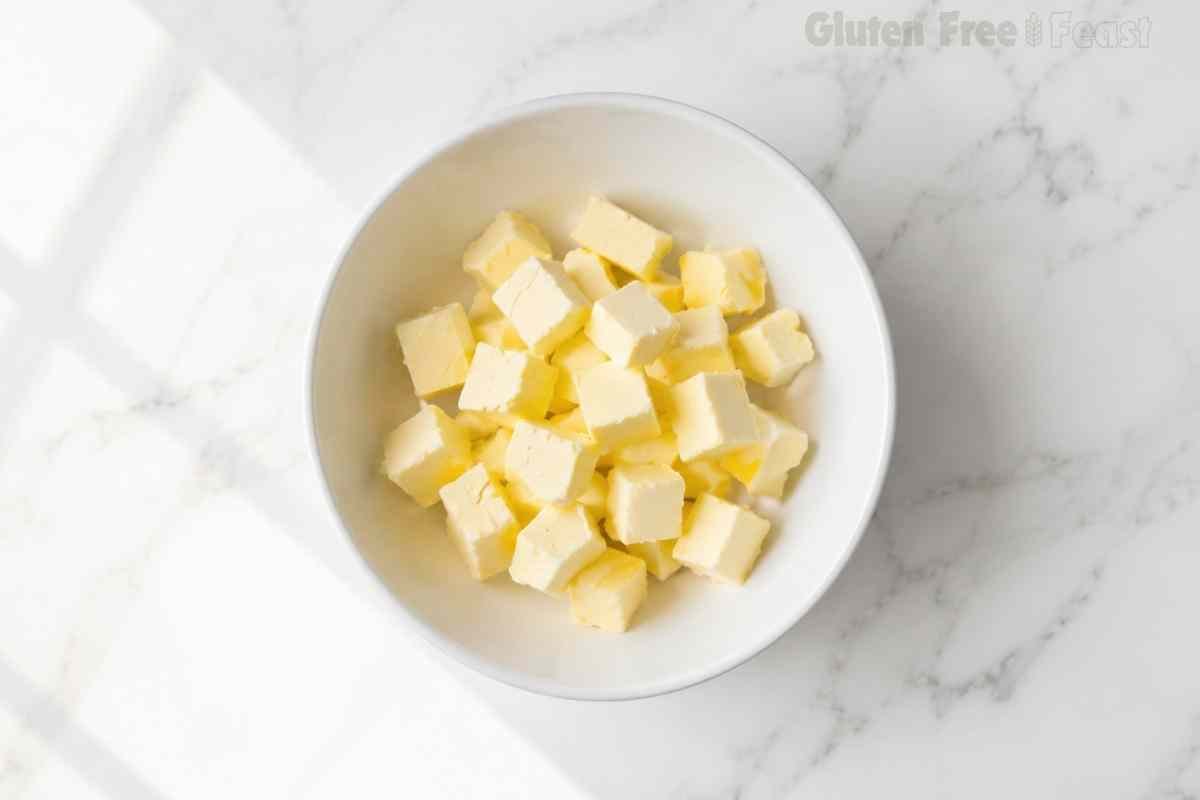
Cut the butter into small pieces and place them in the freezer for 10 minutes. At the same time, if you are making DIY buttermilk, combine your milk and 1 tablespoon of vinegar or lemon juice in a measuring cup and set it in the refrigerator. Both need to stay cold until the moment they hit the flour. Warm butter melts into the flour instead of staying in distinct pieces, and that is what costs you your layers.
Preheat your oven to 450°F (232°C). This high temperature is intentional: the heat sets the biscuits’ structure before they have time to spread, which is how you get height instead of flat rounds.
Step 2: Mix the Dry Ingredients
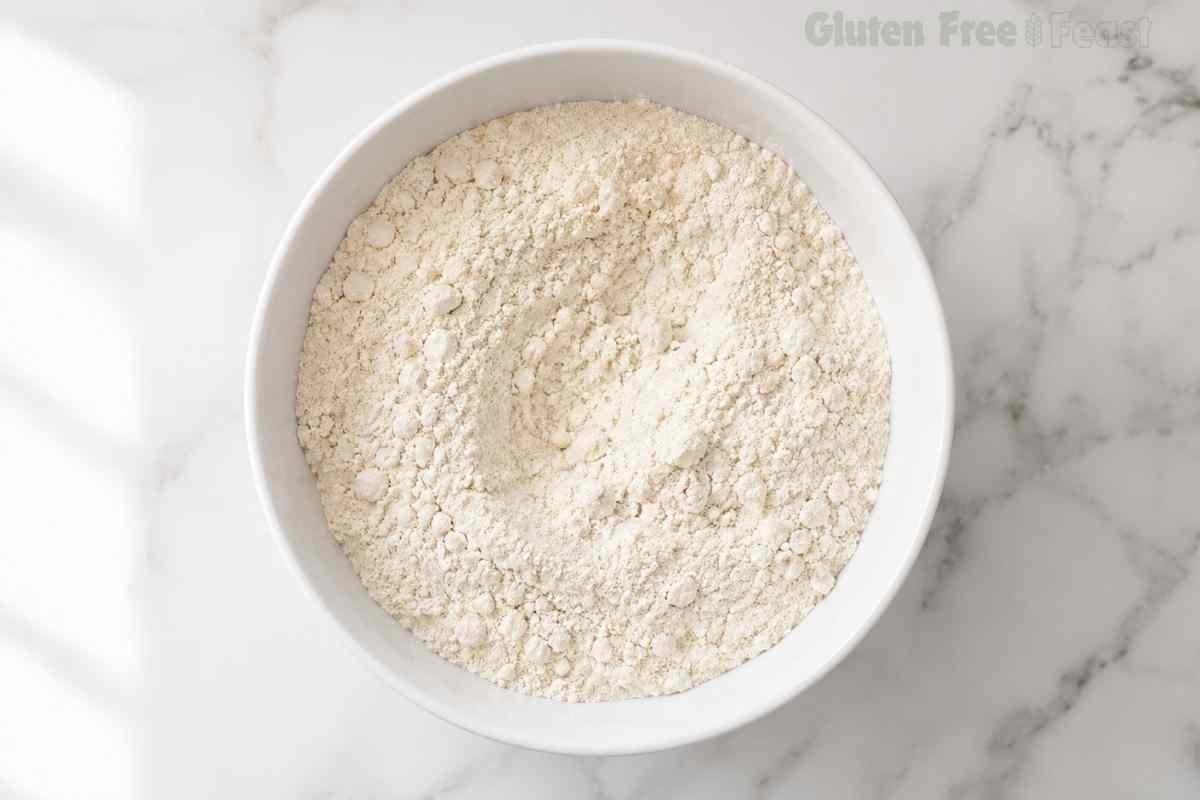
In a large bowl, whisk together the certified gluten-free flour, xanthan gum (if needed), certified gluten-free baking powder, salt, and sugar. A quick 30-second whisk is enough to distribute everything evenly. Do not skip this step: uneven baking powder distribution causes some biscuits to rise and others to sit flat.
Step 3: Cut In the Butter
Add the cold butter pieces to the flour mixture. Use a pastry cutter or a fork to work the butter into the flour until the pieces are roughly the size of small peas. You want visible butter chunks, not a fine, sandy texture.
Those pea-sized pieces are what will steam and create flaky layers during baking. This step takes about 2 minutes and should feel like pressing and cutting, not rubbing.
Step 4: Add the Wet Ingredients
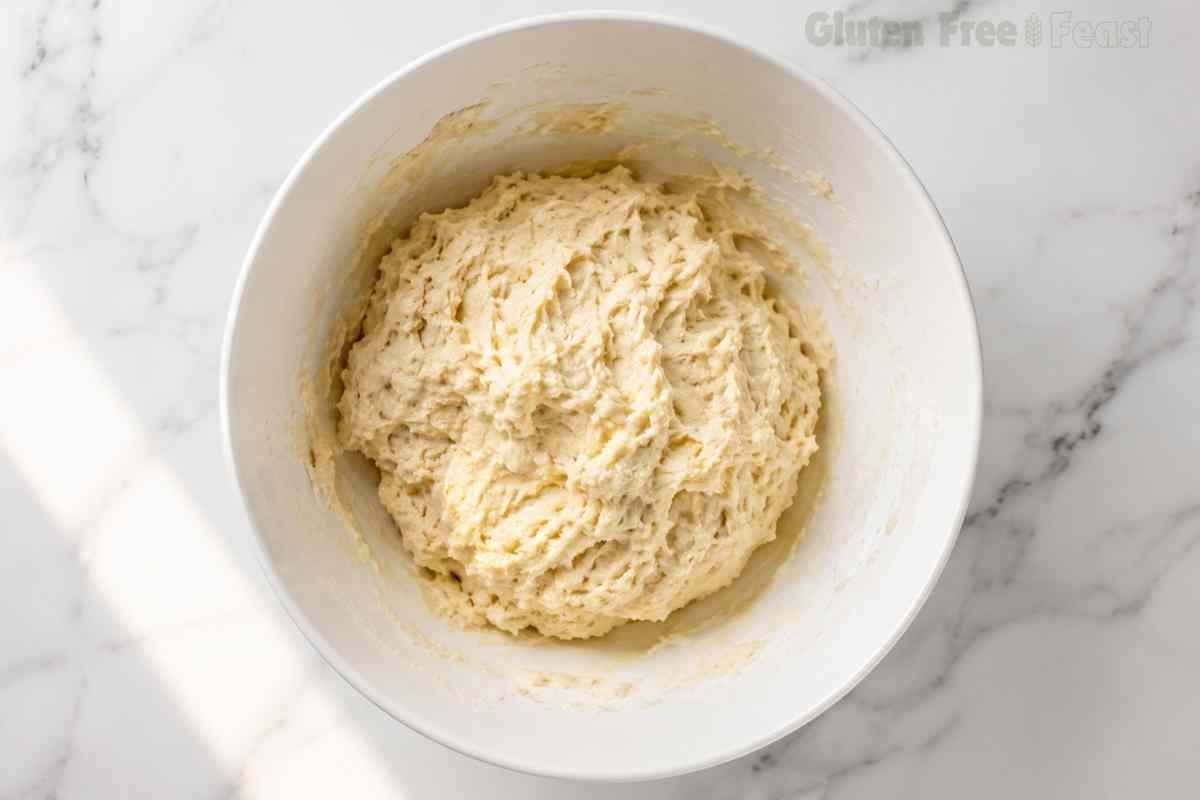
Whisk the egg directly into the cold buttermilk, then pour the mixture into the flour and butter. Stir until a soft, sticky dough just comes together. Stop the moment you do not see dry flour patches: over-mixing activates the starches in GF flour blends and makes the biscuits dense and gummy instead of tender.
The dough will look rougher than you expect. That is correct.
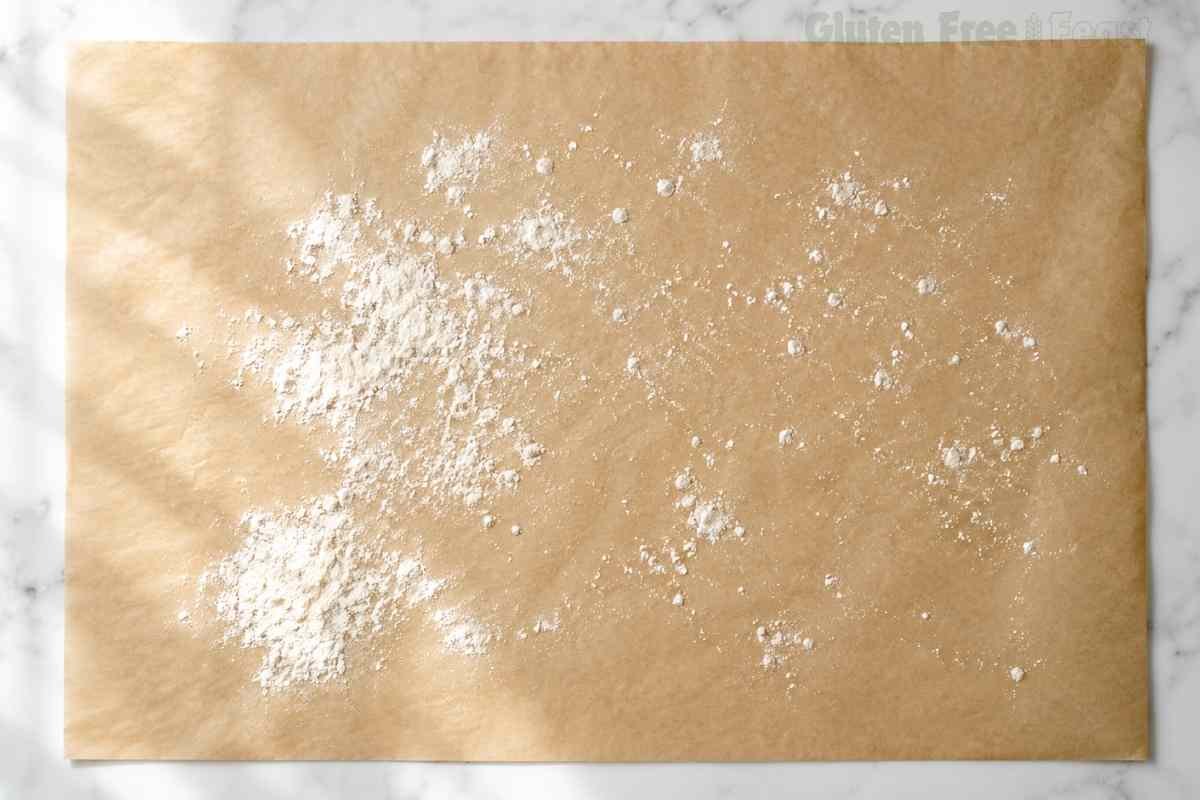
Step 5: Fold and Shape the Dough
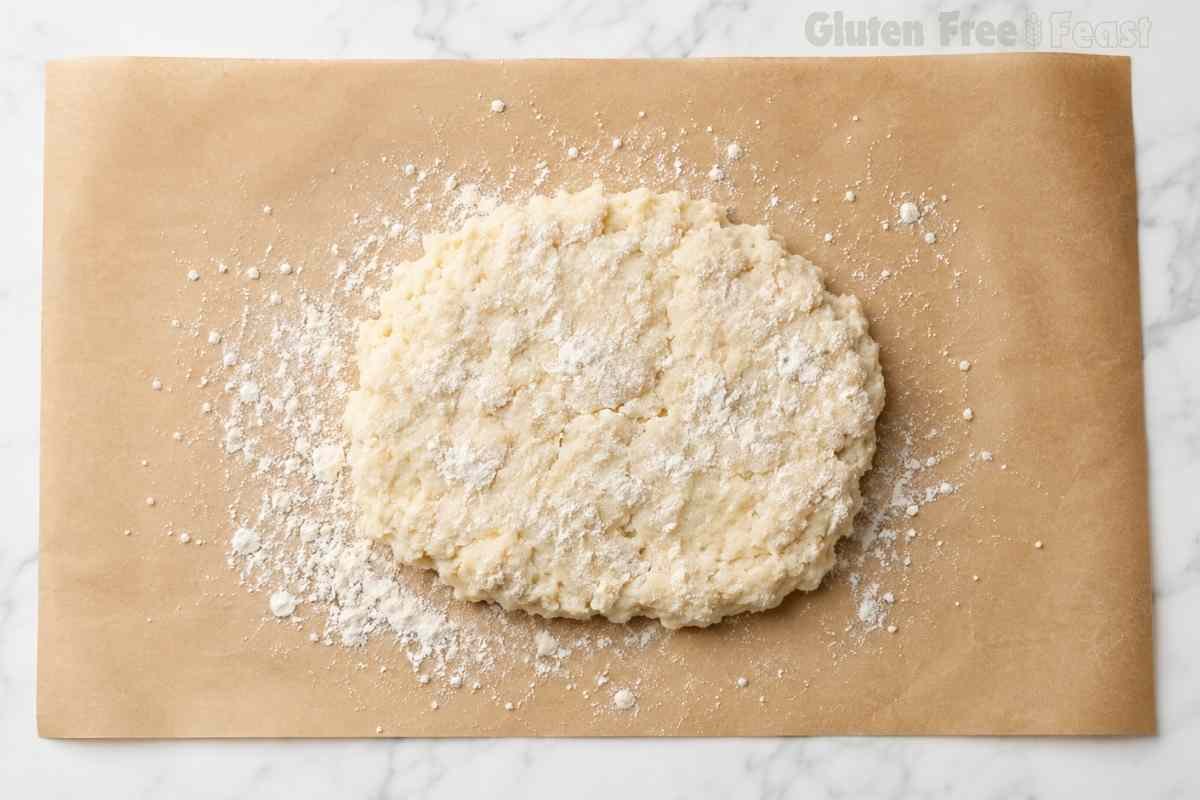
Dust a large piece of parchment paper with 1 tablespoon of flour and turn the dough out onto it. Dust the top of the dough with the remaining tablespoon of flour. Gently fold the dough in half over itself, then fold it in half one more time. Do not roll it out with a rolling pin: rolling compresses the butter shards flat and costs you your layers.
After folding, use your hands to press the dough into a round about 7 inches across and 1 inch thick. Thinner than 1 inch means flat biscuits.
Step 6: Cut and Bake
Cut straight down with a floured 2-inch biscuit cutter, pressing firmly without twisting. Twisting crimps the cut edge and seals the layers together, which prevents the biscuit from rising fully. Press straight down and lift straight up. Gather the scraps, gently press them into a round, and cut again until you have 12 biscuits total.
Place the biscuits on a greased cast iron skillet or baking sheet. Bake for 15 to 20 minutes at 450°F until the tops are deep golden brown. Check at the 15-minute mark, as oven temperatures vary.
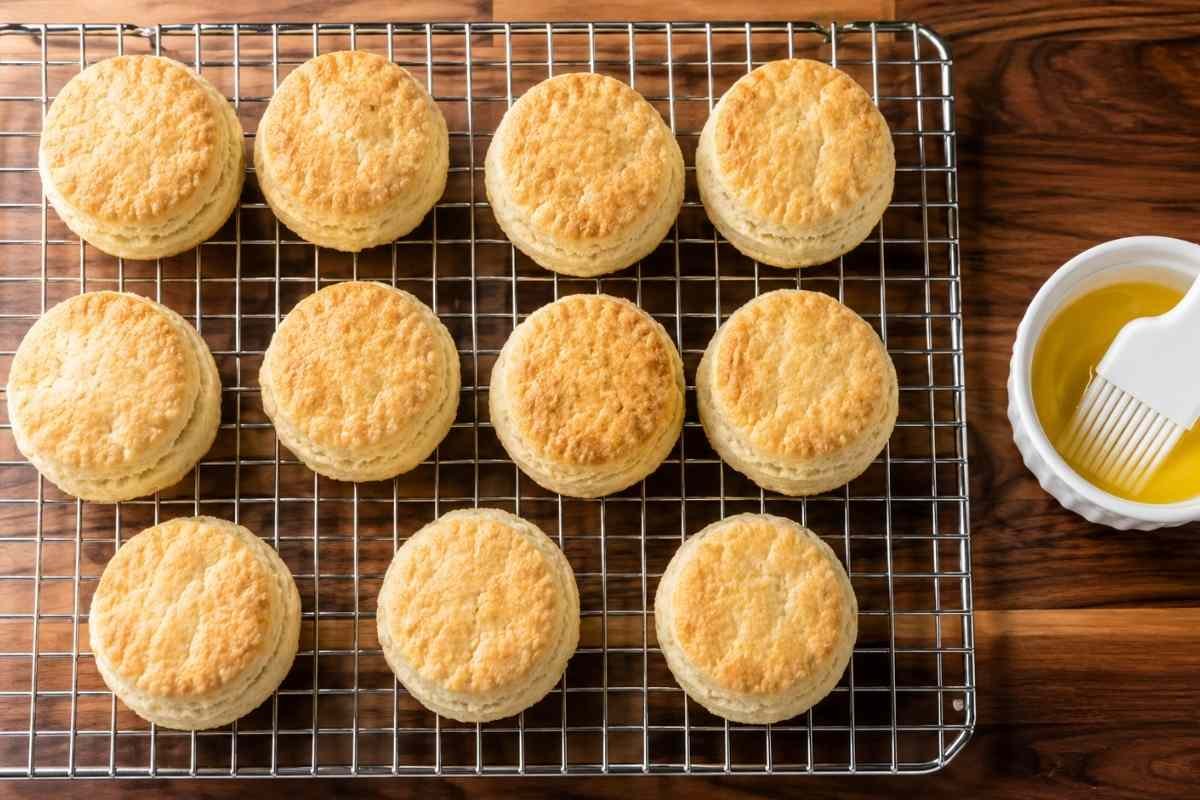
If you like, brush the tops with a little melted butter the moment they come out of the oven. Serve warm.
Expert Tips for Best Results
- Freeze the butter for exactly 10 minutes. Not longer, or it becomes too hard to cut in cleanly. Not shorter, or it softens too fast in your hands. I set a timer every time.
- Do not roll the dough. A rolling pin compresses the butter shards flat and eliminates the distinct layers the fold creates. Your hands and a gentle press are all you need.
- Press the cutter straight down, no twist. This is the single most common mistake. Twisting seals the cut edge shut, and the biscuit cannot rise properly. Press, lift, done.
- Keep everything cold. If your kitchen is warm, work quickly. If the dough starts to feel soft or greasy, put it in the refrigerator for 5 minutes before cutting.
- Use the spoon-and-level method for flour. Spoon the flour into the measuring cup and level it off with a knife. Scooping directly from the bag packs the flour and can add up to 20% more than the recipe needs, which makes the biscuits dry and crumbly.
- Check at 15 minutes. These biscuits can go from golden to overbaked quickly at 450°F. Every oven runs slightly differently. Pull them when the tops are a deep, even gold.
- Use dedicated GF equipment. A GF-only rolling pin if you choose to use one, a GF-only biscuit cutter, and either a new baking sheet or a seasoned cast iron skillet you use exclusively for GF baking. Wooden utensils hold gluten in their grain and are not cleanable enough for celiac-safe cooking.
Substitutions and Variations
Dairy-free biscuits: Replace the butter with Smart Balance, Earth Balance, or plain vegetable shortening. Replace the buttermilk with your preferred dairy-free milk (almond, cashew, or coconut) plus 1 tablespoon of white vinegar. Keep everything cold.
The result is slightly less rich but still very good. Do not use oat milk unless it carries a certified GF label.
Egg-free biscuits: Bob’s Red Mill Gluten Free Egg Replacer is the most reliable swap. Mix it according to the package directions before adding to the buttermilk. The texture will be slightly less golden on top but the structure holds well.
Cheddar herb biscuits: Add ½ cup of shredded sharp cheddar and 1 tablespoon of fresh chives or dried parsley to the dry ingredients before adding butter. The cheese adds enough fat that you may want to reduce the butter by 1 tablespoon. These are exceptional alongside a bowl of soup.
Sorghum-blend flour adjustment: If you are working with Bob’s Red Mill 1-to-1, King Arthur Measure for Measure, Pamela’s, or any blend that contains sorghum, increase the flour to 2½ cups. The sorghum absorbs liquid faster and the standard 2 cups will produce wet, spreading dough.
What to Serve With Gluten Free Biscuits
These biscuits are the kind of thing that makes a whole meal feel more special. Here are the combinations that work best in my kitchen.
- Breakfast plates: Split and topped with scrambled eggs and GF-labeled sausage gravy, these are a full Southern-style breakfast. Pair with a simple fruit salad to balance the richness. For more GF breakfast ideas, browse the GFF Breakfast category.
- Soup and stew: A warm biscuit alongside a thick vegetable stew or chicken soup is one of the most satisfying cold-weather meals. The biscuit soaks up broth perfectly.
- Honey butter: Simply split a warm biscuit and spread with salted butter and a drizzle of honey. This is the version I make when I want something in under a minute.
- Shortcake base: Split cold biscuits, spoon over macerated strawberries and a dollop of whipped cream. A fast summer dessert that uses no extra baking. For more baking recipes that work on the GFF site, visit the GFF Baking category.
- Sandwich biscuits: Fill with sliced ham, a fried egg, and a smear of mustard for a portable breakfast that holds together well thanks to the sturdy structure of this biscuit.
Storage and Make-Ahead Instructions
Room temperature: Store baked biscuits in an airtight container at room temperature for up to 2 days. They are best on day one, but a quick warm-up brings them close to fresh.
Refrigerator: Baked biscuits keep in the refrigerator in an airtight container for up to 4 days. Reheat in a 350°F oven for 5 minutes, or in the microwave for 20 seconds. The oven method keeps the exterior crisp; the microwave is faster but softens the crust.
Freezer (baked): Cool completely, then freeze in a single layer before transferring to a zip-top bag. Baked biscuits freeze well for up to 3 months. Reheat from frozen in a 350°F oven for 10 to 12 minutes.
Freezer (unbaked): This is the make-ahead method I use most. After cutting the biscuits, place them on a parchment-lined sheet and freeze until solid (about 1 hour), then transfer to a freezer bag. Bake from frozen at 450°F, adding 3 to 5 minutes to the baking time. You get fresh-from-the-oven biscuits on demand without any prep work.
Why Trust This Recipe
I develop recipes the same way I approached lab work: with documented testing, controlled variables, and results that hold up in any kitchen, not just mine.
This recipe has been tested multiple rounds in my dedicated gluten free kitchen. I have noted what fails, what works, and why, so you are not just following steps but understanding the process.
What that means for you:
- Multiple test batches before publishing
- Science-based notes on key steps throughout
- Honest substitution guidance, not guesswork
- Safe for celiac disease, with cross-contamination taken seriously at every step
Frequently Asked Questions
How do you store gluten free biscuits?
Baked gluten free biscuits keep at room temperature in an airtight container for up to 2 days, or in the refrigerator for up to 4 days. For longer storage, freeze them after cooling completely: they hold well for up to 3 months and reheat from frozen in a 350°F oven in 10 to 12 minutes. For the best make-ahead results, freeze the cut unbaked biscuits and bake straight from frozen, adding 3 to 5 minutes to the bake time.
How do you make gluten free biscuits fluffy?
Three things drive height in GF biscuits: cold butter, no over-mixing, and a high oven temperature. Cold butter releases steam during baking, which pushes the layers apart. Over-mixing activates the starches in GF flour and makes the dough dense before it even hits the oven.
And 450°F gives the biscuits a fast, strong rise before they can spread flat. The fold method, rather than rolling, also preserves the butter layers that create that pull-apart texture.
Which popular biscuits are gluten-free?
Most store-bought biscuits contain wheat flour and are not gluten-free. Certified gluten-free packaged options include Schar and some Wholly Wholesome varieties, but these are frozen products with a noticeably different texture. For a biscuit that tastes and behaves like a classic Southern biscuit, homemade is the reliable path. This recipe is specifically developed and tested to fill that gap.
What brands of biscuits are gluten-free?
Among packaged options, Schar produces a gluten-free dinner roll that some people use as a biscuit substitute. Wholly Wholesome offers GF frozen biscuits in some regions. Neither replicates the texture of a from-scratch buttermilk biscuit. If you are baking your own, Pillsbury Gluten Free all-purpose flour blend produces the best results in this recipe, and Bob’s Red Mill Gluten Free Baking Powder is the certified-GF leavener I recommend.
Can I make these gluten free biscuits dairy-free?
Yes. Replace the butter with Earth Balance or Smart Balance (kept cold), and make dairy-free buttermilk by stirring 1 tablespoon of white vinegar into 1 cup of almond, cashew, or coconut milk. Let it sit for 5 minutes before using. Avoid oat milk unless it carries a certified gluten-free label, as standard oat milk is processed in facilities that handle wheat.
Why is my gluten free biscuit dough so sticky?
Sticky dough is normal and expected with this recipe. GF flour blends absorb liquid more slowly than wheat flour, so the dough feels wetter at first. Resist the urge to add more flour: extra flour makes the biscuits dry and crumbly. Dusting the parchment paper and the top of the dough with the 2 tablespoons called for in the recipe gives you enough surface to work without changing the hydration of the dough itself.
Final Thoughts
These gluten free buttermilk biscuits are the recipe I come back to whenever I need something that feels genuinely homemade and genuinely satisfying. The technique is simple once you know why each step matters, and the result is a biscuit that stands up to any comparison. Make a batch this weekend, and freeze half unbaked so you have them ready on a weeknight when you need them most.
")
")
