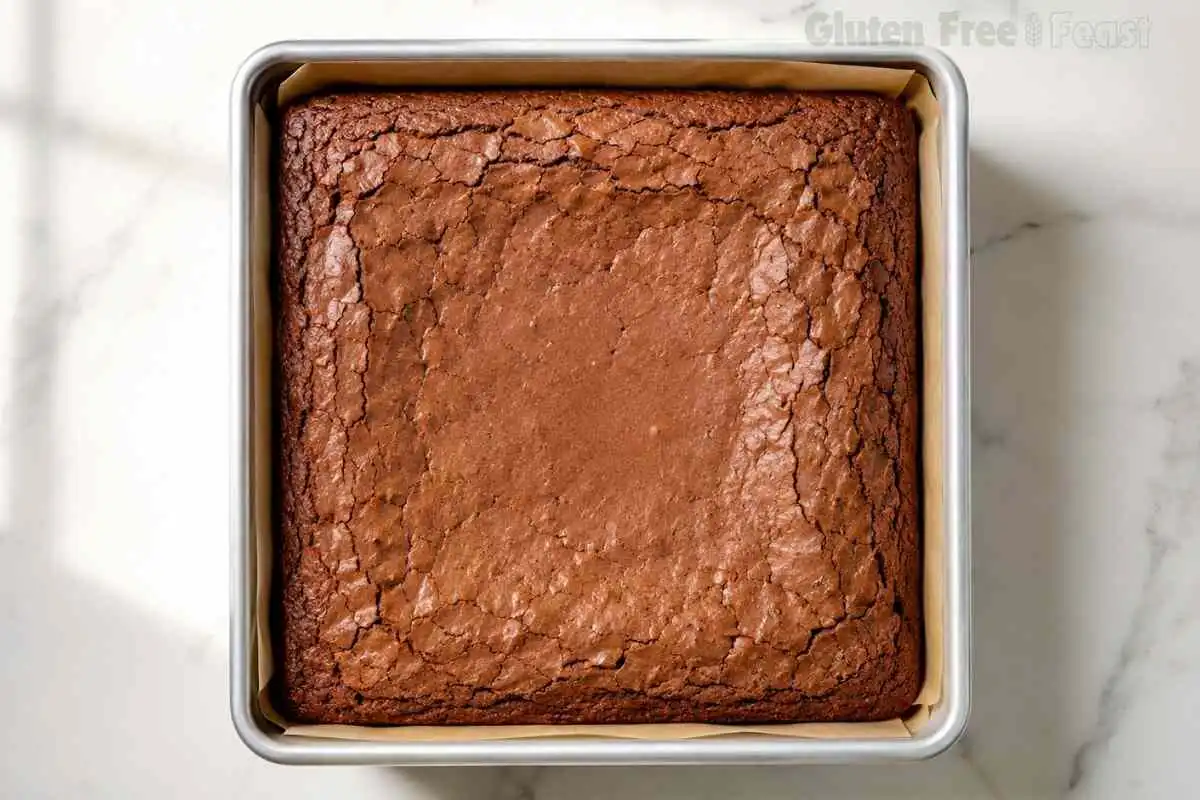
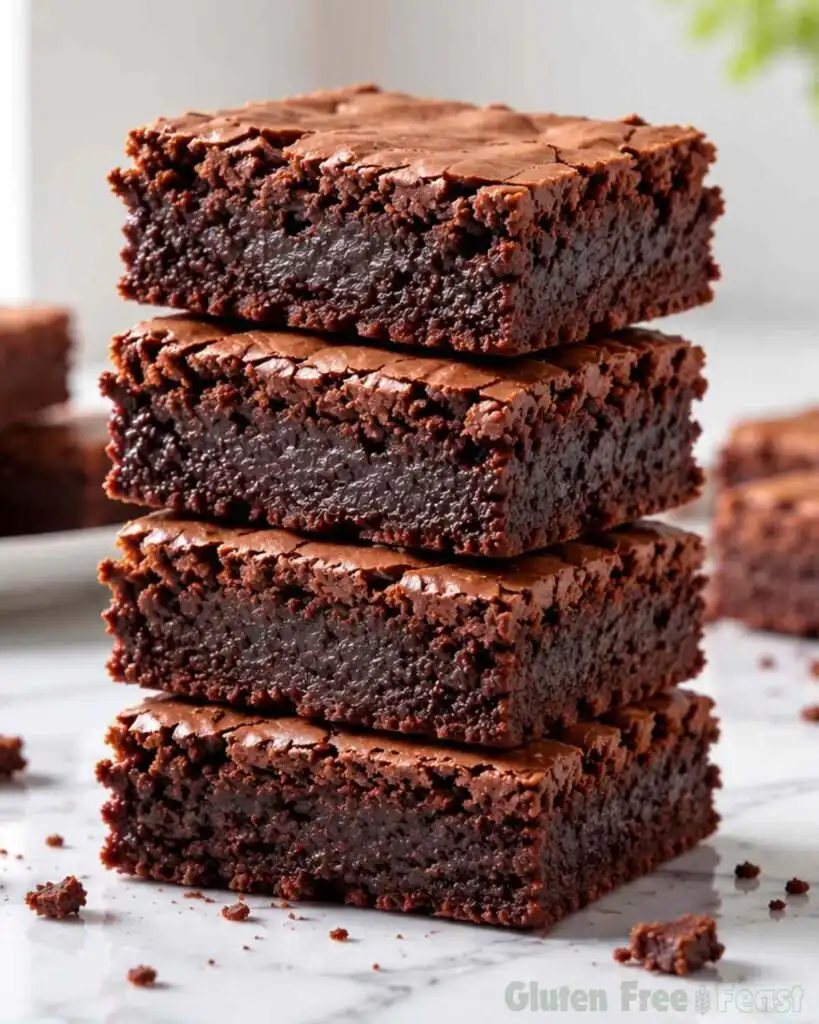
These gluten free brownies are fudgy in the center, crackly on top, and made entirely with GFCO-certified ingredients. That means they are genuinely safe for celiac disease, not just labeled gluten free. The recipe comes together in one bowl and bakes in 40 minutes.
I have tested this recipe multiple times in my dedicated gluten-free kitchen. The version here is the one that earned a permanent spot in my rotation.
What sets it apart is not just the result but how it gets there. Every flagged ingredient carries a third-party GFCO certification, not just an FDA gluten-free claim. If you have been burned by gummy, dry, or flat gluten free brownies before, the fix is in the details below.
Key takeaways
These gluten free brownies bake at 350°F (175°C) for 30 to 35 minutes and yield 9 fudgy, crackly-topped squares made with GFCO-certified ingredients throughout: King Arthur Measure for Measure Gluten-Free Flour, Bob’s Red Mill Unsweetened Cocoa Powder and Baking Soda, and Nielsen-Massey Pure Vanilla Extract. The crackly top is produced by dissolving both sugars in warm melted butter before adding the eggs, which causes sucrose to partially break down and bond with the fat, then solidify on the surface during baking. Bob’s Red Mill natural (undutched) cocoa reacts with the baking soda to create just enough lift for a fudgy interior without turning the texture cakey. A dairy-free version using Miyoko’s Creamery European Style Plant Milk Butter (GFCO Certified, cashew milk SKU) substitutes 1:1 with no change to bake time.
Prep Time: 10 mins · Cook Time: 30 mins · Total Time: 40 mins · Yield: 9 brownies
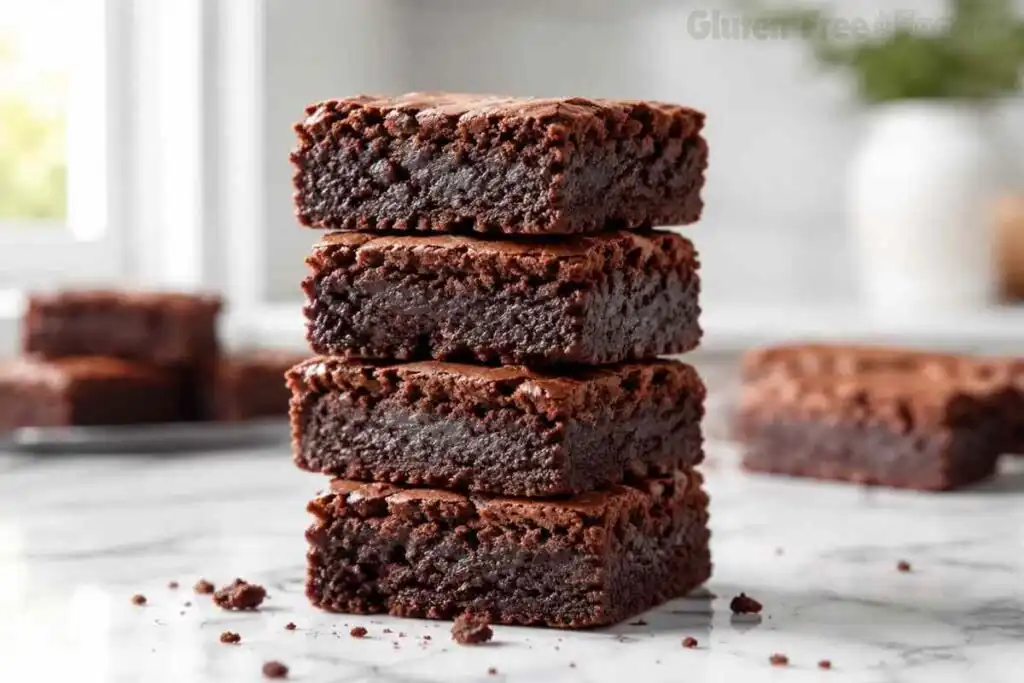
Table of Contents
Why You Will Love This Gluten Free Brownies Recipe
- Every ingredient is GFCO certified: King Arthur Measure for Measure flour, Bob’s Red Mill cocoa and baking soda, Nielsen-Massey vanilla. Third-party certification, not just a marketing label.
- Fudgy center, crackly top: the two-sugar method and the baking soda-plus-natural-cocoa reaction produce the texture combination that most gluten free brownie recipes cannot quite land.
- One bowl, 40 minutes: no melting chocolate separately, no stand mixer, no resting the batter. Mix, bake, cool, cut.
- Gram weights included: every ingredient has both volume and weight measurements so your results are consistent regardless of how you scoop your flour.
- Fully tested dairy-free option: Miyoko’s Creamery European Style Plant Milk Butter (GFCO Certified, cashew milk SKU) swaps in 1:1 with no change to bake time.
- A dedicated cross-contamination section: because celiac safety does not end at the ingredient list.
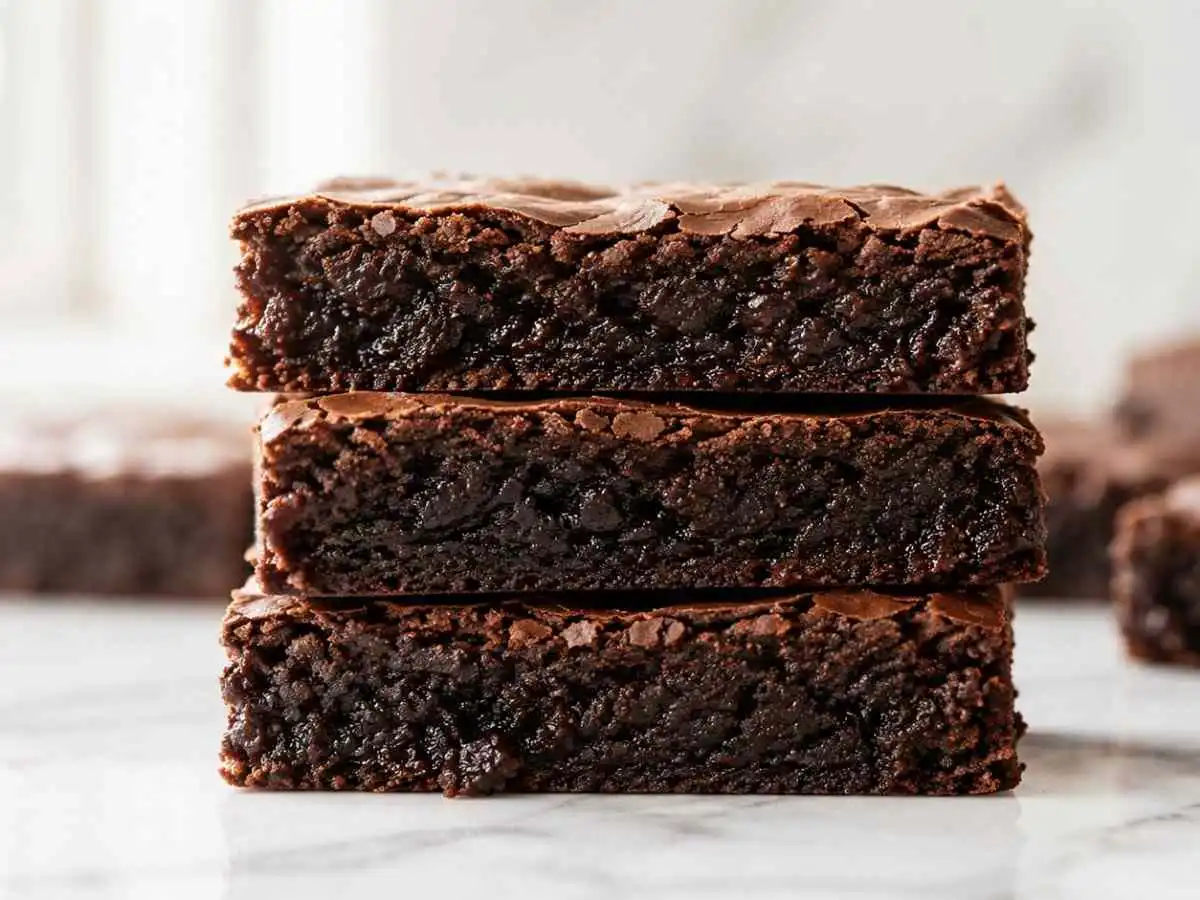

Gluten Free Brownies
Ingredients
Equipment
Method
- Preheat your oven to 350°F (175°C). Line an 8-inch square pan with parchment paper, leaving overhang on two sides for easy removal.
- Melt the butter and let it cool for 2 minutes. Whisk in both sugars and the vanilla until smooth and slightly glossy, about 60 seconds. Add the eggs one at a time, whisking each fully before adding the next. Whisk for an additional 30 to 45 seconds after both eggs are incorporated.
- In a small bowl, whisk together the King Arthur GF flour, Bob’s Red Mill cocoa powder, Bob’s Red Mill baking soda, and salt. Fold the dry ingredients into the wet mixture with a silicone spatula just until no dry streaks remain. Do not overmix.
- Spread the batter evenly into the prepared pan. Bake for 30 to 35 minutes. At the 30-minute mark, insert a toothpick into the center; it should come out with a few moist crumbs, not wet batter and not clean. Cool completely in the pan before lifting out with the parchment and cutting into 9 squares.
Nutrition
Notes
Gluten-Free Note
Tried this recipe?
Let us know how it was!Ingredients
Wet Ingredients
- 113 g (½ cup) unsalted butter, melted
- 150 g (¾ cup) granulated sugar
- 110 g (½ cup) light brown sugar, packed
- 2 large eggs, room temperature
- 15 ml (1 tablespoon) Nielsen-Massey Pure Vanilla Extract (GFCO Certified)
Dry Ingredients
- 105 g (¾ cup) King Arthur Measure for Measure Gluten-Free Flour (GFCO Certified)
- 45 g (½ cup) Bob’s Red Mill Unsweetened Cocoa Powder (GFCO Certified)
- ½ teaspoon Bob’s Red Mill Baking Soda (GFCO Certified)
- ½ teaspoon fine sea salt
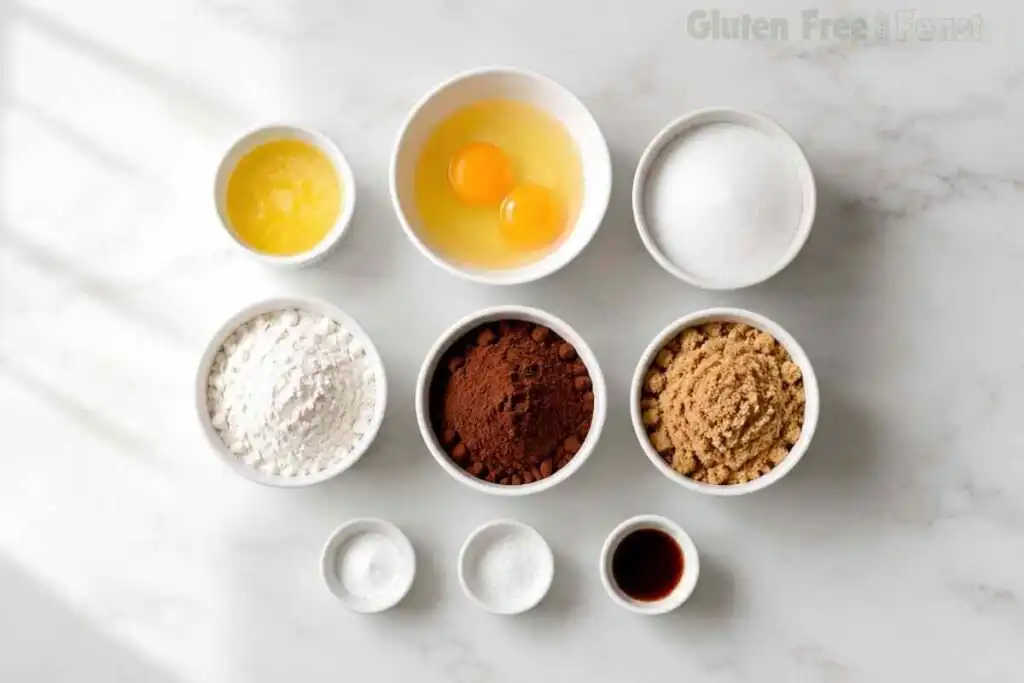
Ingredient Notes and Substitutions
King Arthur Measure for Measure Gluten-Free Flour (GFCO Certified): This is the tested flour for this recipe. It already contains xanthan gum, which is essential; without a binder, the brownies will crumble instead of holding their fudgy structure. Do not substitute Pillsbury Gluten Free flour. Pillsbury’s GF line is manufactured on shared equipment and does not carry GFCO third-party certification.
Bob’s Red Mill Unsweetened Cocoa Powder (GFCO Certified): Use the natural, undutched variety. Natural cocoa is mildly acidic, and that acidity reacts with the baking soda to create just enough lift without turning the texture cakey. Dutch-process cocoa is pH-neutralized, so the leavening reaction is reduced and the texture shifts. Bob’s Red Mill Unsweetened Cocoa is GFCO certified; many store-brand cocoa powders are not.
Nielsen-Massey Pure Vanilla Extract (GFCO Certified): Imitation vanilla can contain gluten derivatives. Nielsen-Massey was among the first extract brands to receive GFCO certification. One tablespoon is not a typo; the chocolate-forward flavor profile needs that much vanilla to come through.
Bob’s Red Mill Baking Soda (GFCO Certified): Shared-facility risk exists with other baking soda brands. Bob’s Red Mill Baking Soda carries GFCO certification and is worth specifying. The ½ teaspoon is calibrated to the natural cocoa’s acidity; do not increase it or the brownies will taste alkaline.
Butter: Dairy-free swap: Miyoko’s Creamery European Style Plant Milk Butter, unsalted (GFCO Certified), at a 1:1 substitution. Specify the cashew milk SKU. The oat milk variety contains oats and is not safe for celiac disease.
Celiac Safety Note: Please ensure all packaged ingredients carry a GFCO-certified label. Check specifically: GF flour (King Arthur Measure for Measure), cocoa powder and baking soda (Bob’s Red Mill), and vanilla extract (Nielsen-Massey). If using the dairy-free swap, verify you have the Miyoko’s Creamery cashew milk SKU, not the oat milk variety. Cross-contamination at packaging facilities is a real risk for people with celiac disease.
How to Make Gluten Free Brownies
Step 1: Prepare Your Pan and Preheat
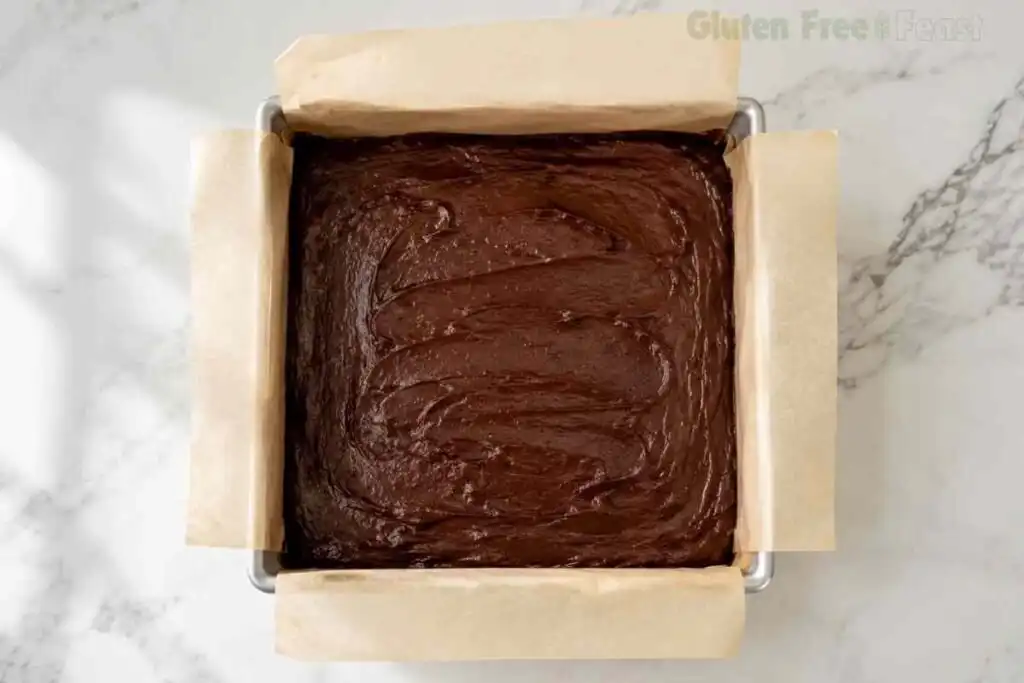
Preheat your oven to 350°F (175°C). Line an 8-inch square pan with parchment paper, leaving overhang on two sides for easy removal. That overhang is how you lift the whole slab out cleanly after baking and cut squares without pulling the brownies apart in the pan.
Step 2: Mix the Wet Ingredients
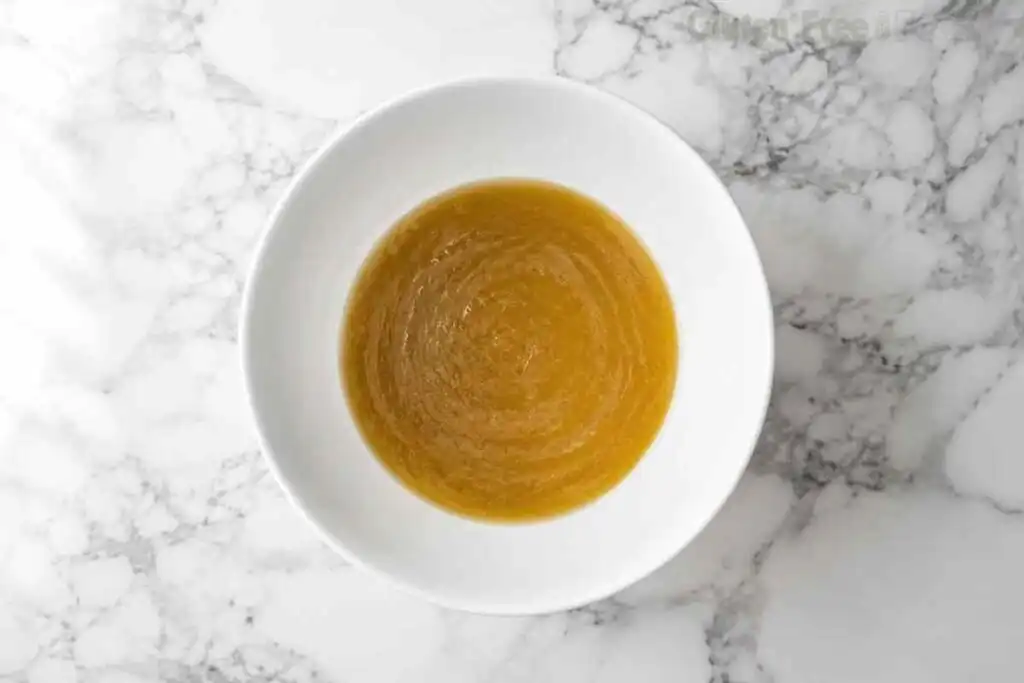
Melt the butter and let it cool for two minutes. Whisk in both sugars and the vanilla until smooth and slightly glossy, about 60 seconds. Add the eggs one at a time, whisking each fully before adding the next, then whisk for another 30 to 45 seconds.
The batter will lighten slightly in color and become more cohesive. This is the moment that builds your crackly top.
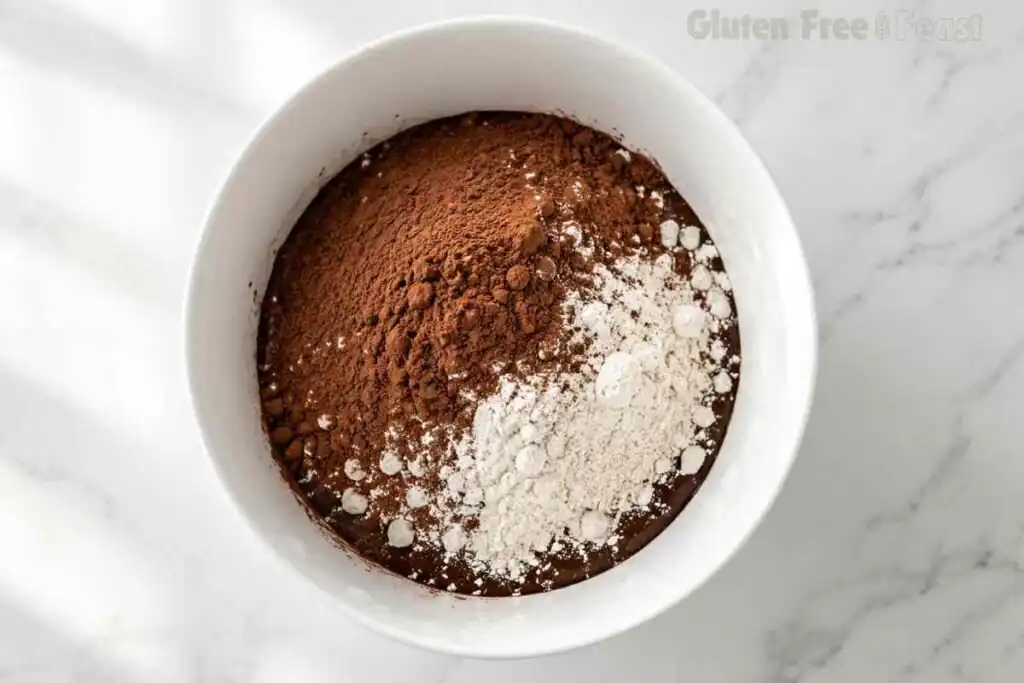
Step 3: Add the Dry Ingredients
Whisk the King Arthur GF flour, Bob’s Red Mill cocoa, Bob’s Red Mill baking soda, and salt together in a small bowl. Fold them into the wet mixture with a silicone spatula just until no dry streaks remain. Stop there. Over-mixing activates the xanthan gum and makes the batter gummy before it even hits the oven.
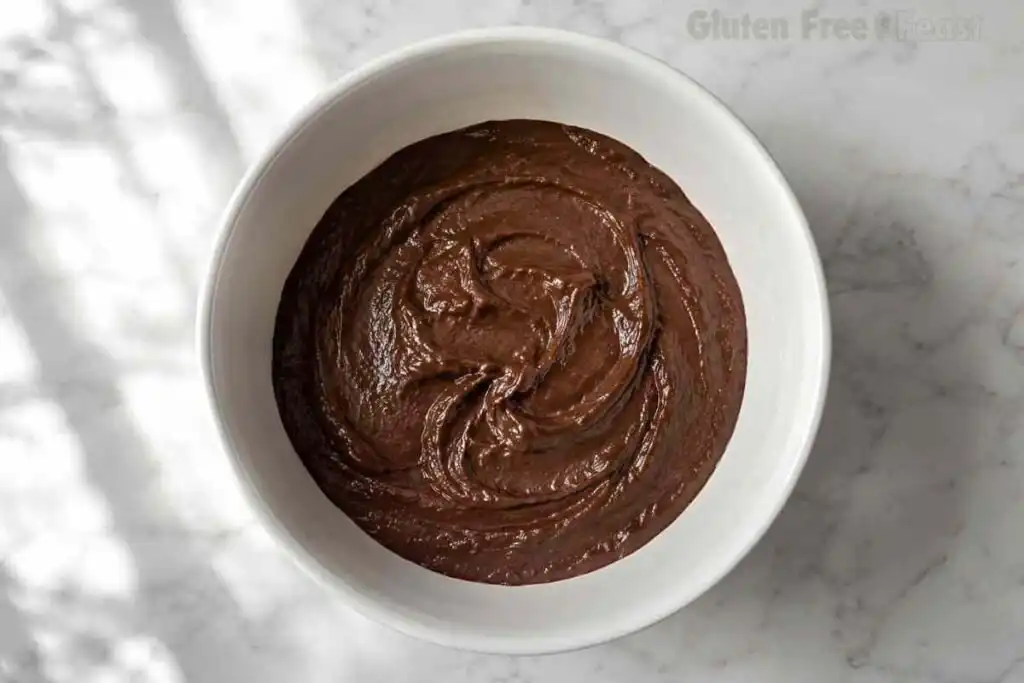
Step 4: Bake and Cool
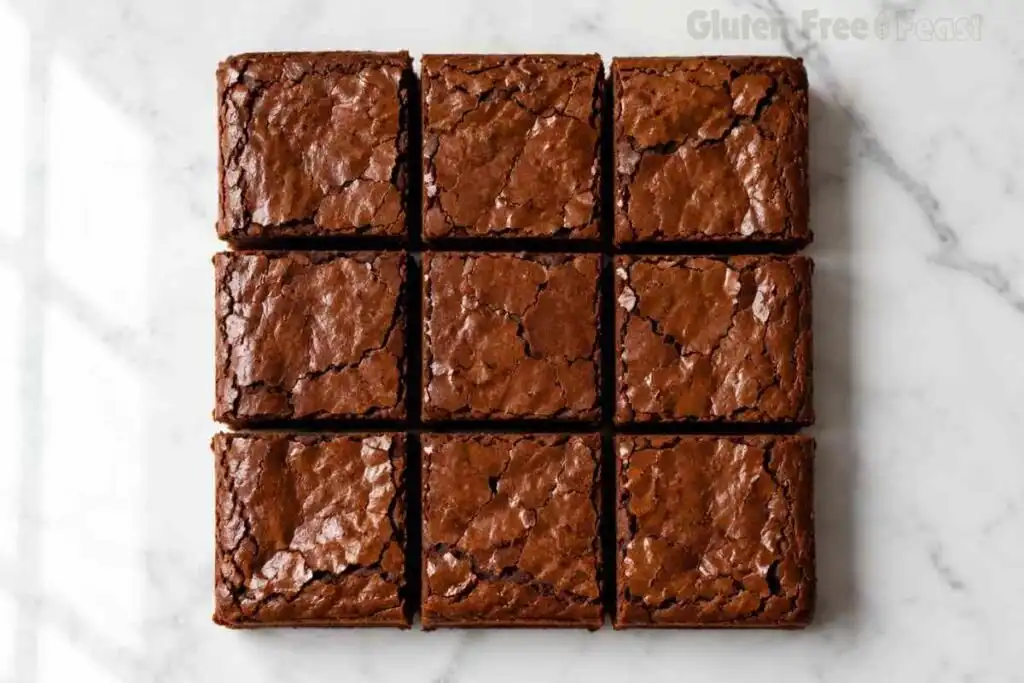
Spread the batter evenly into the prepared pan. Bake for 30 to 35 minutes. At the 30-minute mark, insert a toothpick into the center; it should come out with a few moist crumbs, not wet batter and not clean. Cool completely in the pan before lifting out and cutting into 9 squares.
Expert Tips for Best Results
- Dissolve the sugars in warm butter before adding the eggs. When granulated sugar dissolves into warm melted butter, the sucrose molecules partially break down and bond with the fat. During baking, that sugar-fat mixture rises to the surface and solidifies into the crinkled crust. Cold butter or oil substitutions prevent this entirely.
- Use room temperature eggs. Cold eggs added to warm butter can cause the fat to seize and separate. Set your eggs out 20 to 30 minutes before starting, or place them in a bowl of warm water for 5 minutes.
- Pull on moist crumbs, not a clean toothpick. This is the most common reason gluten free brownies come out dry. The center continues cooking in the pan after it leaves the oven. A clean toothpick at 30 minutes means you have already gone past fudgy.
- Metal pan over glass. Metal conducts heat faster and more evenly, giving the edges a slight crispness while the center stays fudgy. If glass is all you have, reduce the oven temperature to 325°F and start checking at the 25-minute mark.
- Do not substitute Dutch-process cocoa. The baking soda in this recipe is calibrated to react with natural cocoa’s mild acidity. Dutch-process cocoa is pH-neutralized, so the leavening reaction is reduced and the texture becomes denser.
- Use dedicated GF equipment. Wooden spoons and scratched non-stick pans embed gluten proteins at a level that cannot be washed out. Use silicone spatulas and a parchment-lined pan reserved for GF baking.
Celiac Cross-Contamination: What You Need to Know
Certified ingredients are the starting point, not the finish line. For people with celiac disease, the way these brownies are made matters as much as what goes into them. I bake in a dedicated gluten-free kitchen, which means none of my equipment has ever touched wheat flour.
If you bake in a shared kitchen, here is what to check before you start. Wooden spoons absorb gluten into their grain and cannot be washed to a safe level; use silicone or stainless steel only. Scratched non-stick pans trap gluten proteins in the surface damage; line any shared pan with fresh parchment or use a pan reserved for GF baking. Use paper towels instead of shared cloth towels for drying your hands and workspace.
These steps matter because celiac disease is triggered by trace amounts of gluten. The ingredient list being GFCO certified does not protect against a wooden spoon that mixed wheat-based batter last week.
Substitutions and Variations
Dairy-free: Replace the butter with Miyoko’s Creamery European Style Plant Milk Butter, unsalted (GFCO Certified), at a 1:1 substitution. The cashew milk SKU is GFCO certified; the oat milk variety is not safe for celiac disease. Bake time and texture are nearly identical to the dairy version.
Chocolate chip mix-in: Fold in ½ cup of Enjoy Life Semi-Sweet Mini Chips (GFCO Certified) at the end of Step 3. Do not use Guittard chocolate chips; they are not GFCO certified.
Espresso depth: Add 1 teaspoon of instant espresso powder to the dry ingredients. It deepens the chocolate flavor without adding a coffee taste.
Fleur de sel finish: Sprinkle a pinch of fleur de sel over the batter right before the pan goes into the oven. The salt contrast against the bittersweet cocoa is worth doing at least once.
GF flour backup: If King Arthur Measure for Measure is unavailable, Bob’s Red Mill 1-to-1 Gluten-Free Flour is a reliable GFCO-certified alternative. Avoid any blend without xanthan gum.
What to Serve With Gluten Free Brownies
These brownies are good on their own, but a few pairings take them somewhere else entirely.
- Vanilla ice cream: The contrast between a warm brownie and cold ice cream is the obvious choice. Look for a GF-labeled brand; most premium vanilla ice creams are naturally gluten free, but check the label for any mix-ins that could be a risk.
- Fresh raspberries or strawberries: The tartness cuts through the richness cleanly and keeps the serving from feeling heavy.
- Whipped cream: A simple dollop of unsweetened or lightly sweetened whipped cream lets the brownie stay in front. Heavy cream is naturally gluten free.
- With a GF breakfast spread: A brownie alongside coffee is a legitimate breakfast in this kitchen. For other morning recipes, browse GFF gluten free pancakes or the GFF gluten free blueberry muffins.
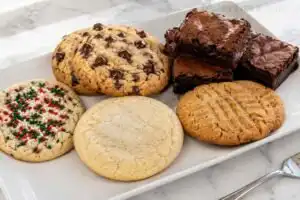
- As part of a GF dessert plate: These brownies pair well alongside GFF gluten free peanut butter cookies or GFF gluten free sugar cookies. Same baking session, two different textures on one plate.
- Brownie sundae: Warm a square for 15 seconds in the microwave, add a scoop of ice cream, and drizzle with a GF-labeled chocolate sauce.
Storage and Make-Ahead Instructions
Room temperature: Store in an airtight container for up to 3 days. Layer parchment between squares to prevent sticking.
Refrigerator: Keeps well for up to 1 week in an airtight container. Cold brownies become denser and almost truffle-like. Let them sit at room temperature for 10 to 15 minutes before serving if you want the interior to soften.
Freezer: Wrap individual squares in plastic wrap, then place in a zip-top freezer bag. They freeze well for up to 3 months. Thaw in the refrigerator overnight or at room temperature for about an hour. Individual wrapping matters; squares frozen together in a stack break when you try to separate them.
Make-ahead: Spread the batter into the prepared pan and refrigerate uncovered for up to 1 hour before baking. Add 2 to 3 minutes to the bake time and start checking at the 32-minute mark.
Why Trust This Recipe
I develop recipes the same way I approached lab work: documented testing, controlled variables, results that hold up in any kitchen.
This recipe has been tested multiple rounds in my dedicated gluten-free kitchen. I documented what fails and what works at each variable: baking soda versus baking powder, 8×8 versus 9×9 pan, and two-sugar versus single-sugar methods.
What that means for you:
- Multiple test batches before publishing
- Science-based notes on key steps throughout
- Honest substitution guidance, not guesswork
- Safe for celiac disease, with cross-contamination taken seriously at every step
Frequently Asked Questions
What flour is best for gluten free brownies?
Use a GFCO-certified all-purpose gluten free flour blend that contains xanthan gum. King Arthur Measure for Measure Gluten-Free Flour (GFCO Certified) produces consistently fudgy results in this recipe. Without xanthan gum, the brownies crumble rather than hold their structure. Avoid Pillsbury Gluten Free flour, which is manufactured on shared equipment and does not carry GFCO certification.
Is Bob’s Red Mill or King Arthur gluten free flour better for brownies?
Both are GFCO certified and work well in brownies. King Arthur Measure for Measure tends to produce a slightly finer crumb and is the tested choice for this recipe. Bob’s Red Mill 1-to-1 Gluten-Free Flour is a reliable backup if King Arthur is unavailable. Never substitute a blend that does not contain xanthan gum.
What makes brownies fudgy versus cakey?
The fat-to-flour ratio is the main lever. More butter and less flour produces a dense, fudgy brownie; more flour or baking powder shifts the texture toward cakey. In this recipe, the dual-sugar method and the baking soda-plus-natural-cocoa reaction create just enough lift to avoid gumminess. Do not add extra flour to stiffen the batter.
What is the secret to fudgy gluten free brownies?
Two things. First, dissolve both sugars in warm melted butter before adding the eggs; this partial breakdown of sucrose crystals is what produces the crackly, crinkled top. Second, pull the brownies when the toothpick comes out with a few moist crumbs, not when it is clean. Carryover cooking finishes the center, and a clean toothpick at 30 minutes means you have already gone past fudgy.
Is it better to bake brownies in glass or metal?
Metal is better for this recipe. Metal pans conduct heat faster and more evenly, giving the edges a slight crispness while the center stays fudgy. Glass heats slowly and retains heat longer, which risks overbaking the edges before the center sets properly. If glass is all you have, reduce the oven temperature to 325°F and start checking at the 25-minute mark.
What can you add to gluten free brownie mix to make it better?
A teaspoon of instant espresso powder deepens the chocolate flavor without adding a coffee taste. A pinch of fleur de sel right before baking adds contrast. Fold in Enjoy Life Semi-Sweet Mini Chips (GFCO Certified) or toasted walnuts for texture. If working from a boxed GF brownie mix, replace the oil with melted butter at a 1:1 ratio for a richer, fudgier result.
Final Thoughts
These gluten free brownies are the recipe I reach for when I want something that tastes genuinely homemade and holds up to every test. The GFCO-certified ingredients, the one-bowl method, and the science behind the crackly top are all in the same recipe. Make a batch this week and freeze half the squares individually so you have them ready whenever you need them.