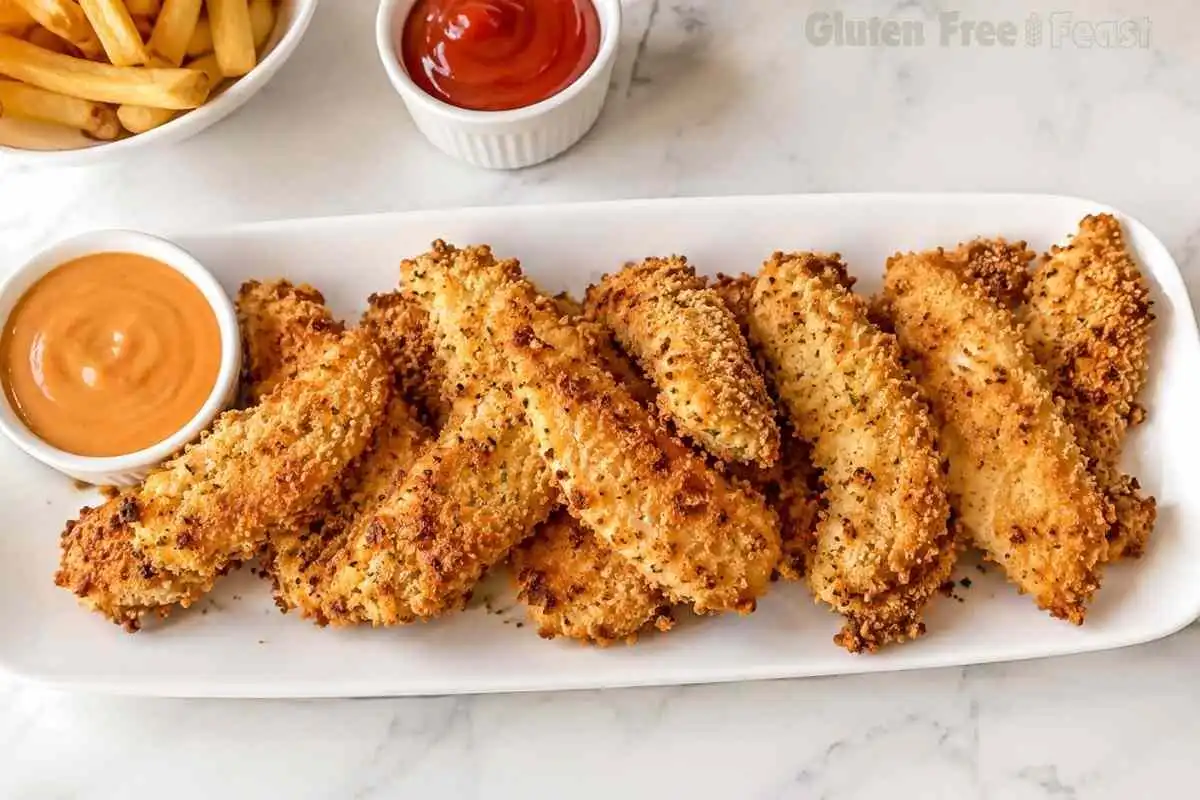
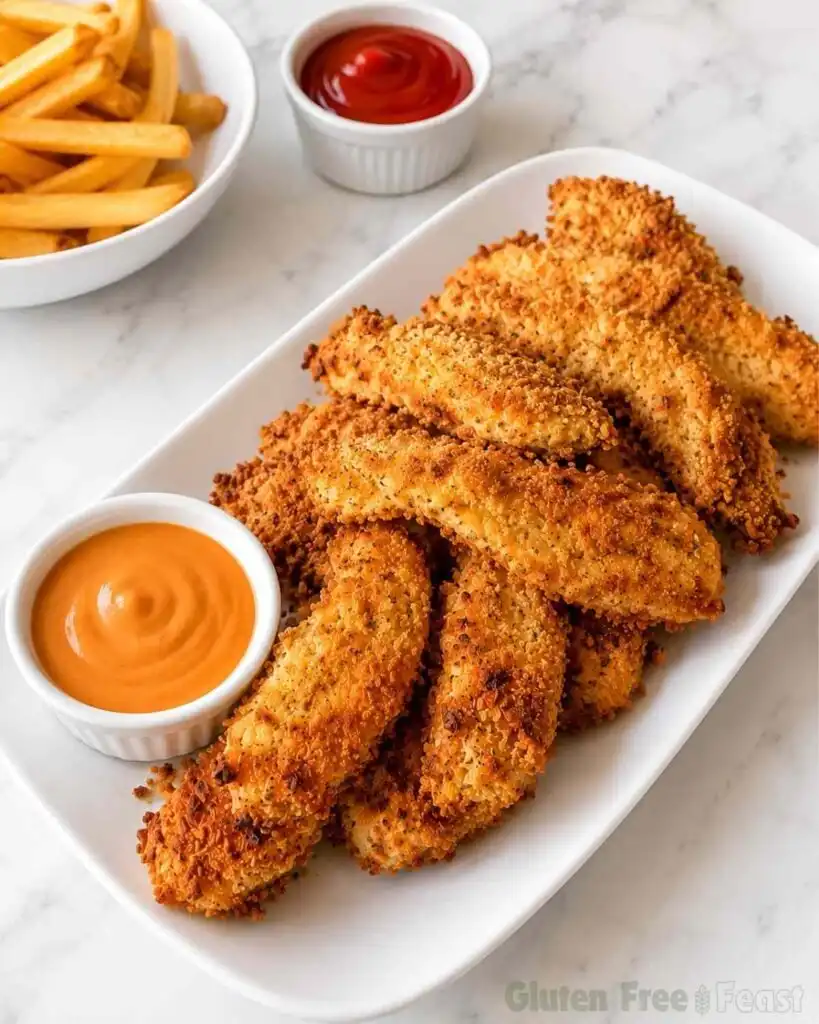
There is a particular sound I listen for when I test chicken tenders. It is the dry crackle of panko when you press a finger into the crust. These gluten free chicken tenders hit that sound every time, with a coating that shatters slightly before giving way to juicy chicken underneath. My nephew, who is not celiac but is a notoriously picky eater, asked for seconds before he even dipped the first one in sauce.
I built this recipe around one goal: a baked tender that tastes like it came from a fryer, without the fryer. Every ingredient is one a celiac household never has to second-guess. I tested the coating rest time at five, ten, and fifteen minutes. Ten minutes produced the least coating loss during baking, a detail most recipes skip entirely.
This is a fast, kid-friendly weeknight dinner. It pairs well with my gluten free chicken noodle soup on a night when you want two chicken dinners in your back pocket.
Maybe you have been burned before by gluten free chicken tenders that turned soggy on the bottom. Or ones that fell apart the moment they hit a plate. The fix is simpler than you would think. It comes down to two things: what you coat the chicken with, and how you bake it.
Key takeaways
These gluten free chicken tenders bake at 400°F for 15 to 18 minutes and are ready in 33 minutes total, using King Arthur Gluten-Free All-Purpose Flour and Kikkoman Gluten-Free Panko, both certified gluten free by GFCO. A 10-minute coating rest lets the egg mixture set against the chicken, which is what keeps the panko from sliding off during baking.
Baking on an elevated wire rack, rather than directly on a sheet pan, lets hot air circulate underneath each tender so the crust stays crisp on every side without flipping. The recipe is celiac-safe when all flagged ingredients carry a certified GF label, and includes a lower-carb almond flour variation, a no-breadcrumb dredge-only option, and a tested air fryer method for the same 165°F finished temperature.
Prep Time: 15 mins · Cook Time: 18 mins · Total Time: 33 mins
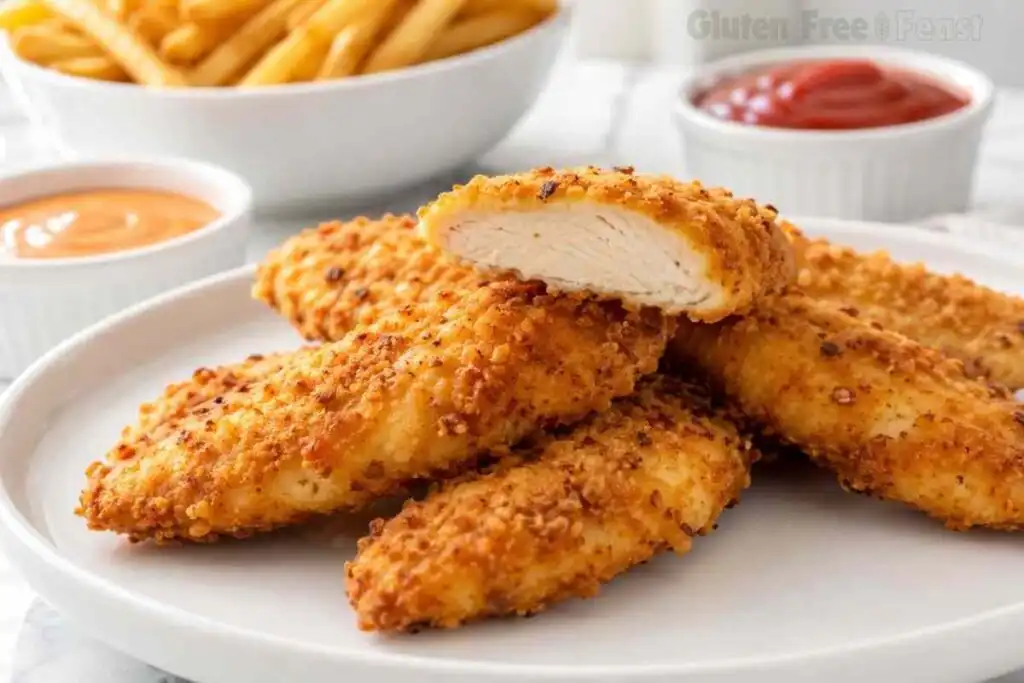
Table of Contents
Why You Will Love This Gluten Free Chicken Tenders Recipe
- Genuinely crispy, not soggy: an elevated wire rack bake lets hot air reach the bottom of each tender, so the crust stays crisp on every side.
- Certified celiac-safe ingredients, named by brand: King Arthur Gluten-Free All-Purpose Flour and Kikkoman Gluten-Free Panko, both GFCO certified, so you are never guessing at the label.
- Serves 6: enough for a full family dinner, with leftovers that reheat well the next day.
- Ready in 33 minutes: no marinating overnight, no deep fryer, no specialty equipment beyond a baking sheet and a wire rack.
- Kid-approved texture: crunchy outside, tender inside, without the greasy aftertaste of fried tenders.
- Cross-contact addressed head-on: a full section below covers the raw chicken and shared-surface risks specific to this recipe.
- Only 9 ingredients: everything is a pantry or fridge staple once you have the two certified GF brands on hand.
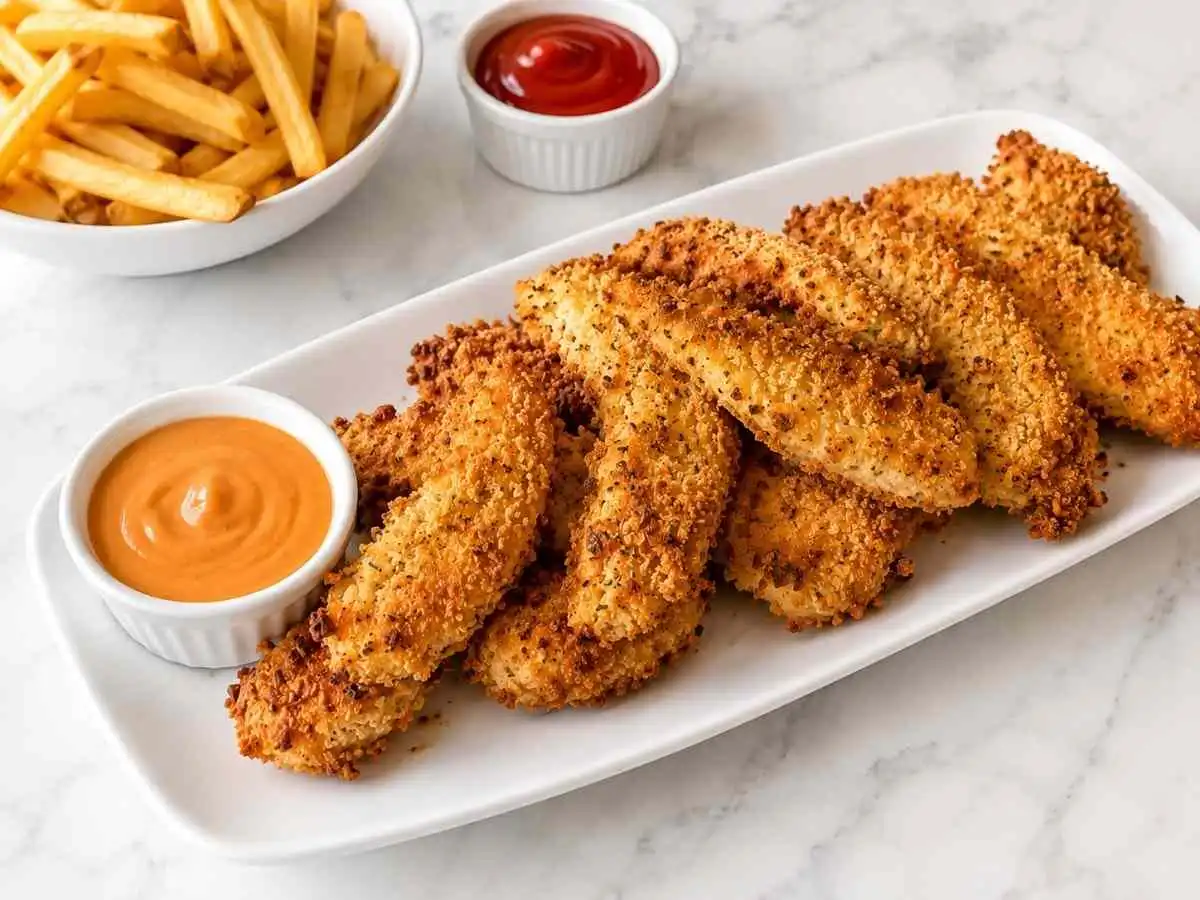

Gluten Free Chicken Tenders
Ingredients
Equipment
Method
- Preheat your oven to 400°F (204°C). Set a wire rack inside a large rimmed baking sheet.
- Trim any excess fat from the chicken breasts, then cut them into strips roughly 4 inches long and 1½ inches wide.
- In a large bowl, whisk the mayonnaise, King Arthur Gluten-Free All-Purpose Flour, egg, garlic powder, onion powder, paprika, salt, and pepper until smooth. Add the chicken strips and toss until evenly coated.
- Let the coated chicken rest for 10 minutes before breading.
- Spread the Kikkoman Gluten-Free Panko on a large plate. Press each chicken strip firmly into the panko on all sides so the crumbs adhere.
- Place each breaded strip directly onto the wire rack, leaving space between pieces.
- Bake for 15 to 18 minutes, until the coating is deep golden brown and the internal temperature reaches 165°F (74°C) at the thickest part of a strip.
- Serve immediately with your favorite dipping sauce.
Nutrition
Notes
Gluten-Free Note
Tried this recipe?
Let us know how it was!Ingredients
For the Chicken Tenders
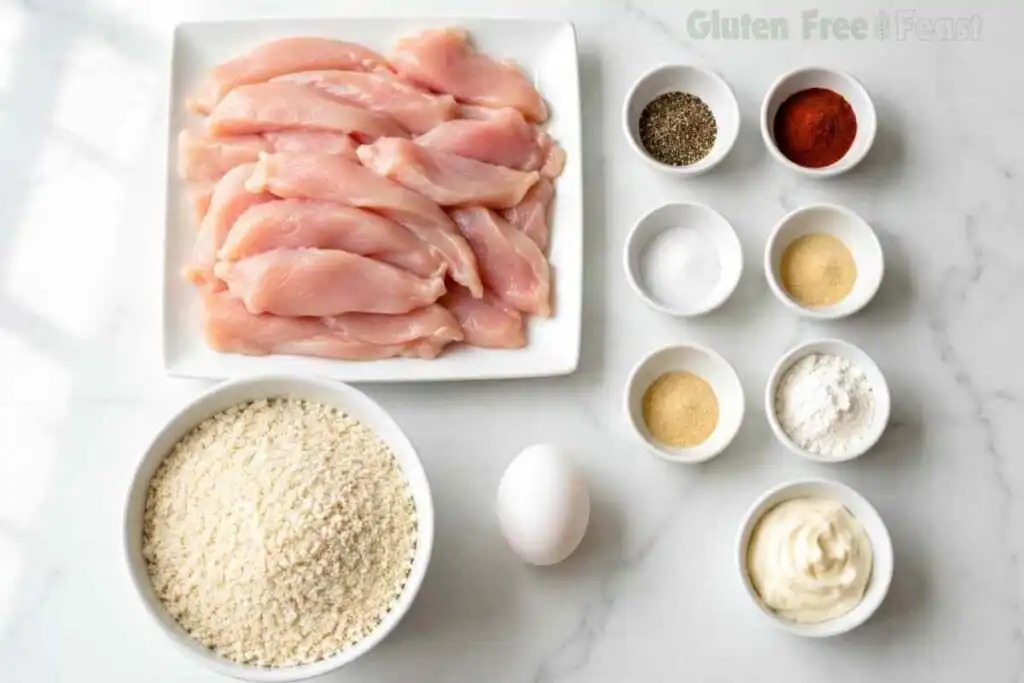
- 2 lbs boneless, skinless chicken breasts, cut into strips
- ¼ cup mayonnaise (certified gluten free mayonnaise; see notes on flavored varieties)
- ¼ cup King Arthur Gluten-Free All-Purpose Flour, certified gluten free by GFCO
- 1 large egg
- 1 teaspoon garlic powder
- ½ teaspoon onion powder
- ½ teaspoon paprika
- ½ teaspoon salt
- ¼ teaspoon ground black pepper
- 3 cups Kikkoman Gluten-Free Panko, certified gluten free by GFCO
Ingredient Notes and Substitutions
King Arthur Gluten-Free All-Purpose Flour: This blend is GFCO certified. It is independently tested to under 10 parts per million of gluten and produced in a dedicated gluten free facility. It also gives the coating mixture enough structure to cling to the chicken without turning gummy.
Kikkoman Gluten-Free Panko: Also GFCO certified. Panko’s larger, airier crumb creates more surface area than standard breadcrumbs. That extra surface is part of why it crisps up lighter and crunchier in the oven.
Mayonnaise: Standard mayonnaise is typically gluten free, but flavored or specialty varieties can occasionally use malt vinegar. Check the label every time, especially for garlic aioli or chipotle-style blends, and choose a certified gluten free brand if your pantry mayo is unlabeled.
Egg: Naturally gluten free with no flag needed. For an egg-free version, whisk 1 tablespoon of ground flaxseed with 3 tablespoons of water. Let it sit for 5 minutes, then use it in place of the egg.
I use this same King Arthur blend in my gluten free biscuits. I tested the King Arthur and Kikkoman combination across six batches before settling on it as the standard here. Other certified GF flour blends will work in the coating mixture. Panko brand matters more than flour brand here, since a fine, sandy GF breadcrumb will not crisp the same way.
Celiac Safety Note: Please ensure all packaged ingredients carry a certified gluten free label. For this recipe, check specifically: your all-purpose flour, panko breadcrumbs, and mayonnaise. Use a cutting board and utensils dedicated to raw chicken, kept separate from any surface that has touched gluten-containing bread or flour. Raw poultry safety and gluten cross-contact are two different risks, and both apply here.
Wash your hands and prep surfaces thoroughly between handling raw chicken and portioning the flour or panko. When in doubt, look for the certified GF symbol on the package rather than a general “gluten free” marketing claim.
How to Make Gluten Free Chicken Tenders
Step 1: Prep the Chicken and the Oven
Preheat your oven to 400°F (204°C). Set a wire rack inside a large rimmed baking sheet. This elevated setup keeps the bottom of each tender from steaming against the pan.
Trim any excess fat from the chicken breasts, then cut them into strips roughly 4 inches long and 1½ inches wide. Uniform strips cook through and reach a safe temperature at the same rate, so no piece is left underdone while others overcook.
Step 2: Mix the Coating and Rest the Chicken
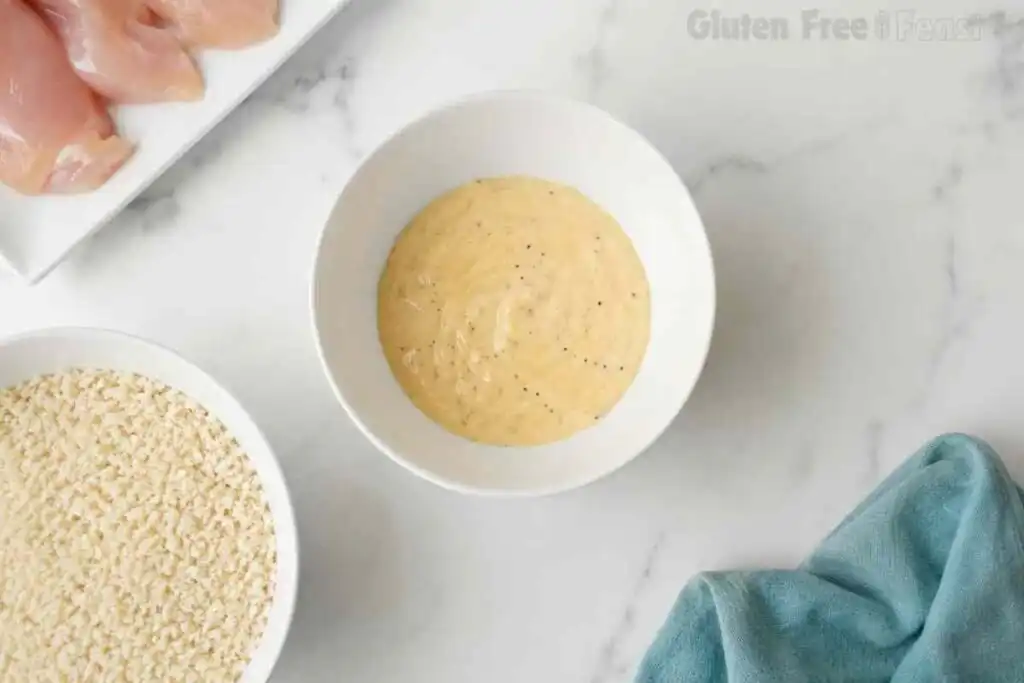
In a large bowl, whisk the mayonnaise, King Arthur Gluten-Free All-Purpose Flour, egg, garlic powder, onion powder, paprika, salt, and pepper until smooth. Add the chicken strips and toss until every piece is evenly coated.
Let the coated chicken rest for 10 minutes before breading. During this rest, the egg proteins in the mixture begin to set against the chicken’s surface. That gives the panko something to grip instead of sliding off in the oven. Skipping this step is the single biggest cause of patchy, bald spots on baked tenders.
Step 3: Bread the Chicken
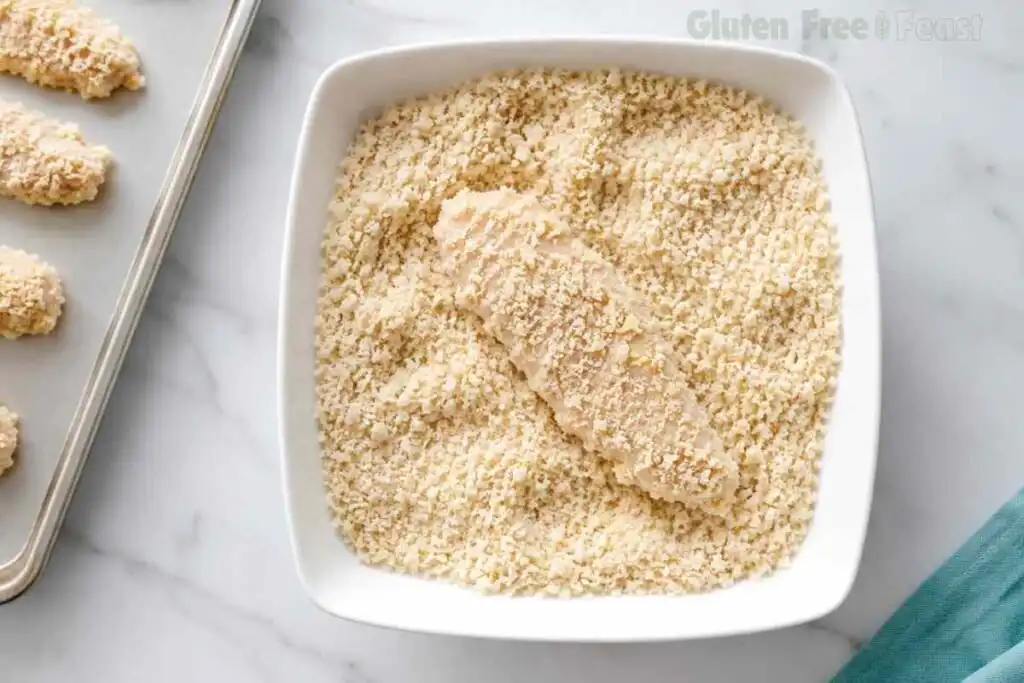
Spread the Kikkoman Gluten-Free Panko on a large plate or shallow dish. Working one strip at a time, press the chicken firmly into the panko on all sides so the crumbs adhere in an even layer.
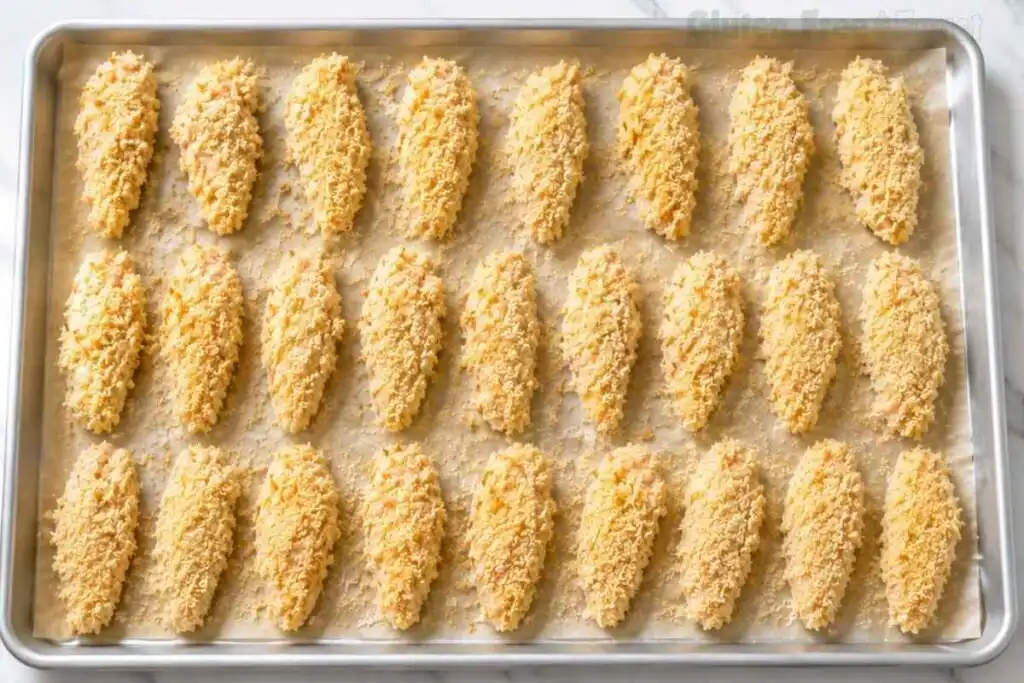
Place each breaded strip directly onto the wire rack, leaving space between pieces. Crowding traps steam between the tenders and softens the crust before it has a chance to set.
Step 4: Bake and Serve
Bake for 15 to 18 minutes, until the coating is deep golden brown. Check the thickest part of a strip for an internal temperature of 165°F (74°C). Use a food thermometer to confirm doneness rather than relying on color alone.
The wire rack matters most in these final minutes. Hot oven air circulates underneath each tender instead of pooling against a flat pan. That is why this method browns evenly on all sides without flipping. Serve immediately with your favorite dipping sauce.
Expert Tips for Best Results
- Rest the coated chicken for exactly 10 minutes. Shorter and the egg has not set enough to hold the panko. Longer and you gain nothing but extra time.
- Press, do not sprinkle, the panko onto the chicken. Firm, even pressure on all sides is what prevents bald patches after baking.
- Use a wire rack, not a bare sheet pan. This one swap is responsible for most of the crispness difference between these gluten free chicken tenders and a flat-baked version.
- Cut chicken into uniform strips. Pieces of different thickness will not hit 165°F at the same time, and thin pieces can dry out while thick ones finish safely.
- Check temperature at the thickest strip, not the thinnest. The thinnest piece will always read done first and can give you a false sense of security.
- Use fresh, not previously frozen and thawed, chicken when possible. In my testing for these gluten free chicken tenders, fresh chicken held the coating more reliably than chicken that had been frozen and thawed.
- Keep a dedicated set of tools for raw chicken. A cutting board and utensils used only for raw poultry prevent both cross-contact with gluten and cross-contamination with raw meat.
Substitutions and Variations
Dairy-free version: These gluten free chicken tenders are naturally dairy-free as written, since standard mayonnaise contains no dairy. Double check your specific mayonnaise brand’s label to confirm.
Lower-carb coating: Swap half of the Kikkoman Gluten-Free Panko for finely ground almond flour. The crust will be thinner and less crunchy, but noticeably lighter in carbohydrates.
No-breadcrumb version: Skip the panko entirely and use the seasoned GF flour dredge alone. The tenders will still crisp up, especially in an air fryer, though the crunch factor is lighter without a crumb coating.
Spice swap: Replace the garlic powder, onion powder, and paprika with 1 tablespoon of Italian seasoning or Herbes de Provence. The technique stays exactly the same.
Air fryer method: Cook in batches at 400°F for 10 to 12 minutes, flipping halfway through, until the internal temperature reaches 165°F.
What to Serve With Gluten Free Chicken Tenders
These gluten free chicken tenders work as a fast weeknight dinner or a build-your-own platter for kids. Here is what I reach for most often alongside them.
- A cold pasta salad: My gluten free pasta salad is a natural match, since it can be made ahead while the tenders bake.
- Classic dipping sauces: Honey mustard, ranch, or barbecue sauce round out the plate with almost no extra effort.
- A simple green salad: A lightly dressed salad balances the richness of the crispy coating.
- Roasted vegetables: Broccoli or green beans roasted at the same 400°F oven temperature can go in alongside the tenders for one less pan to manage.
- A sweet finish: For a full family dinner, round things out with something from the site’s gluten free desserts collection.
Storage and Make-Ahead Instructions
Refrigerator: Store baked gluten free chicken tenders in an airtight container in the refrigerator for up to 3 days. Reheat in a 400°F oven for about 10 minutes to bring back the crunch; the microwave will work but softens the crust.
Freezer (baked): Cool completely, then freeze these baked gluten free chicken tenders in a single layer before transferring to a freezer bag. They keep well for up to 2 months. Thaw overnight in the refrigerator, then reheat in a 400°F oven for about 15 minutes.
Freezer (unbaked): Bread the tenders as directed, then freeze them raw on a parchment-lined tray until solid before bagging them. Bake straight from frozen at 400°F, adding 5 to 7 minutes to the bake time and confirming 165°F with a thermometer before serving.
Make-ahead tip: The coating mixture in Step 2 can be whisked up to a day ahead and refrigerated. It shaves a few minutes off dinner on a busy night.
Why Trust This Recipe
I develop recipes the same way I approached lab work. That means documented testing, controlled variables, and results that hold up in any kitchen, not just mine.
These gluten free chicken tenders went through six rounds of testing in my dedicated gluten free kitchen. That included a side-by-side comparison of coating rest times, plus a direct test of wire rack versus flat pan baking. I noted what failed, what worked, and why. You are following a method that has already been stress-tested.
What that means for you:
- Multiple test batches before publishing
- Science-based notes on key steps throughout
- Honest substitution guidance, not guesswork
- Safe for celiac disease, with cross-contact taken seriously at every step
Frequently Asked Questions
What are gluten free chicken tenders made of?
Gluten free chicken tenders start with boneless chicken breast or tenderloins. The coating uses a certified gluten free flour, an egg or mayo-based binder, and certified gluten free panko breadcrumbs. There is no wheat flour, regular breadcrumbs, or hidden gluten source anywhere in a properly built recipe.
What can you use instead of breadcrumbs for chicken tenders?
Certified gluten free panko like Kikkoman is the most reliable option for texture. Crushed certified gluten free cornflakes, crushed gluten free pretzels, or almond flour also work well, especially for a lower-carb version.
Can you make chicken tenders without breadcrumbs?
Yes. A seasoned gluten free flour dredge alone will still crisp up in the oven or an air fryer. The texture will be lighter and less crunchy without a crumb coating on top.
What are the best gluten-free breadcrumbs?
Certified GFCO options like Kikkoman Gluten-Free Panko are the most reliable for both texture and safety. The rice flour and pea protein base is unseasoned, so it takes on whatever spice blend you add without a competing flavor.
How do you make gluten free chicken tenders crispy?
Elevate the tenders on a wire rack so hot air can circulate on all sides instead of trapping steam underneath. Press the panko firmly into the coating, and avoid crowding the pan so each tender has room to crisp evenly.
What can I use instead of cornstarch for chicken tenders?
A certified gluten free all-purpose flour works on its own without cornstarch. Arrowroot or tapioca starch can also be used as a 1:1 swap if you want extra crispness in the final coating.
Final Thoughts
These gluten free chicken tenders are the recipe I turn to when I want a dinner my whole family will eat without a single complaint. The wire rack trick and the ten-minute rest are small details, but they are the difference between a soggy tender and a genuinely crispy one. Make a double batch and freeze half unbaked, so a fast, celiac-safe dinner is always within reach.