The first time I pulled a truly good loaf of gluten free bread out of my oven, I pressed my thumb into the top just to watch it spring back. That single detail matters more than it sounds. A crumb that holds its shape, instead of collapsing into a gummy …
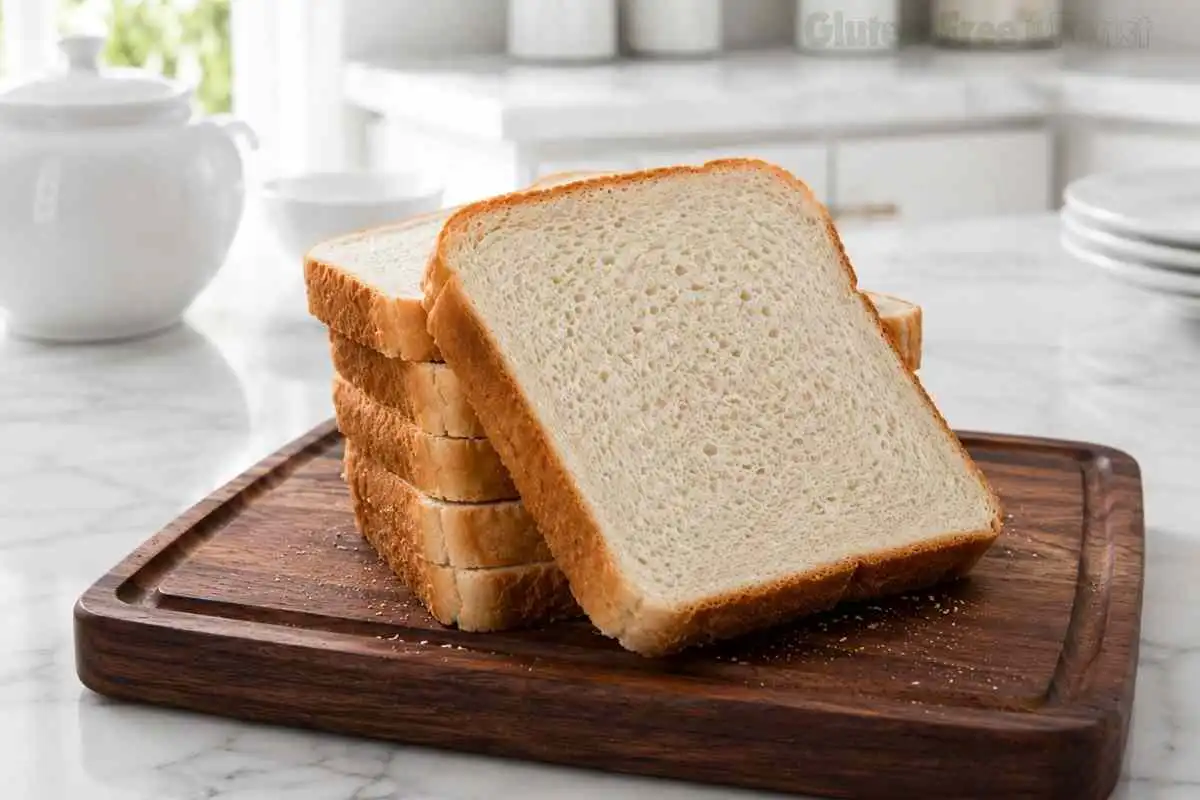
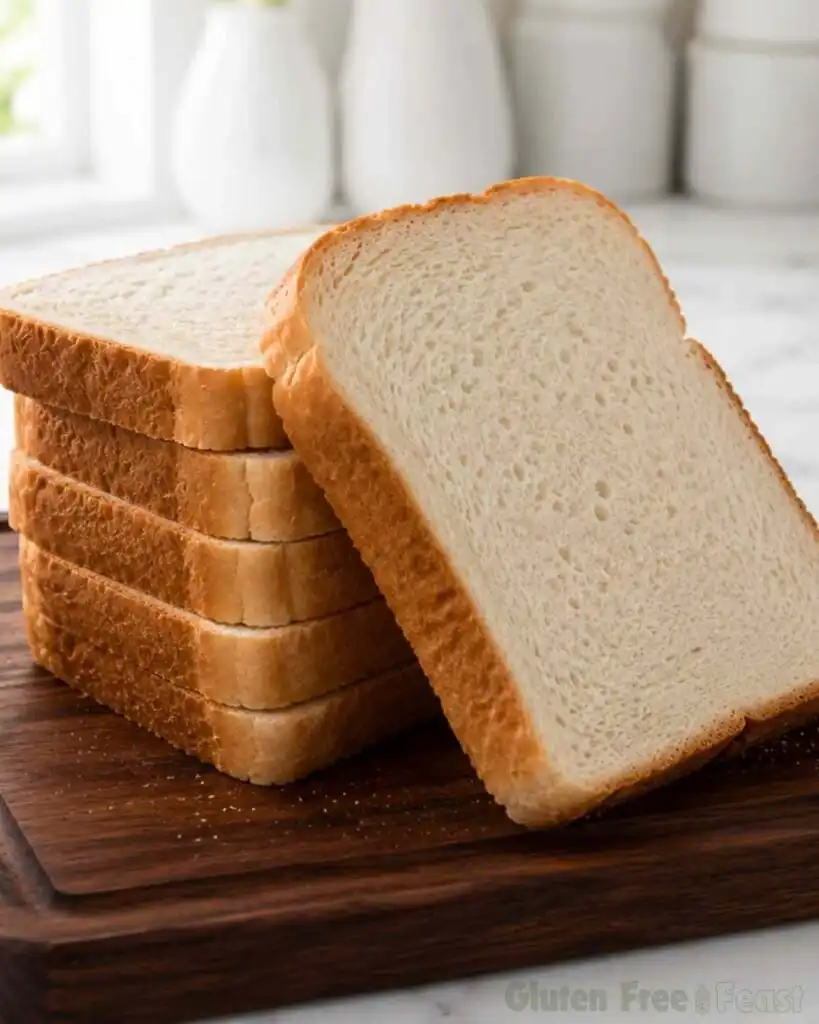
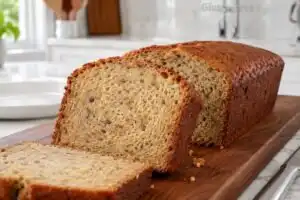
The first time I pulled a truly good loaf of gluten free bread out of my oven, I pressed my thumb into the top just to watch it spring back. That single detail matters more than it sounds. A crumb that holds its shape, instead of collapsing into a gummy line at the bottom of the pan, is the difference between a loaf that gets eaten and one that gets quietly thrown out.
My sister-in-law has had celiac disease for nine years. She took one bite of this loaf and asked if I had smuggled in real flour.
I tested this recipe across six documented batches before I was satisfied. What changed most between batch one and batch six was not the flour or the yeast. It was how I treated water temperature and egg whites, the two elements every gluten free bread recipe tends to gloss over. Get those right, and this loaf rises the way a wheat loaf does.
Get the water temperature or the egg whites wrong, and you end up with a dense brick that tastes like disappointment. This is a simple, one-bowl gluten free bread with no proofing oven and no complicated lamination, ready in about an hour total. It is naturally dairy free and sturdy enough to slice for sandwiches the next morning, or toasted alongside any of our other gluten free breakfast recipes. It stays celiac-safe as long as every flagged ingredient is certified gluten free.
Key takeaways
This gluten free bread uses certified gluten free Better Batter flour blend and Bob’s Red Mill baking powder, xanthan gum, and yeast, and bakes at 350°F for 30 minutes after a single 30-minute proof. Egg whites, rather than whole eggs, and a water temperature of 100 to 110°F are the two variables that most affect rise and crumb structure in a gluten free yeast dough. The loaf is naturally dairy free, ready in about 1 hour total, and yields 16 slices sturdy enough for sandwiches. It is celiac-safe when every flagged ingredient carries a certified gluten free label, since cross-contact during milling and packaging is a documented risk even for naturally gluten free ingredients like yeast.
Prep Time: 34 mins · Cook Time: 30 mins · Total Time: 64 mins
Table of Contents
Why You Will Love This Gluten Free Bread
Ready in about an hour: 34 minutes of active prep and proofing, 30 minutes in the oven. No overnight rise required.
Naturally dairy free: built on olive oil and water, so there is no butter or milk to swap out.
Celiac-safe by design: every flour, leavening, and yeast ingredient is specified with its certified gluten free brand, and a full cross-contact note covers shared kitchen equipment.
Sturdy enough for sandwiches: the crumb holds together under mustard, deli fillings, and a good press in a panini pan.
One bowl, one pan: no stand mixer required, though it makes the mixing faster if you have one.
Freezes beautifully: slice, freeze, and pull out exactly what you need for toast or a sandwich.
This easy gluten free bread is a soft, sliceable sandwich loaf made with certified gluten free flour, ready in about an hour with no complicated proofing.
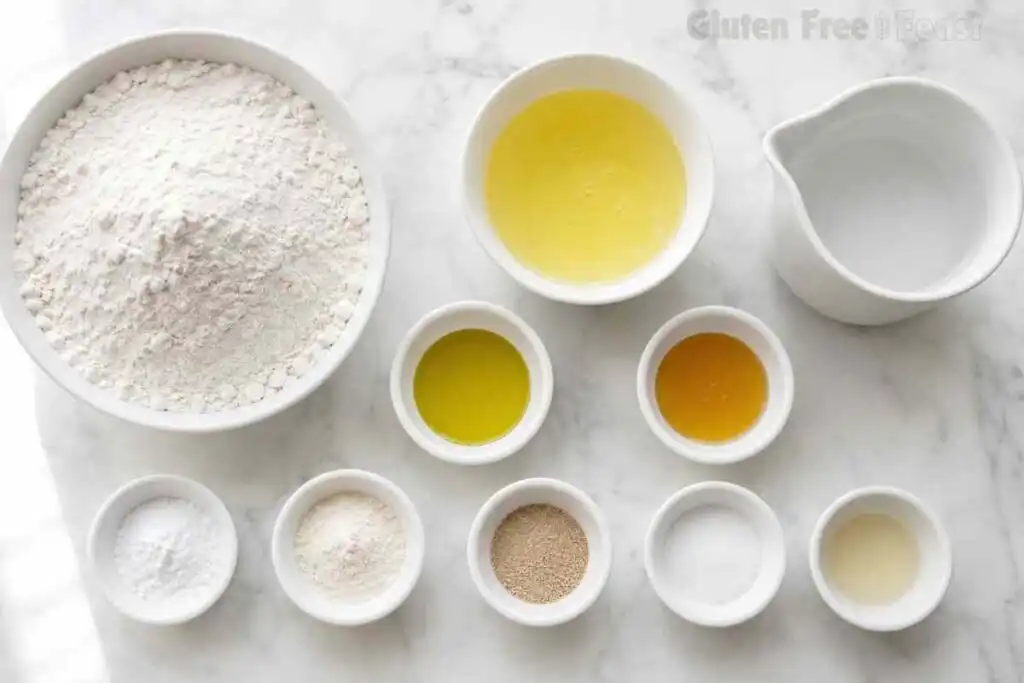
1tspxanthan gum, Bob’s Red Mill Gluten Freeomit if your flour blend already contains it
1tspBob’s Red Mill Gluten Free baking powder
1packet Bob’s Red Mill Gluten Free instant or rapid-rise yeast2 1/4 teaspoons
1/4cupextra virgin olive oil
1/4cuphoneyor maple syrup
1tspapple cider vinegar
1 1/2cupwarm water100-110F / 38-43C
3large egg whitesroom temperature
1tspsalt
Equipment
9×5-inch loaf pan
Stand mixer (optional)
Instant-read thermometer
Method
Step 1: Prep the Pan and Preheat
Grease a 9×5-inch loaf pan with gluten free cooking spray. Preheat the oven to 350F (175C) with a rack in the center position.
Step 2: Combine the Dry Ingredients
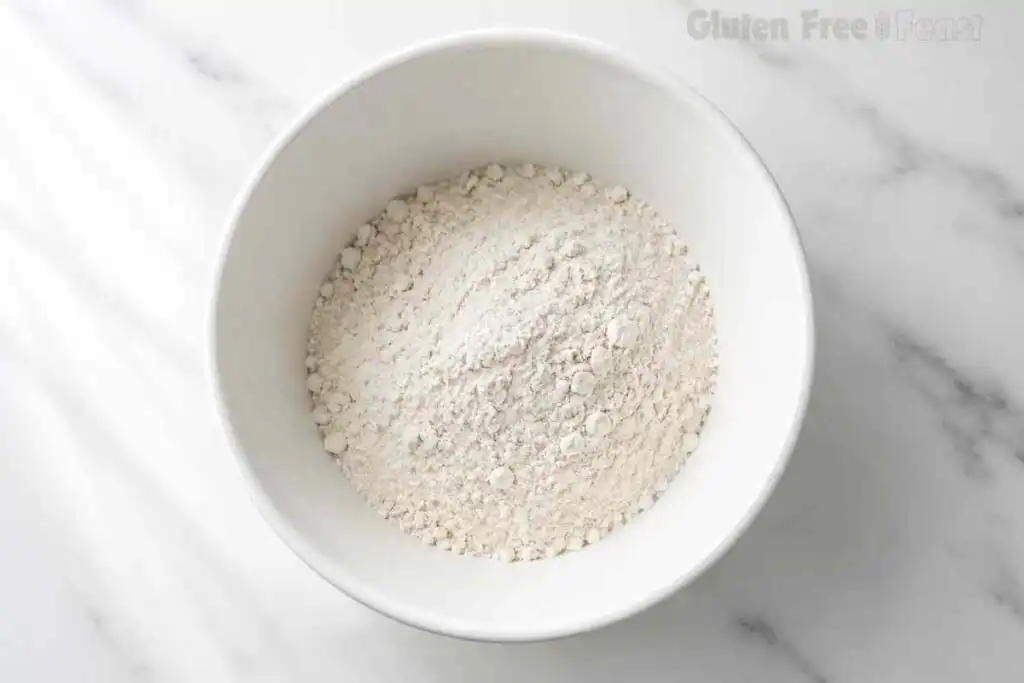
In a large bowl or stand mixer bowl, whisk together the flour blend, xanthan gum, baking powder, and instant yeast until evenly distributed.
Step 3: Add the Wet Ingredients
Add the olive oil, honey, apple cider vinegar, and warm water. Mix on low speed 1 minute with the paddle attachment, or stir by hand until just combined.
Step 4: Add Egg Whites and Salt
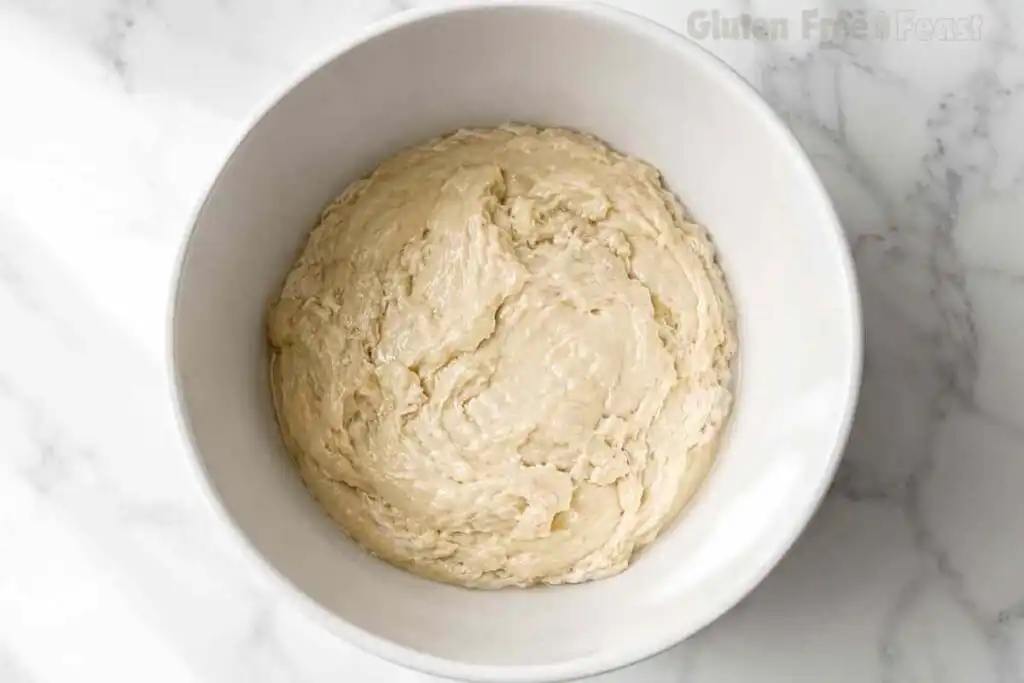
Add the egg whites and salt. Mix on medium speed 1 minute, until the batter thickens to a texture similar to a heavy cake batter.
Step 5: Proof
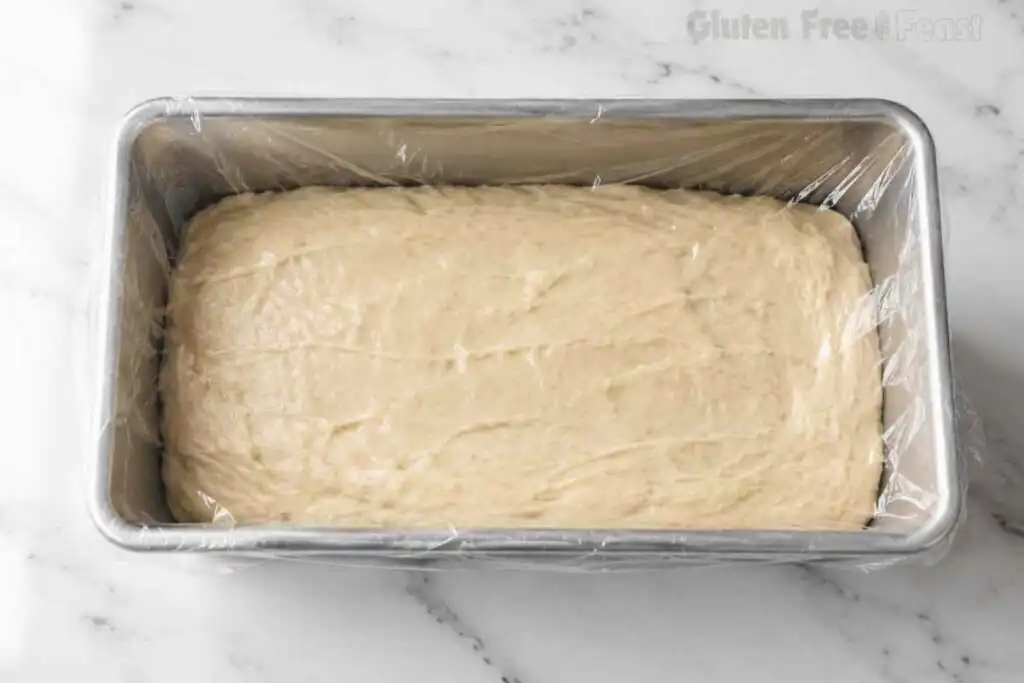
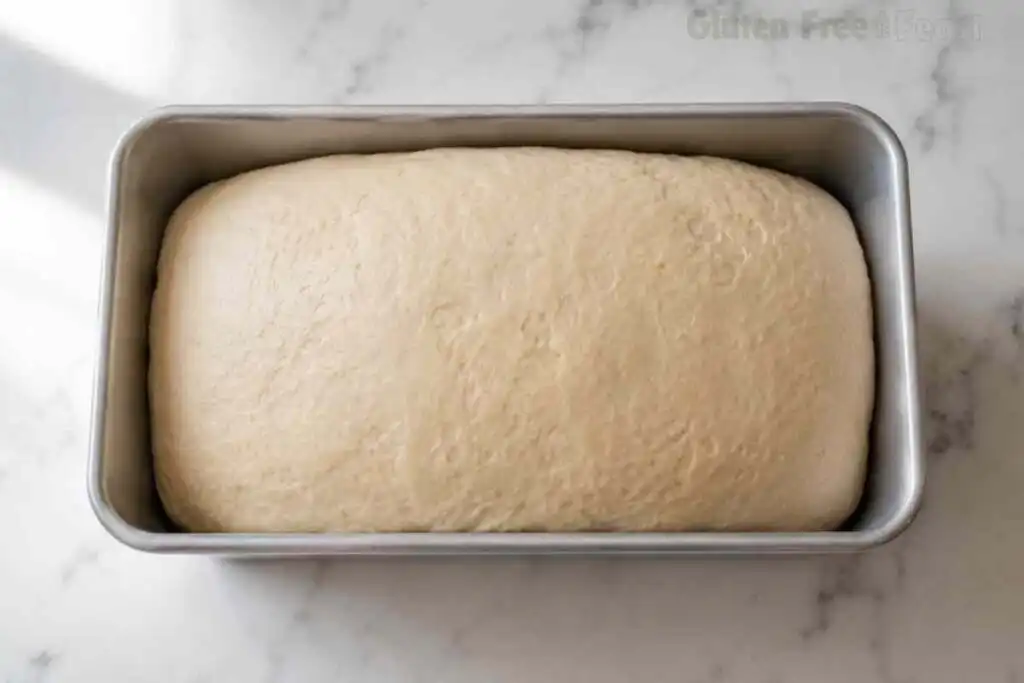
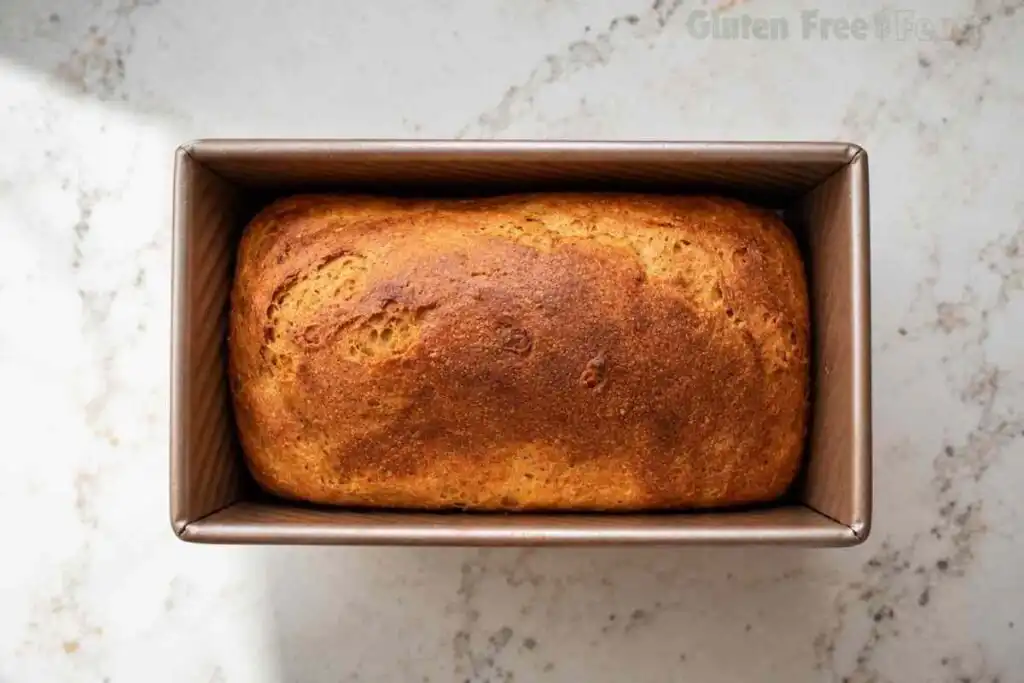
Transfer the batter to the prepared pan and smooth the top. Cover loosely with oiled plastic wrap and a kitchen towel. Let rise in a warm place 30 minutes, until domed above the pan rim.
Step 6: Bake and Cool
Bake 30 minutes at 350F, until golden brown and an instant-read thermometer inserted in the center reads 205 to 210F.
Cool in the pan 10 minutes, then transfer to a wire rack and cool completely before slicing.
Nutrition
Calories: 114kcal
Notes
Celiac Safety Note: Confirm every packaged ingredient carries a certified gluten free label before baking. For this recipe, check specifically: the flour blend, xanthan gum, baking powder, and yeast. Cross-contact during milling and packaging is a real risk for people with celiac disease.Storage: Room temperature in an airtight container up to 3 days. Freeze sliced, wrapped tightly, for up to 3 months.Substitution: Maple syrup can replace the honey 1:1. A gluten free egg replacer can be used in place of the egg whites, though the crumb will be slightly denser.
Gluten-Free Note
This recipe is designed to be gluten-free when prepared with certified gluten-free ingredients. Always check labels, as ingredient formulations and manufacturing practices can change. If you have celiac disease or a severe gluten allergy, verify that all ingredients are certified gluten-free and appropriate for your dietary needs.
1 teaspoon xanthan gum (Bob’s Red Mill Gluten Free, omit if your blend already contains it)
1 teaspoon Bob’s Red Mill Gluten Free baking powder
1 packet (2¼ teaspoons) Bob’s Red Mill Gluten Free instant or rapid-rise yeast
¼ cup extra virgin olive oil
¼ cup honey (or maple syrup)
1 teaspoon apple cider vinegar
1½ cups warm water (100–110°F / 38–43°C)
3 large egg whites, room temperature
1 teaspoon salt
Ingredient Notes and Substitutions
Better Batter certified gluten free flour blend: This blend is milled specifically with yeast baking in mind, which matters more than it sounds like it should. General-purpose 1:1 blends built for cookies and cakes often absorb liquid differently in a yeasted dough and can leave you with a gummy center.
Xanthan gum (Bob’s Red Mill Gluten Free): Wheat flour has gliadin and glutenin, two proteins that tangle together into gluten and give bread dough its stretch. Gluten free flour has neither, so xanthan gum steps in as the structural stand-in. It traps the gas bubbles the yeast produces, which is what lets the loaf rise instead of spreading flat. Skip it only if your flour blend already lists it on the label.
Bob’s Red Mill Gluten Free baking powder: Standard baking powder is often gluten free by formula, but not every brand is made in a facility free of cross-contact. A certified gluten free label is the only way to know for certain.
Bob’s Red Mill Gluten Free yeast: Yeast itself is a fungus and naturally gluten free, but it can pick up gluten through cross-contact during processing depending on the facility. A certified label removes that guesswork. Instant or rapid-rise yeast can go straight into the dry ingredients with no separate proofing step.
Egg whites, not whole eggs: Whole eggs add fat from the yolk, which softens a crumb but also weighs it down. Egg whites alone give you lift and structure without that extra density. That is exactly what a gluten free crumb needs, since it already has less structural support than a wheat loaf.
Water temperature: Keep it between 100 and 110°F. Much hotter and you risk killing the yeast before it ever gets to work; much cooler and the rise slows to a crawl. A kitchen thermometer removes the guesswork here.
Celiac Safety Note: Please confirm every packaged ingredient in this recipe carries a certified gluten free label before you bake. For this loaf specifically, check your flour blend, xanthan gum, baking powder, and yeast. Cross-contact during milling and packaging is a real and well-documented risk for people with celiac disease. A “gluten free” claim on the front of a bag is not a substitute for checking the certification mark.
Also watch your shared kitchen equipment. A loaf pan that has scratches from prior non-GF baking can hold residue in those grooves. A wooden cutting board used for regular bread should never touch this loaf. Use a dedicated or non-scratched pan, and slice on a board reserved for gluten free foods.
How to Make Gluten Free Bread
Step 1: Prep the Pan and Preheat
Grease a 9×5-inch loaf pan with gluten free cooking spray. Preheat your oven to 350°F (175°C) with a rack in the center position. Getting the oven fully preheated before the dough finishes rising matters. A cold oven lets the yeast keep working past its ideal point, and the loaf can sink slightly in the center as a result.
Step 2: Combine the Dry Ingredients
In a large bowl or the bowl of a stand mixer, whisk together the flour blend, xanthan gum, baking powder, and instant yeast until evenly distributed. This takes less than a minute but matters. A pocket of yeast that never mixes through the flour leads to uneven rising in that part of the loaf.
Step 3: Add the Wet Ingredients
Add the olive oil, honey, apple cider vinegar, and warm water to the dry mixture. Mix on low speed for 1 minute with the paddle attachment, or stir by hand until just combined. The mixture will look thin and loose at this stage. That is expected.
Step 4: Add Egg Whites and Salt
Add the egg whites and salt, then mix on medium speed for 1 minute. The batter should thicken into something closer to a heavy cake batter than a bread dough. This is normal for gluten free bread: there is no kneading stage because there is no gluten to develop.
Step 5: Proof
Transfer the batter to the prepared pan and smooth the top with a wet spatula. Cover loosely with oiled plastic wrap and a kitchen towel, then let it rise in a warm spot for 30 minutes. It should noticeably dome above the rim of the pan by the end. If your kitchen runs cold, an oven with just the light on (oven off) makes a reliable proofing spot.
Step 6: Bake and Cool
Bake for 30 minutes at 350°F, until the top is deep golden brown. An instant-read thermometer inserted in the center should read 205 to 210°F. Cool in the pan for 10 minutes, then turn out onto a wire rack and cool completely before slicing.
Cutting into it warm releases steam the crumb still needs to finish setting. Skip that step and you will end up with a gummier slice than the loaf actually is.
Expert Tips for Best Results
Check your water temperature with a thermometer, not a guess. Across my testing, this single variable caused more inconsistent rises than any other step. A kitchen or candy thermometer removes the guesswork.
Do not skip the full 30-minute cool. Gluten free crumb structure is still setting as it cools. Slicing too early is the single most common cause of a “gummy” gluten free bread complaint.
Use a kitchen scale if you have one. Gluten free flour blends pack differently than wheat flour, and scooping straight from the bag can add significantly more flour than the recipe calls for, leading to a dry, dense loaf.
Watch the dome, not the clock, when proofing. Ovens and kitchens vary. If the batter has not domed above the pan rim at 30 minutes, give it another 5 to 10.
A collapsed center usually means underbaking, not overproofing. If your loaf sinks in the middle after cooling, check that the internal temperature actually reached 205°F before you pulled it.
Rapid-rise yeast skips a step. If you use standard active dry yeast instead, proof it in the warm water and honey for 5 to 10 minutes until foamy before adding it to the dry ingredients.
Substitutions and Variations
This loaf is dairy free as written, so no dairy swap is needed. A few tested variations, if you want to adjust the base recipe:
Egg-free version: A gluten free egg replacer formulated for baking can stand in for the egg whites, though expect a slightly denser crumb since the lift from whipped egg whites is hard to fully replicate.
Sweetener swap: Maple syrup works as a 1:1 substitute for the honey with no other changes needed.
Herb and seed loaf: Fold in 1 tablespoon of dried herbs or 2 tablespoons of mixed seeds after the wet and dry ingredients combine, before adding the egg whites.
If you enjoy working with yeasted gluten free dough, our gluten free pizza dough uses a similar proofing approach and is worth trying next.
What to Serve With Gluten Free Bread
A loaf this simple pairs well with almost anything you would put next to a classic sandwich bread.
Soup night: Toasted slices are made for dunking into a bowl of gluten free chicken noodle soup. The bread holds up to a good soak without falling apart.
Meatball subs: Split and toasted, this loaf is sturdy enough to hold a sauce-heavy filling like our gluten free meatballs without turning soggy halfway through.
Simple toast: A thick slice with butter and a drizzle of honey needs nothing else.
Grilled cheese: The tight crumb browns evenly in a skillet without falling apart when you flip it.
Bread and butter pudding: Day-two slices, slightly stale, work well cubed into a custard bake.
Storage and Make-Ahead Instructions
Room temperature: Store the whole, cooled loaf in an airtight container for up to 3 days. Slice as needed rather than pre-slicing, which helps the bread stay fresher longer.
Freezer: Slice the fully cooled loaf, then wrap tightly in plastic wrap followed by a layer of foil or freezer paper, and place in a freezer bag. It keeps well for up to 3 months. Thaw individual slices at room temperature or pop them straight into the toaster from frozen.
Make-ahead tip: This loaf does not have a long make-ahead window before baking since the batter needs to go into the oven shortly after proofing, but the baked and frozen loaf is genuinely convenient: pull slices as you need them for toast or sandwiches through the week.
Why Trust This Recipe
I develop recipes the same way I approached lab work: with documented testing, controlled variables, and results that hold up in any kitchen, not just mine.
This loaf went through six full test batches in my dedicated gluten free kitchen before I was satisfied with the rise and crumb. I adjusted proof time, water temperature, and egg-white handling along the way, and I have noted what actually moved the needle versus what did not.
What that means for you:
Multiple test batches before publishing
Science-based notes on key steps throughout
Honest substitution guidance, not guesswork
Safe for celiac disease, with cross-contact taken seriously at every step
Frequently Asked Questions
What is a 3 ingredient gluten free bread?
A true 3-ingredient gluten free bread typically combines just a flour blend, a liquid, and a leavening agent, skipping eggs, oil, and sweetener entirely. These versions bake up much flatter and denser than a fuller recipe like this one, since there is no fat or egg protein to support rise or crumb softness. They can work in a pinch, but expect a noticeably different texture.
Can you make gluten free bread with regular flour?
No. Regular wheat flour contains gluten and is never safe for someone with celiac disease, regardless of the amount used. This recipe relies on a certified gluten free flour blend specifically because celiac disease requires complete avoidance of gluten, not simply a reduced amount.
Is sourdough bread gluten free?
Traditional sourdough made with wheat flour is not gluten free, even though the fermentation process breaks down some of the gluten structure. The amount that remains is still unsafe for celiac disease. Only sourdough made from a certified gluten free flour blend and a gluten free starter is safe to eat.
What is the trick to making good gluten free bread?
The trick is treating xanthan gum, egg whites, and water temperature as the three elements doing the structural work that gluten would normally handle. Get those three right and the loaf holds together with real rise. Skip or mishandle any one of them and the loaf tends toward flat and dense.
What is the best homemade gluten free bread?
The best homemade version comes from a certified gluten free flour blend milled for yeast baking, paired with a consistent proof time and an internal temperature check rather than a guess. Consistency in method matters more than chasing a single “best” brand.
Which flour is best to make gluten free bread?
A blend formulated specifically for yeast baking, rather than a general all-purpose 1:1 blend built for cookies and cakes, gives the most reliable rise and crumb. Better Batter’s certified gluten free blend is the one used and tested in this recipe.
Final Thoughts
This loaf is the one I come back to when I want something that behaves like real sandwich bread without the usual gluten free compromises. Give it a full cool before slicing, trust the process on proof time, and you will have a loaf sturdy enough for whatever you plan to put between two slices of it.
The recipes on this site come from a scientist who went gluten-free and refused to settle for dense, gummy results. BSc in Molecular Biology & Genetics. Former laboratory analyst. Full-time founder of Gluten Free Feast.
Every recipe is mine, developed, tested and written by me.
My Commitment: Every recipe on Gluten Free Feast is created with gluten-free ingredients and thoroughly tested. Because brands and manufacturing practices can change, always verify that your ingredients are certified gluten-free if you have celiac disease.
Molecular Biologist · Laboratory Analyst · GF Recipe Developer 🎓 BSc Molecular Biology & Genetics — Boğaziçi University, Istanbul, Turkey Former Biological Laboratory Analyst Founder & Recipe Developer — Gluten Free Feast Claire's scientific background means every recipe on this site is built on a genuine understanding of food science — from why gluten-free flours absorb moisture differently, to how specific binding agents replicate gluten's structural role in baking. Read Claire's full story →