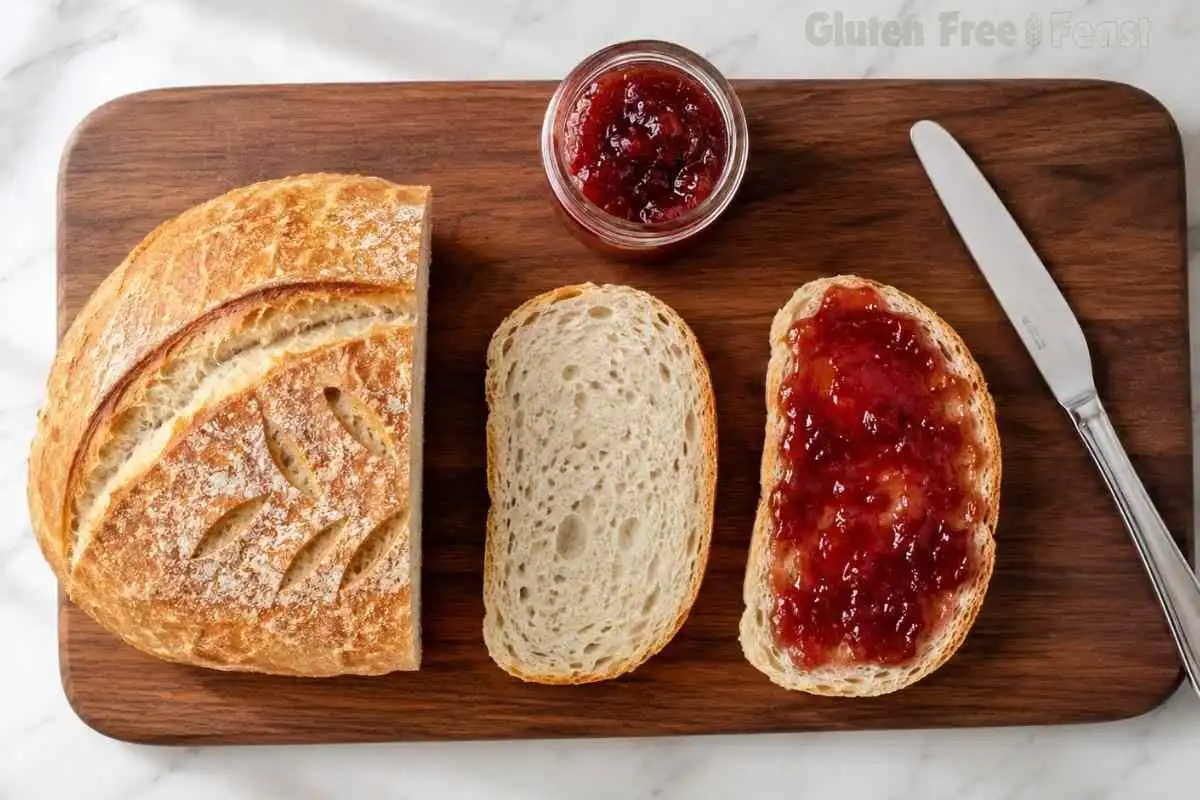
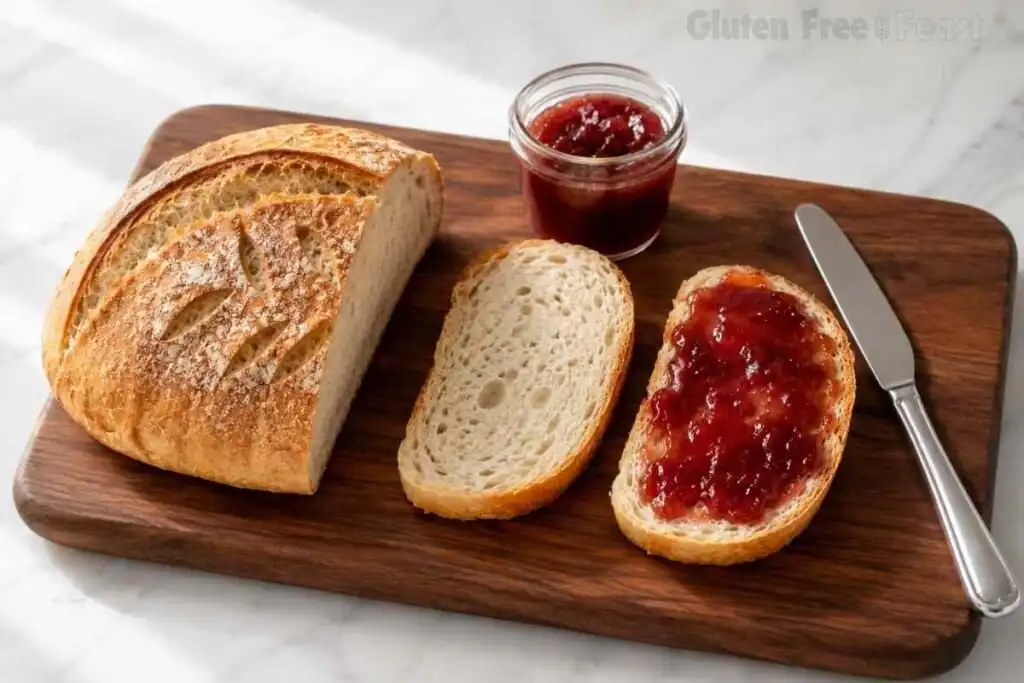
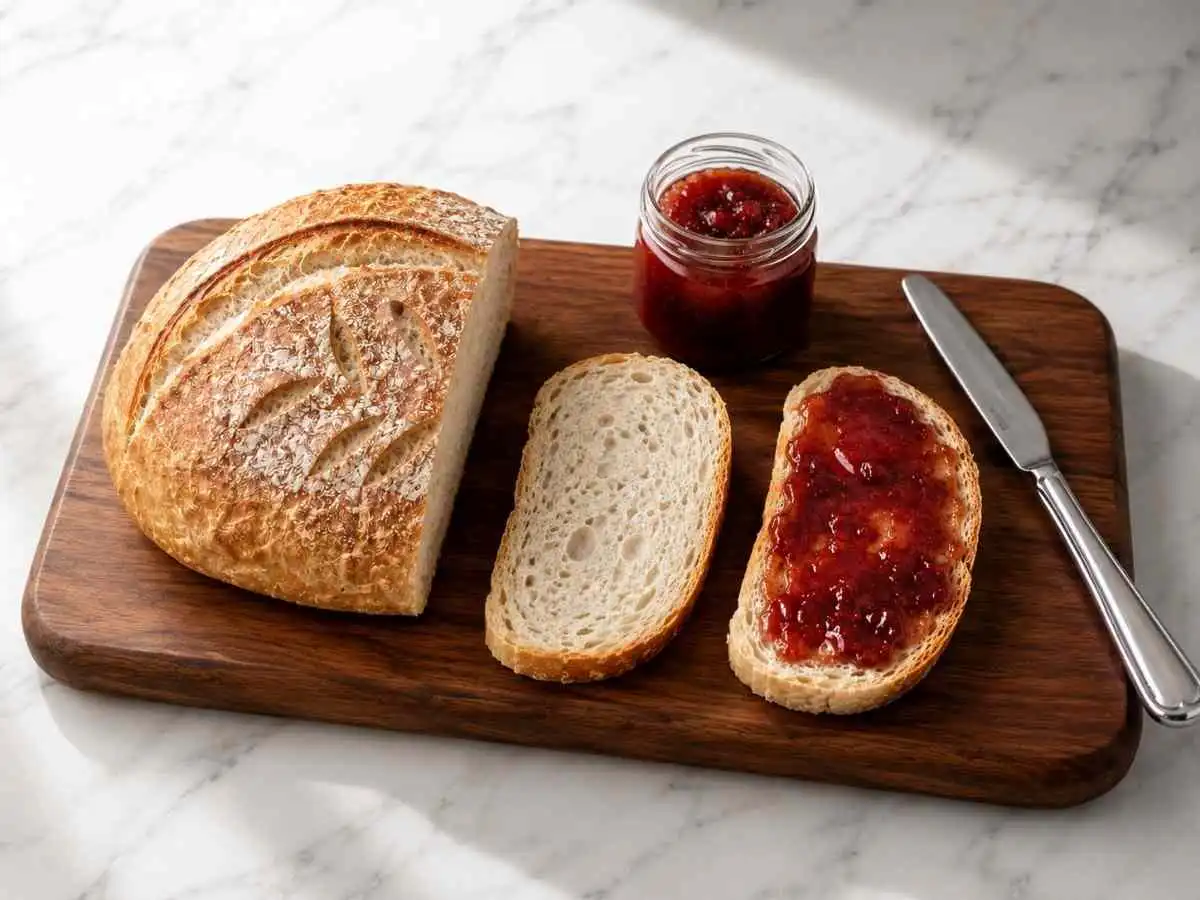
The first time I pulled a fully risen gluten free sourdough loaf out of my Dutch oven, I almost did not believe it. A crackling, blistered crust, an open, chewy crumb, and that unmistakable sour tang that most gluten free breads never get anywhere close to. This is not a …
The first time I pulled a fully risen gluten free sourdough loaf out of my Dutch oven, I almost did not believe it. A crackling, blistered crust, an open, chewy crumb, and that unmistakable sour tang that most gluten free breads never get anywhere close to. This is not a quick loaf. It takes patience and a little planning. But it is genuinely, reliably achievable in a home kitchen, without a single gram of wheat anywhere near it.
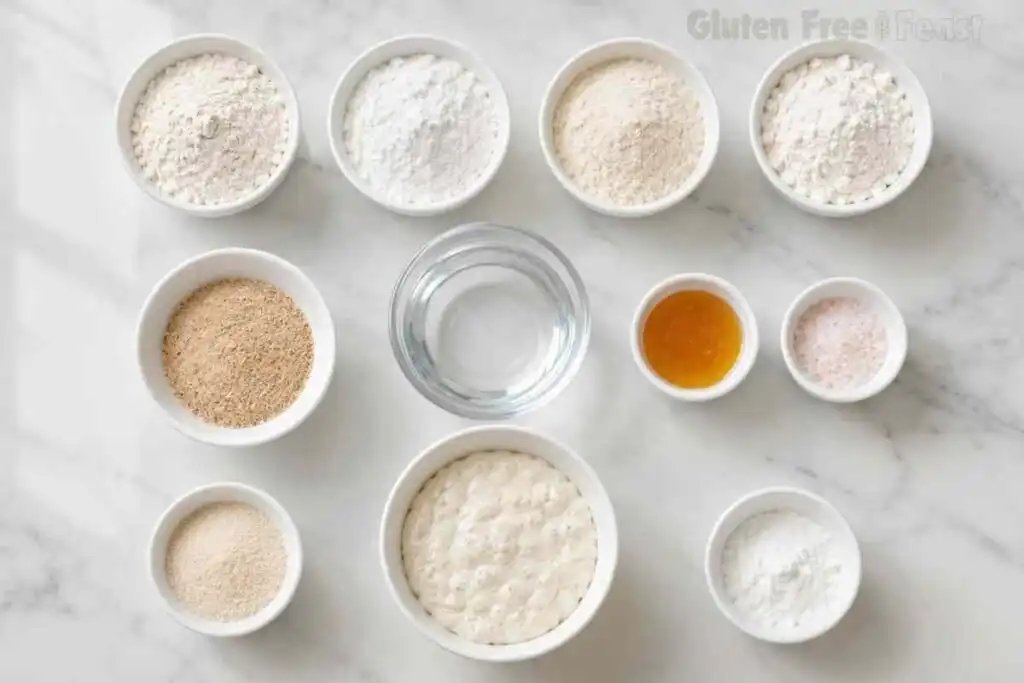
I built this recipe on a four-flour blend of Bob’s Red Mill potato starch, sorghum flour, brown rice flour, and tapioca flour, each certified gluten free. After several rounds of testing, I found that this specific ratio, backed by a whole psyllium husk gel, gave the most open crumb and the least gumminess of anything I tried.
If you have never kept a gluten free starter before, do not worry. I will walk you through building it, feeding it, and using it, plus every certified brand and cross-contact detail that matters for celiac disease. Keep reading, because the dough behaves very differently from wheat dough, and knowing what to expect makes all the difference.
Key takeaways
This gluten free sourdough bread uses a four-flour blend of Bob’s Red Mill potato starch, sorghum flour, brown rice flour, and tapioca flour, each certified gluten free, baked in a Dutch oven at 425°F for 45 minutes covered plus 25 to 40 minutes uncovered until the internal temperature reaches 210°F. Whole psyllium husk gel from Now Foods or Anthony’s replaces gluten’s elastic structure, trapping the fermentation gases that give the loaf an open, chewy crumb. The starter must be built from certified gluten free flour from its very first feeding, never converted from a wheat starter, to stay safe for celiac disease. The loaf must cool completely for at least 2 hours before slicing to avoid a gummy crumb.
Prep Time: 15 mins · Cook Time: 85 mins · Proofing Time: 8 hrs ·Total Time: 9hrs 40 mins
Table of Contents
Why You Will Love This Gluten Free Sourdough Bread
A truly open, chewy crumb: most gluten free breads are dense and tight. The psyllium husk gel and long ferment here create real air pockets.
Celiac-safe from day one: the starter itself is built on certified gluten free flour, never converted from a wheat starter, so there is no hidden risk in the base culture.
Kitchen-tested across multiple batches: I ran this four-flour ratio through several rounds before settling on the version below, which gave the most consistent crumb at the same internal bake temperature.
Real sourdough tang: the long proof develops genuine acidity, not the flat sweetness you get from quick gluten free yeast breads.
Every flour individually certified: no blended mystery mix. You know exactly what is going into the dough and can verify each bag yourself.
Freezer-friendly: this loaf freezes beautifully, so one baking day can stock your freezer for weeks.
This gluten free sourdough bread uses a four-flour Bob’s Red Mill blend, each certified gluten free, for a celiac-safe loaf with an open, chewy crumb and a crackling crust.
80gBob’s Red Mill Potato Starch (certified gluten free)
80gBob’s Red Mill Sorghum Flour (certified gluten free)
80gBob’s Red Mill Brown Rice Flour (certified gluten free)
60gBob’s Red Mill Tapioca Flour (certified gluten free)
15gsalt
Equipment
Dutch oven
Stand mixer
Proofing basket or towel-lined bowl
Kitchen scale
Bread lame or sharp knife
Method
Build the Preferment
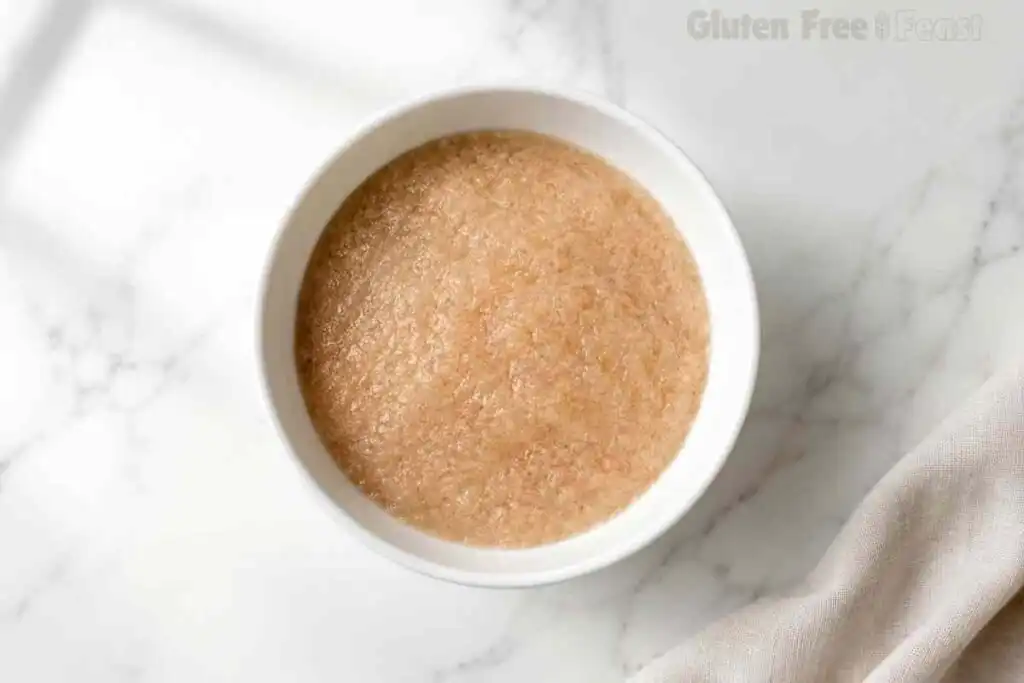
Whisk together the active starter, filtered water, and Bob’s Red Mill Brown Rice Flour until no dry streaks remain.
Cover loosely and let rest at room temperature for 6 to 18 hours, until bubbly and roughly doubled.
Make the Psyllium Gel
Whisk the whole psyllium husk into the 300 g of water for the dough and let sit for 2 to 3 minutes until it thickens into a gel.
Mix the Dough
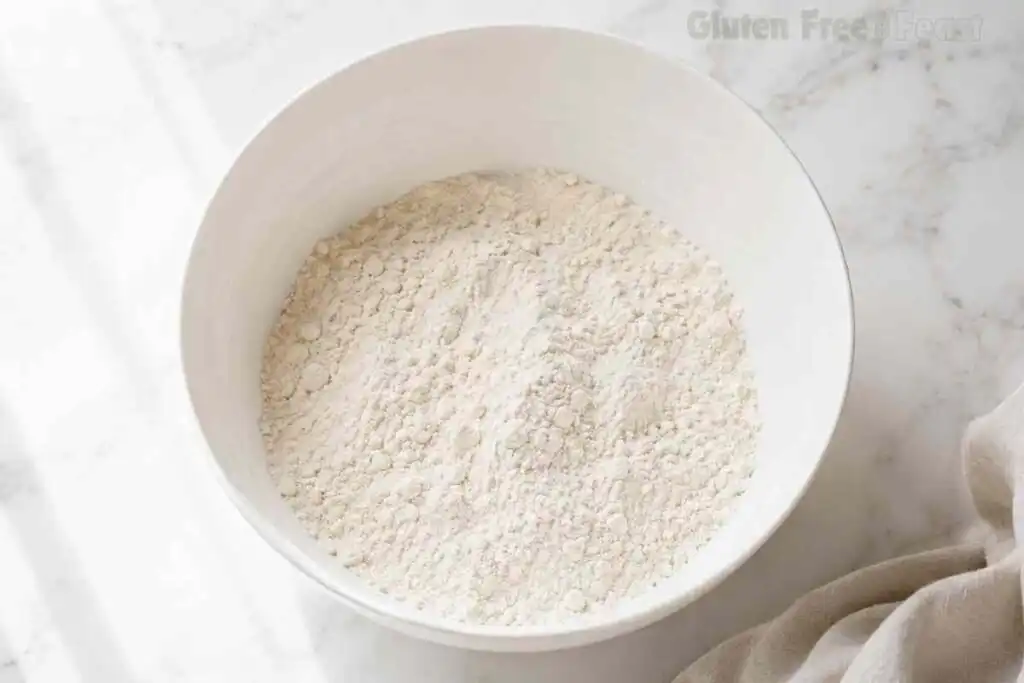
In a stand mixer fitted with the paddle attachment, whisk together the potato starch, sorghum flour, brown rice flour, tapioca flour, and salt.
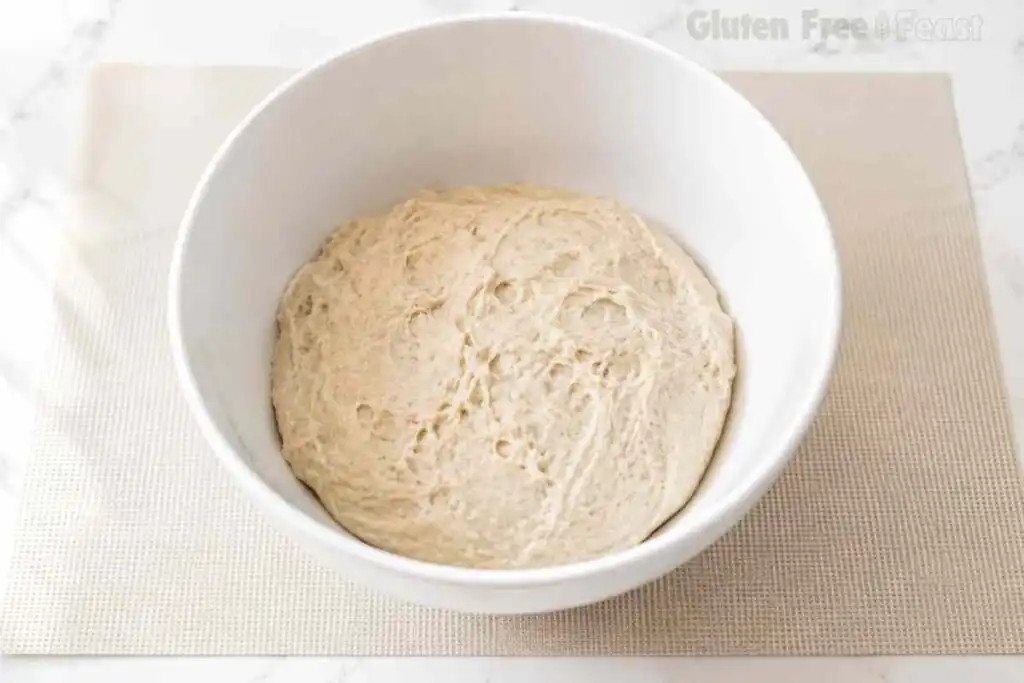
Add the honey, the fully risen preferment, and the psyllium gel. Mix on low speed until a soft, slightly sticky dough forms, about 3 to 4 minutes.
Shape and Proof
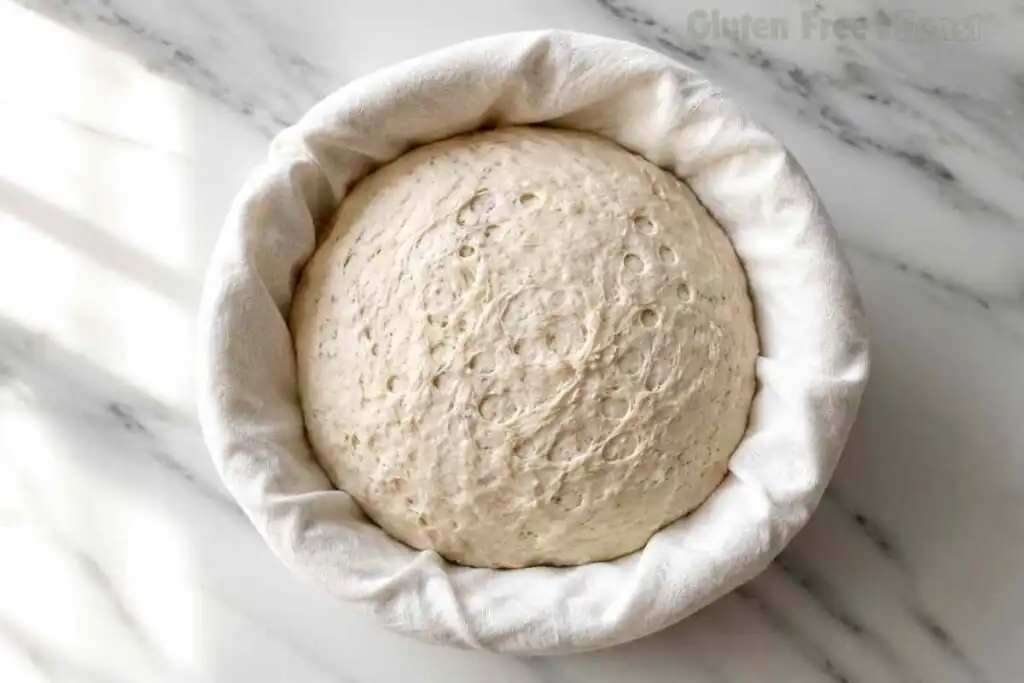
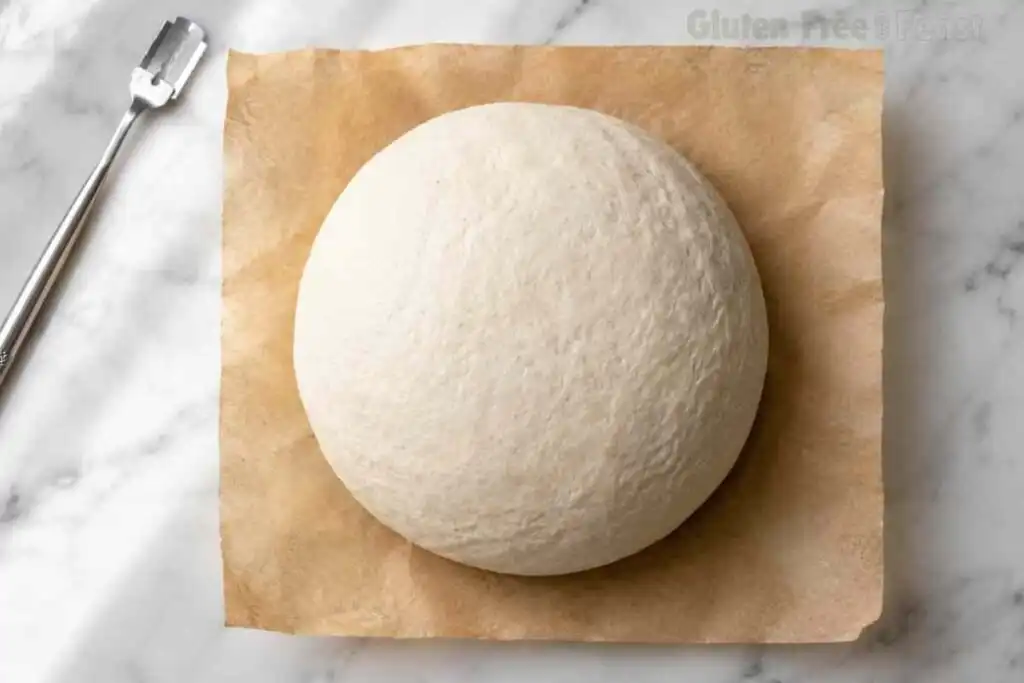
Turn the dough out onto a lightly floured surface and shape into a round boule using wet or floured hands. Place seam-side up in a well-floured proofing basket.
Cover and proof at room temperature for 3 to 4 hours, or up to 6 to 8 hours in a cooler kitchen, until visibly puffed. Alternatively, refrigerate overnight.
Preheat and Score
About 45 minutes before baking, place a Dutch oven with its lid on the middle rack and preheat the oven to 425°F (218°C).
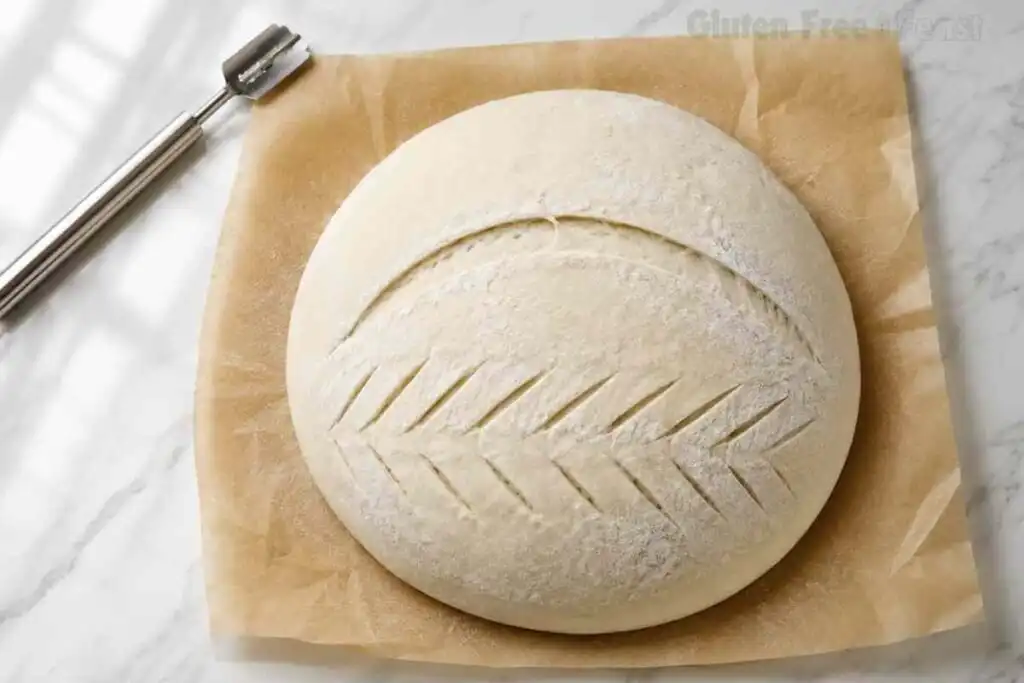
Turn the proofed dough out onto parchment paper and score the top about ½ inch deep with a sharp knife or bread lame.
Bake
Lift the dough by the parchment paper into the hot Dutch oven. Cover and bake for 45 minutes.
Remove the lid and bake for another 25 to 40 minutes, until the crust is deep golden brown and the internal temperature reaches 210°F.
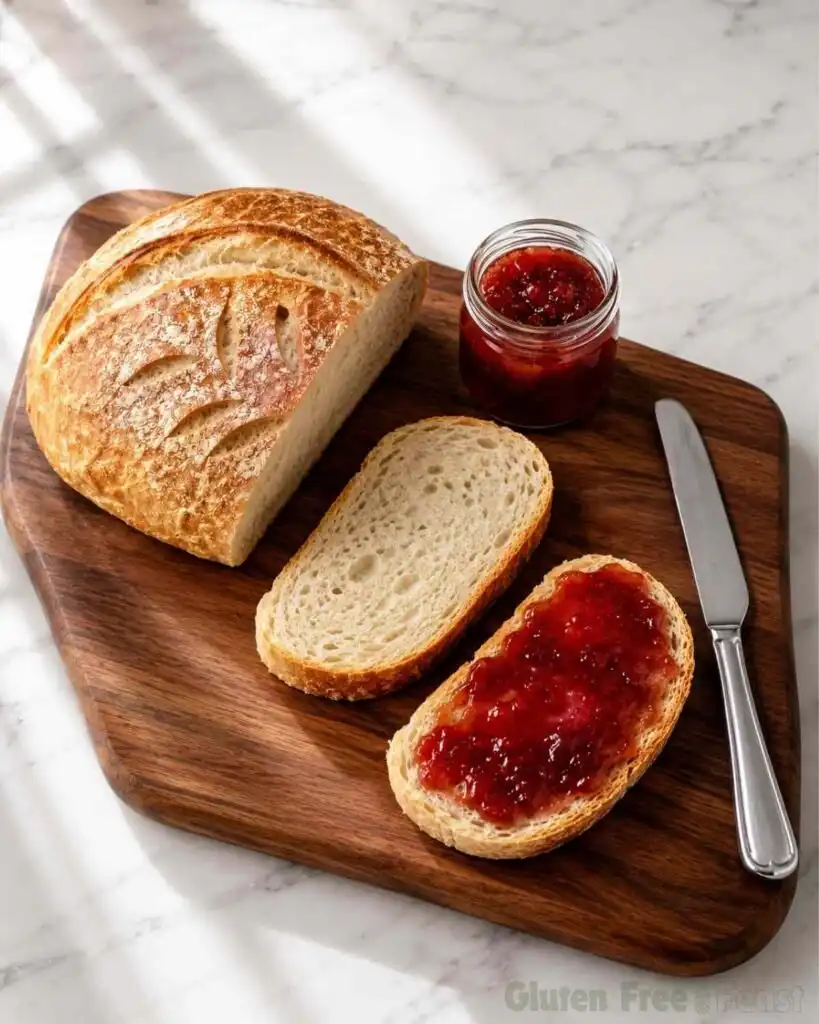
Cool completely on a wire rack, at least 2 hours, before slicing.
Celiac Safety Note: Please ensure every packaged ingredient carries a certified gluten free label. For this recipe, check specifically: your Bob’s Red Mill potato starch, sorghum flour, brown rice flour, and tapioca flour, your psyllium husk brand, and your starter’s own feeding flour. Cross-contact at packaging facilities is a real risk for people with celiac disease, and a starter built on uncertified flour puts the whole loaf at risk. When in doubt, look for the certified GF symbol on the package.Storage: Room temperature in a paper bag for up to 2 days, refrigerated and sliced for up to 5 days, or frozen sliced for up to 3 months.Make-ahead: Shape the dough and refrigerate overnight, then bake straight from the fridge the next morning.
Gluten-Free Note
This recipe is designed to be gluten-free when prepared with certified gluten-free ingredients. Always check labels, as ingredient formulations and manufacturing practices can change. If you have celiac disease or a severe gluten allergy, verify that all ingredients are certified gluten-free and appropriate for your dietary needs.
150 g active gluten free sourdough starter, at peak rise, built and fed on certified gluten free brown rice flour
100 g filtered water, room temperature
80 g Bob’s Red Mill Brown Rice Flour (certified gluten free)
For the Dough
20 g whole psyllium husk, not psyllium powder (Now Foods or Anthony’s, both certified gluten free)
20 g honey
300 g filtered water, room temperature
80 g Bob’s Red Mill Potato Starch (certified gluten free)
80 g Bob’s Red Mill Sorghum Flour (certified gluten free)
80 g Bob’s Red Mill Brown Rice Flour (certified gluten free)
60 g Bob’s Red Mill Tapioca Flour (certified gluten free)
15 g salt
Ingredient Notes and Substitutions
The four-flour blend: Potato starch and tapioca flour keep the crumb light and help with browning, while sorghum and brown rice flour supply the bulk of the structure and flavor. In my testing, this combination absorbed water more predictably than a single all-purpose blend, which made the dough easier to shape consistently from batch to batch. It is the same hydration challenge I ran into developing my gluten free pizza dough, where getting the water ratio right makes or breaks the final texture.
I standardized on Bob’s Red Mill for all four flours rather than mixing brands. This keeps the ingredient list simple and means you are checking one label style across the board instead of four different packaging formats.
Gluten free sourdough starter: Your starter must be built from certified gluten free flour from the very first feeding. Never attempt to convert an existing wheat starter. Wheat proteins persist in a mature culture even after repeated GF feedings, which makes a converted starter unsafe for celiac disease. This matters because the FDA’s gluten-free labeling rule sets a strict 20 ppm threshold specifically to protect people with celiac disease, and a starter fed on uncertified flour can quietly push a finished loaf past that line.
Psyllium husk: This is the ingredient doing the structural work that gluten would normally do. Whole husk forms a strong, elastic gel when hydrated, which traps the carbon dioxide from fermentation and gives the loaf lift. Psyllium powder is more finely ground and absorbs water differently, so it is not a one-to-one swap here. Now Foods and Anthony’s are both certified gluten free and widely available.
Honey: A small amount of sugar gives the wild yeast something extra to feed on during the long proof, which noticeably improves oven spring.
Celiac Safety Note: Please ensure every packaged ingredient carries a certified gluten free label. For this recipe, check specifically: your Bob’s Red Mill potato starch, sorghum flour, brown rice flour, and tapioca flour, your psyllium husk brand, and your starter’s own feeding flour. Cross-contact at packaging facilities is a real risk for people with celiac disease, and a starter built on uncertified flour puts the whole loaf at risk, even weeks later. When in doubt, look for the certified GF symbol on the package.
How to Make Gluten Free Sourdough Bread
Step 1: Build the Preferment
In a medium bowl, whisk together the active starter, filtered water, and Bob’s Red Mill Brown Rice Flour until no dry streaks remain. Cover loosely and let it rest at room temperature for 6 to 18 hours, until it looks bubbly and has roughly doubled.
I have found that a slightly past-peak preferment, one that has just started to dome and slightly recede, produces a more reliably structured loaf than one used at its absolute peak. The fermentation is a touch more advanced, which seems to give the dough more consistent rise later.
Step 2: Make the Psyllium Gel
Whisk the whole psyllium husk into the 300 g of water for the dough and let it sit for 2 to 3 minutes, until it thickens into a thick, jelly-like gel. This gel is what replaces gluten’s elastic network, so do not skip the resting time.
Step 3: Mix the Dough
In the bowl of a stand mixer fitted with the paddle attachment, whisk together the potato starch, sorghum flour, brown rice flour, tapioca flour, and salt. Add the honey, the fully risen preferment, and the psyllium gel. Mix on low speed until a soft, slightly sticky dough forms, about 3 to 4 minutes.
The dough will look rougher and wetter than a wheat dough at this stage. That is expected: gluten free flours absorb liquid more slowly, so the dough continues to firm up as it rests.
Step 4: Shape and Proof
Turn the dough out onto a lightly floured surface and shape it into a round boule using wet or floured hands. Place it seam-side up in a well-floured proofing basket or a bowl lined with a floured towel.
Cover and let it proof at room temperature for 3 to 4 hours, or up to 6 to 8 hours in a cooler kitchen, until it has visibly puffed and feels light when you gently press it. You can also refrigerate the shaped dough overnight and bake the next day, which slightly deepens the tang.
Step 5: Preheat and Score
About 45 minutes before baking, place a Dutch oven with its lid on the middle rack and preheat your oven to 425°F (218°C). Once the dough has finished proofing, turn it out onto a piece of parchment paper and score the top with a sharp knife or bread lame, about ½ inch deep.
Scoring gives the loaf a controlled place to expand. Without it, the crust can tear unpredictably as steam pushes the crumb outward.
Step 6: Bake
Carefully lift the dough by the parchment paper into the hot Dutch oven. Cover and bake for 45 minutes. Remove the lid and continue baking for another 25 to 40 minutes, until the crust is deep golden brown and the internal temperature reaches 210°F.
Let the loaf cool completely on a wire rack, at least 2 hours, before slicing. Cutting into it too early is the single most common cause of a gummy-seeming crumb: the interior is still setting as it cools.
Expert Tips for Best Results
Let it cool all the way. I know it is hard to wait. A loaf sliced too early will seem underbaked even when it is not, because the starches are still firming up.
Use a kitchen scale. Gram measurements matter far more here than with wheat bread, since gluten free flour hydration is much less forgiving of small errors.
Watch your starter’s rise time, not the clock. A slightly past-peak preferment gave me a more consistent structure across four separate test batches than one used at its absolute peak.
Keep a baking sheet under the Dutch oven. If your loaf’s bottom tends to brown faster than the top, an extra sheet underneath diffuses some of the direct heat.
Do not rush the psyllium gel. Give it the full 2 to 3 minutes. An under-hydrated gel will not bind the dough properly, and the loaf can spread instead of holding its shape.
Common mistake: overproofing. If the dough looks slack and does not spring back at all when pressed, it has gone too far and will likely collapse in the oven. Aim for a gentle, slow spring-back.
Substitutions and Variations
If you cannot source one of the four flours, Bob’s Red Mill’s own 1-to-1 blend is not a direct swap here, since this recipe is built around the specific ratio of starch to structural flour. Substituting a pre-blended flour will change the hydration and is not recommended without retesting. A single blend works beautifully in something like my gluten free banana bread, but this sourdough’s fermentation depends on the separate flours behaving differently over many hours, not just at the mixing stage.
For a seeded variation, press 2 tablespoons of certified gluten free sunflower or sesame seeds onto the shaped dough before scoring. This adds crunch without affecting the crumb structure.
Dairy-free and egg-free by nature: this recipe contains no dairy or eggs, so it fits both diets without any changes.
If you prefer a milder tang, shorten the room temperature proof toward the 3-hour end and skip the overnight refrigerator option, since the cold proof is what deepens the sour flavor most.
What to Serve With Gluten Free Sourdough Bread
This loaf earns its place at almost any meal. A few pairings I come back to often:
Soup night: Thick slices are perfect for dunking into a warm bowl of gluten free chicken noodle soup, which has enough body to hold up against a hearty crust.
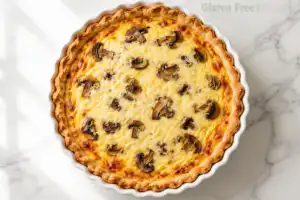
Breakfast toast: Toasted and topped with butter and jam, or alongside a gluten free quiche for a full brunch spread.
Charcuterie boards: Thin slices toasted into crackers pair beautifully with cured meats and cheese; browse more ideas in the GFF breakfast recipes if you are planning a whole spread.
Simple butter and honey: Warm from the oven, a thick slice needs almost nothing else.
Storage and Make-Ahead Instructions
Room temperature: Store the cooled loaf, cut side down, in a paper bag or loosely wrapped in a clean towel for up to 2 days. Avoid airtight plastic, which softens the crust.
Refrigerator: Slice and store in an airtight container for up to 5 days. The crust will soften, but a quick pass in a hot oven revives it.
Freezer: Slice the fully cooled loaf and freeze in a single layer before transferring to a freezer bag. Slices keep well for up to 3 months and toast beautifully straight from frozen.
Make-ahead: Shape the dough and refrigerate it overnight before baking. This is my preferred method, since the cold proof deepens the tang and lets you bake fresh bread in the morning with no active work beyond preheating the oven.
Why Trust This Recipe
With a background in laboratory science, I develop recipes the same way I approached lab work, with documented testing, controlled variables, and results that can be replicated in any home kitchen.
This recipe has been tested multiple rounds in my dedicated gluten free kitchen. I have noted what fails, what works, and why, so you are not just following steps but understanding the process.
What that means for you:
Multiple test batches before publishing
Science-based notes on key steps throughout
Honest substitution guidance, not guesswork
Safe for celiac disease, with cross-contact taken seriously at every step
Frequently Asked Questions
Is sourdough bread better for people who are gluten intolerant?
No. Regular wheat sourdough fermentation reduces gluten somewhat but does not eliminate it to a level safe for celiac disease. According to Beyond Celiac, the fermentation process in wheat-based sourdough does not bring gluten content below the 20 ppm threshold that defines gluten free in the United States. Only bread made from a certified gluten free starter and flour blend, like this one, is safe.
Is gluten-free sourdough healthier than regular sourdough?
Neither is inherently healthier. The deciding factor for celiac disease is safety, not nutrition. Gluten free sourdough made with certified ingredients is the only version safe for celiacs, and nutrient profiles vary depending on the flour blend used.
Why do people think sourdough is gluten-free?
Long fermentation breaks down some gluten proteins, which has led to a persistent myth that sourdough is naturally gluten free. It is not, and wheat-based sourdough remains unsafe for celiacs unless it is made with certified gluten free ingredients from the very first step.
What are common problems with gluten-free sourdough?
The most common issues are a gummy center from underbaking, over-proofing, or slicing too early; a dense loaf from an inactive or under-fed starter; and a dry, cracked crust from dough that was too dry to begin with.
What are some common mistakes when making gluten-free sourdough?
Using a freshly fed starter instead of a slightly past-peak one, skipping the cold proof option, slicing before the loaf has fully cooled, and getting the four-flour ratio wrong are the mistakes I see most often.
What should I know before starting gluten-free sourdough?
You need a dedicated gluten free starter, never one converted from a wheat starter, a structure-providing ingredient like whole psyllium husk, and the patience to let the loaf cool fully before slicing to avoid a gummy texture.
Final Thoughts
This loaf rewards patience more than any other recipe on this site, and it is worth every hour. Once your starter is established, you can bake a fresh, celiac-safe sourdough loaf almost any week, and the freezer slices mean you are never far from a good piece of toast.
The recipes on this site come from a scientist who went gluten-free and refused to settle for dense, gummy results. BSc in Molecular Biology & Genetics. Former laboratory analyst. Full-time founder of Gluten Free Feast.
Every recipe is mine, developed, tested and written by me.
My Commitment: Every recipe on Gluten Free Feast is created with gluten-free ingredients and thoroughly tested. Because brands and manufacturing practices can change, always verify that your ingredients are certified gluten-free if you have celiac disease.
Molecular Biologist · Laboratory Analyst · GF Recipe Developer 🎓 BSc Molecular Biology & Genetics — Boğaziçi University, Istanbul, Turkey Former Biological Laboratory Analyst Founder & Recipe Developer — Gluten Free Feast Claire's scientific background means every recipe on this site is built on a genuine understanding of food science — from why gluten-free flours absorb moisture differently, to how specific binding agents replicate gluten's structural role in baking. Read Claire's full story →