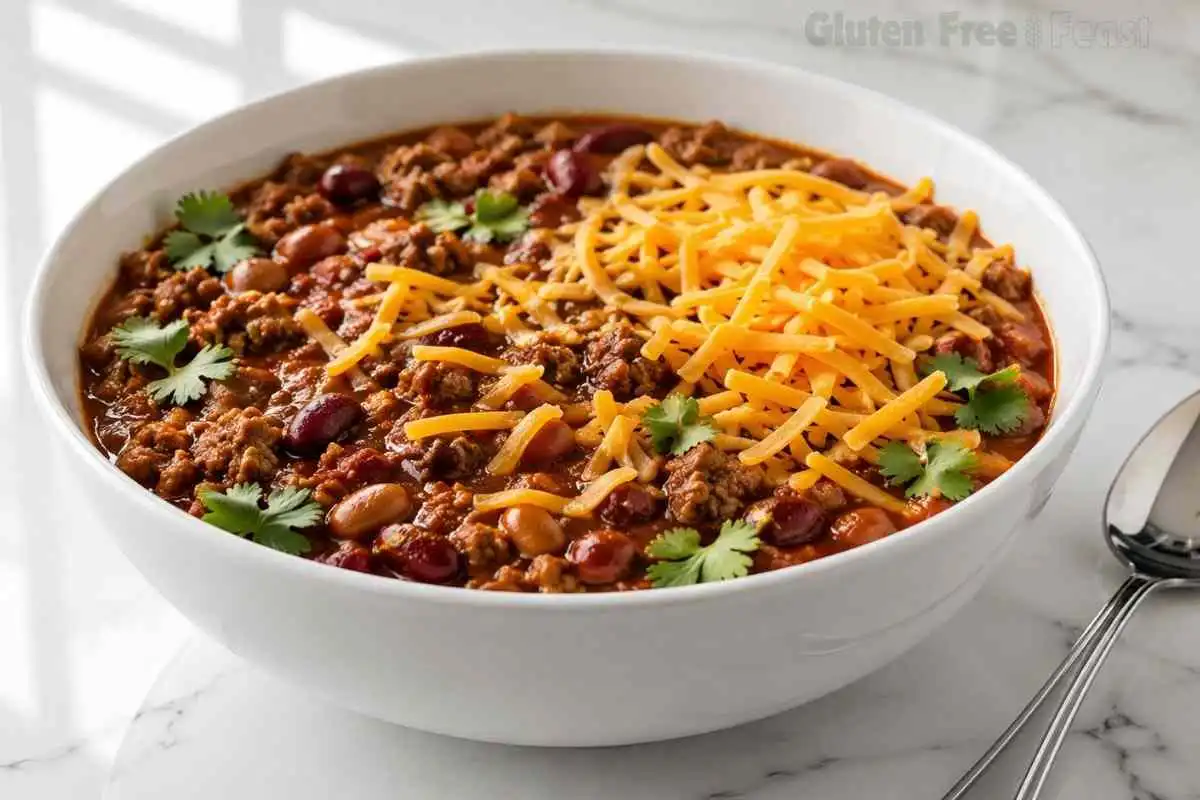
There is a specific moment in my kitchen when I know a pot of gluten free chili is going to turn out right. The spices hit the tomato paste, and the whole room smells like toasted cumin and chili powder before a drop of broth goes in. That thirty seconds …
There is a specific moment in my kitchen when I know a pot of gluten free chili is going to turn out right. The spices hit the tomato paste, and the whole room smells like toasted cumin and chili powder before a drop of broth goes in. That thirty seconds of blooming is the difference between flat chili and chili that tastes like it simmered for hours.
After several rounds of testing in my dedicated gluten free kitchen, I landed on a version that skips the seasoning packet entirely. Most chili recipes lean on a pre-blended seasoning mix, and anti-caking agents in those packaged blends are a real risk for celiac disease. This gluten free chili uses individual, certified gluten free spices instead, so you control exactly what goes into the pot. It joins our gluten free meatballs as one of the ground-meat comfort food recipes I have tested this same careful way.
If you have ever wondered whether chili is safe for celiac disease, the short answer is yes. A few specific ingredients just need to be checked. Keep reading for exactly which ones, and for the two techniques that make this one-pot dinner taste like it took all day.
Key takeaways
This gluten free chili is a celiac-safe, one-pot dinner ready in 30 minutes total, with 5 minutes of prep and 25 minutes on the stove.
It uses certified gluten free chili powder (Spicely Organics), certified gluten free beef broth (Pacific Foods or GFCO-certified Bare Bones Beef Bone Broth), and plain canned beans (GFCO-certified Westbrae Natural) instead of a pre-blended seasoning packet, which avoids the anti-caking agents packaged blends often carry. Blooming the spices in tomato paste before adding liquid builds deep, slow-simmered flavor in a short cook time, and simmering uncovered thickens the chili naturally with no flour or roux needed. It serves 6, keeps in the refrigerator for up to 5 days, and freezes well for up to 3 months.
Prep Time: 5 mins · Cook Time: 25 mins · Total Time: 30 mins
Table of Contents
Why You Will Love This Gluten Free Chili
Ready in 30 minutes: five minutes of prep and twenty-five minutes on the stove, start to finish, in one pot.
Celiac-safe at every ingredient: certified gluten free chili powder, a named certified GF beef broth, and plain canned beans with no pre-seasoned additives.
No seasoning packet needed: individual spices give you full control and avoid the anti-caking agents packaged blends often use.
Deep, slow-simmered flavor: blooming the spices in tomato paste before adding liquid builds real depth in a short cook time.
Naturally thickens without flour: simmering uncovered does the work, so there is no roux or gluten-containing thickener anywhere in this recipe.
Freezer-friendly: this gluten free chili tastes even better the next day and freezes well for up to three months.
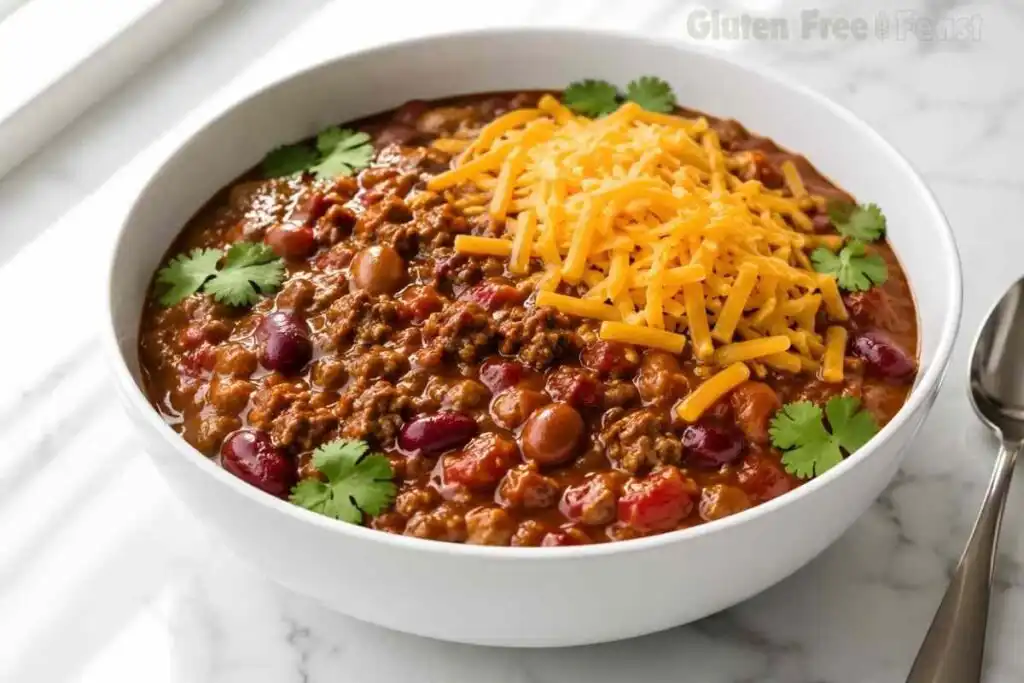
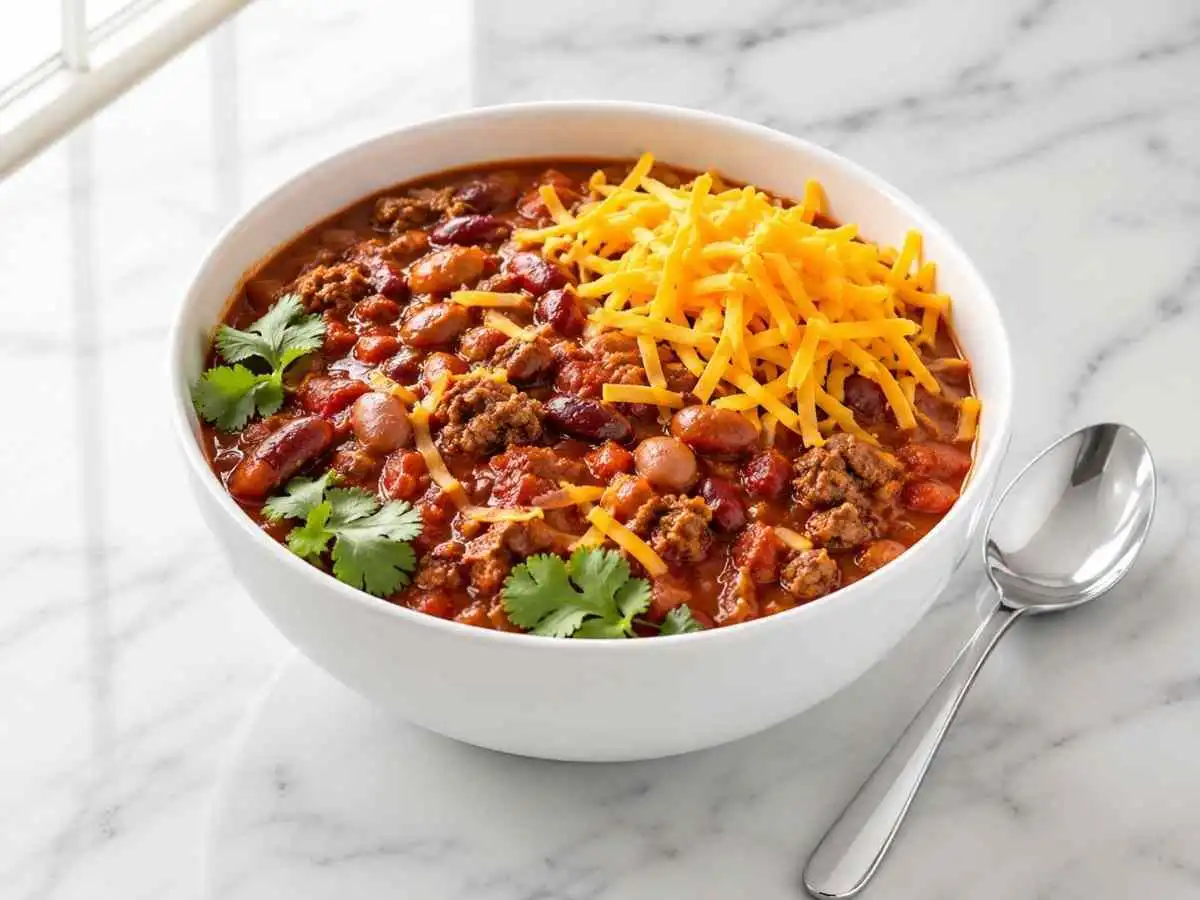
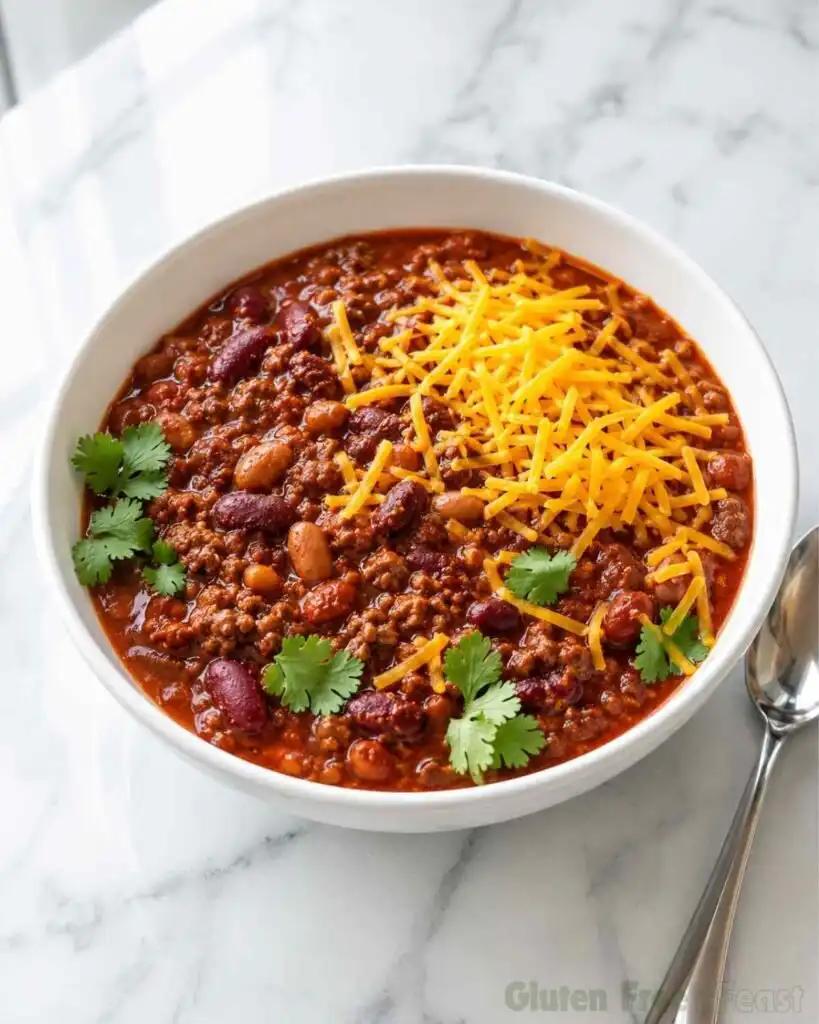
This gluten free chili is a celiac-safe, one-pot dinner ready in 30 minutes, made with certified gluten free chili powder, beef broth, and plain canned beans instead of a seasoning packet.
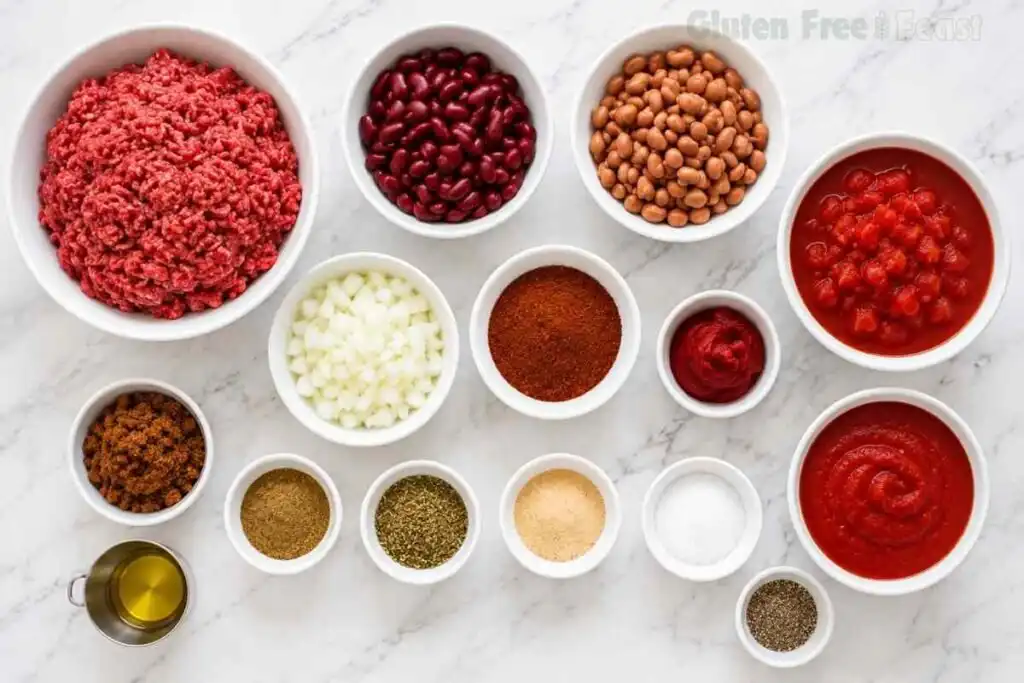
2 1/2tbspcertified gluten free chili powderSpicely Organics recommended
2tbspground cumin
1tbspdried oregano
1tbspgarlic powder
2tbspbrown sugar
2tbsptomato paste
1 1/2tspsalt
1/2tspblack pepper
1 1/2cupcertified gluten free beef brothPacific Foods Beef Broth or GFCO-certified Bare Bones Beef Bone Broth
15ozcan diced tomatoes, with juice
16ozcan red kidney beans, drained and rinsedplain beans only, not pre-seasoned; GFCO-certified Westbrae Natural recommended
16ozcan pinto beans, drained and rinsedplain beans only, not pre-seasoned; GFCO-certified Westbrae Natural recommended
8ozcan tomato sauce
Equipment
Large pot or Dutch oven
Heatproof spatula
Can opener
Method
Step 1: Saute the Onion
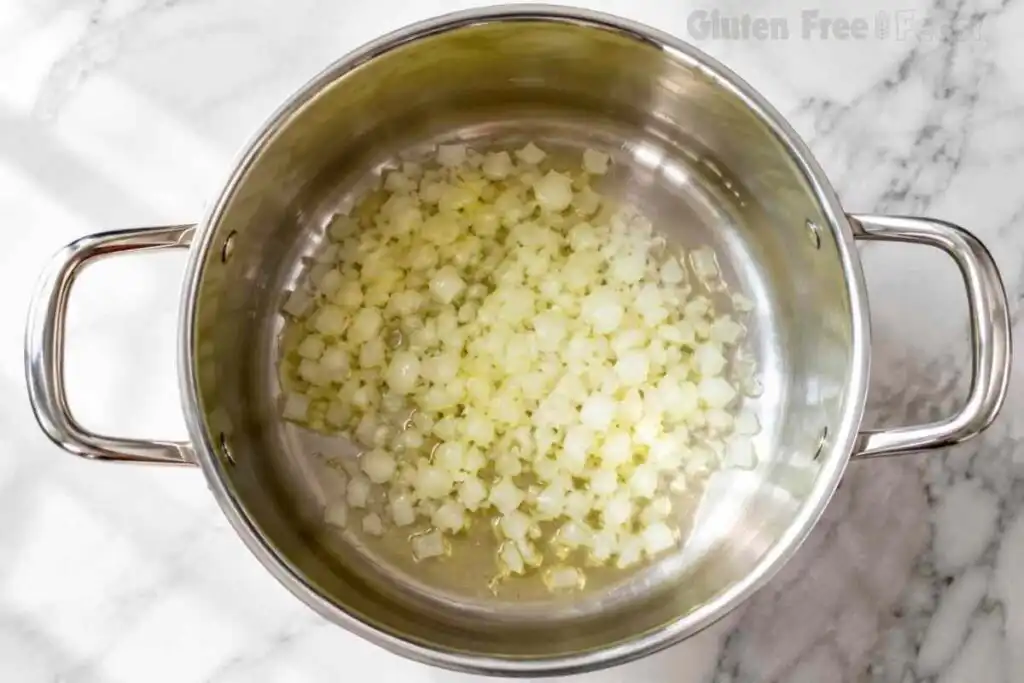
Heat the olive oil in a large pot or Dutch oven over medium-high heat. Add the diced onion and saute for 2 to 5 minutes, stirring occasionally, until softened.
Step 2: Brown the Beef
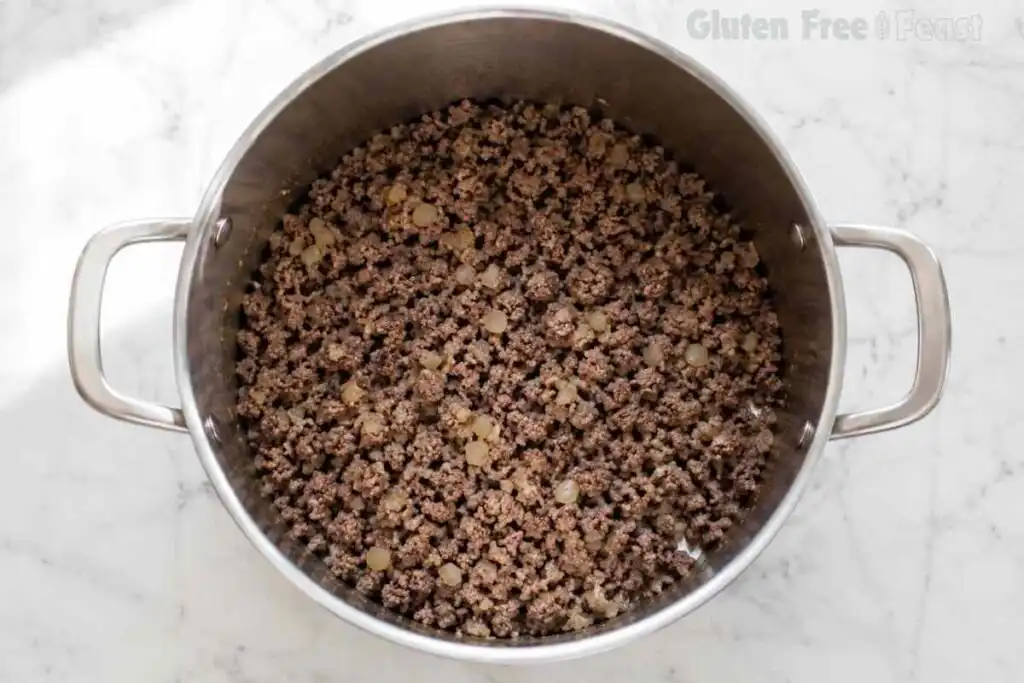
Add the ground beef to the pot. Break it apart with a heatproof spatula and cook for 6 to 7 minutes, until no pink remains.
Step 3: Bloom the Spices
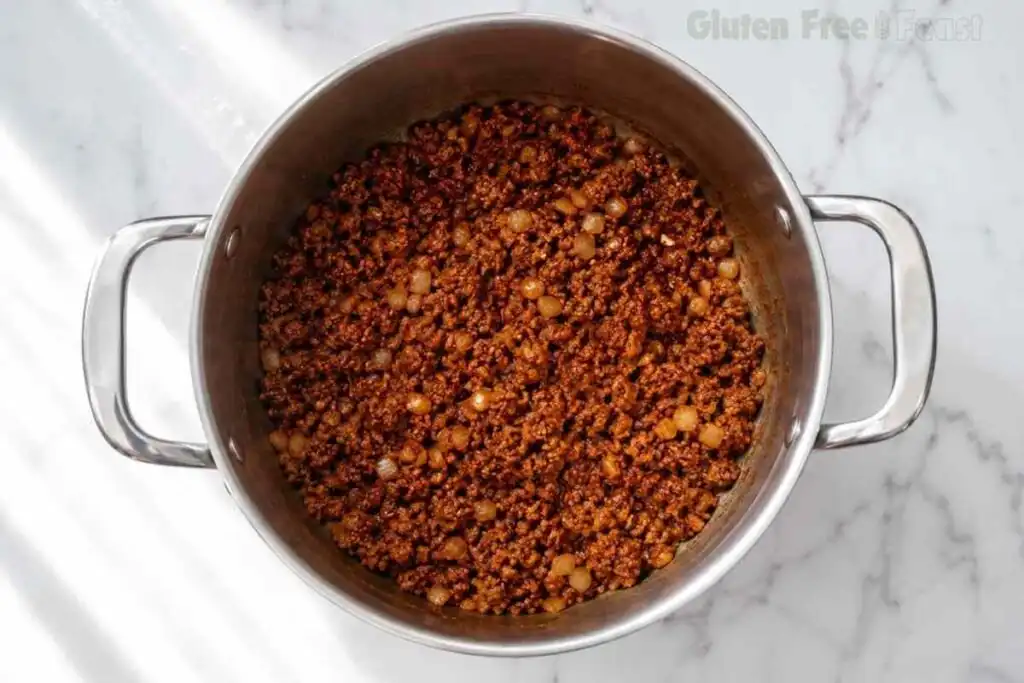
Add the certified gluten free chili powder, cumin, oregano, garlic powder, brown sugar, tomato paste, salt, and pepper directly to the beef and onion. Stir constantly for about 60 seconds so the spices toast and the tomato paste darkens slightly.
Step 4: Add the Liquids and Beans
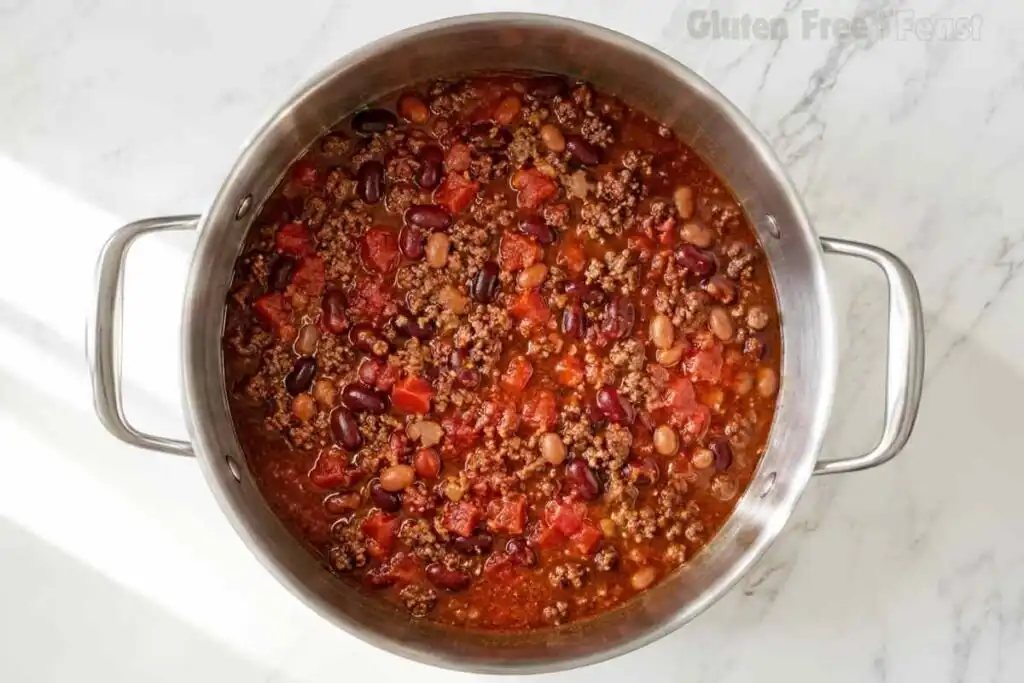
Pour in the certified gluten free beef broth, the diced tomatoes with their juice, both cans of drained beans, and the tomato sauce. Stir well, scraping up any browned bits from the bottom of the pot.
Step 5: Simmer Uncovered
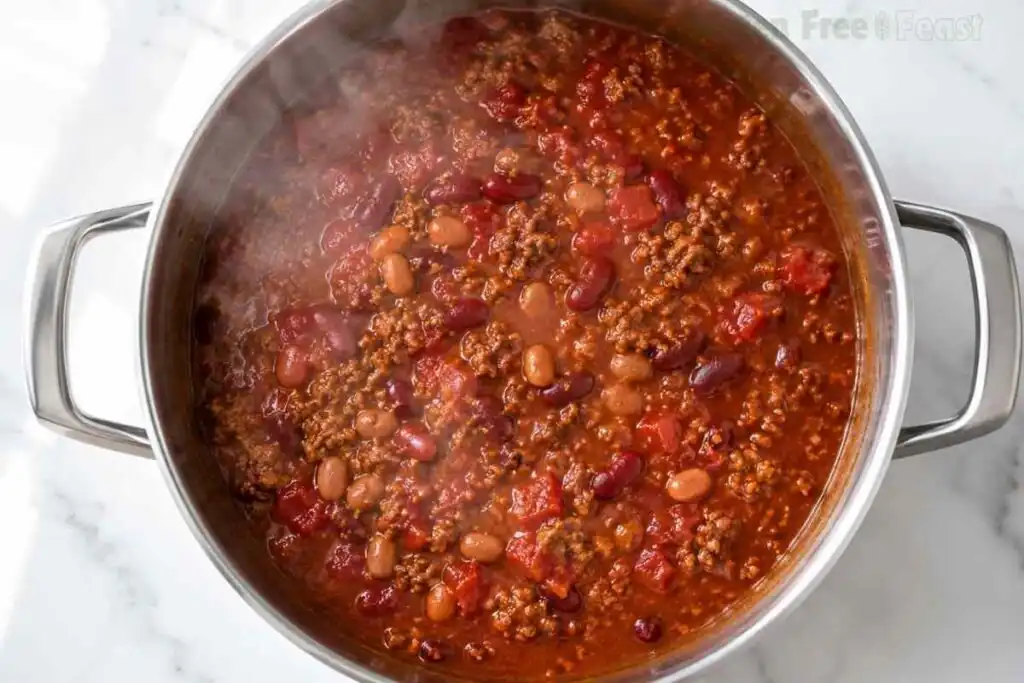
Bring the chili to a low boil, then reduce the heat to medium-low. Simmer uncovered for 20 to 25 minutes, stirring occasionally, until it coats the back of a spoon.
Step 6: Rest and Serve
Remove the pot from heat and let the chili rest for 5 to 10 minutes before serving. Ladle into bowls and add your favorite toppings.
Celiac Safety Note: Please ensure all packaged ingredients carry a certified gluten free label. For this recipe, check specifically: your beef broth, canned beans, and chili powder. Cross-contamination at packaging facilities is a real risk for people with celiac disease. When in doubt, look for the certified GF symbol on the package, not just a general gluten free marketing claim.Storage: Refrigerate in an airtight container for up to 5 days. Freeze for up to 3 months.Substitutions: Ground turkey or chicken can replace the beef. Omit the beans for a bean-free version, adding an extra 1/2 pound of ground beef.
Gluten-Free Note
This recipe is designed to be gluten-free when prepared with certified gluten-free ingredients. Always check labels, as ingredient formulations and manufacturing practices can change. If you have celiac disease or a severe gluten allergy, verify that all ingredients are certified gluten-free and appropriate for your dietary needs.
2½ tablespoons certified gluten free chili powder (Spicely Organics recommended)
2 tablespoons ground cumin
1 tablespoon dried oregano
1 tablespoon garlic powder
2 tablespoons brown sugar
2 tablespoons tomato paste
1½ teaspoons salt
½ teaspoon black pepper
1½ cups certified gluten free beef broth (Pacific Foods Beef Broth or Bare Bones Beef Bone Broth, GFCO certified)
1 (15 ounce) can diced tomatoes, with juice
1 (16 ounce) can red kidney beans, drained and rinsed (Westbrae Natural, GFCO certified)
1 (16 ounce) can pinto beans, drained and rinsed (Westbrae Natural, GFCO certified)
1 (8 ounce) can tomato sauce
Ingredient Notes and Substitutions
Certified gluten free chili powder: Spicely Organics is my recommended brand. It is produced in a dedicated gluten free facility and certified by the Gluten Intolerance Group. There is no anti-caking agent risk to worry about. Pure, single-ingredient chili powder is naturally gluten free, but the manufacturing facility is where hidden gluten can sneak in.
Certified gluten free beef broth: Pacific Foods Beef Broth carries a manufacturer gluten free claim. This meets the FDA’s legally enforceable standard of under 20 parts per million. For an added margin, Bare Bones Beef Bone Broth is GFCO certified, meaning it has been third-party tested to an even stricter threshold. Either works well here, and the same certified-broth guidance applies to our gluten free chicken noodle soup.
Plain canned beans, not pre-seasoned “chili beans”: Westbrae Natural is GFCO certified. In my testing, it held its shape best after a full twenty to twenty-five minute simmer without turning mushy. Avoid pre-seasoned “chili bean” blends, since they often include starch-based sauces that are not consistently labeled for gluten content.
Individual pure spices like cumin, oregano, garlic powder, salt, and pepper are naturally gluten free. Always check the label for a certified GF symbol if you are especially sensitive. Shared spice-blending equipment at some facilities can introduce trace cross-contact.
Ground beef: 90% lean keeps this gluten free chili rich without being greasy. Ground turkey or chicken both work as a leaner swap; see the substitutions section below for adjusted cook times.
Celiac Safety Note: Please ensure all packaged ingredients carry a certified gluten free label. For this recipe, check specifically: your beef broth, canned beans, and chili powder. Cross-contamination at packaging facilities is a real risk for people with celiac disease. When in doubt, look for the certified GF symbol on the package, not just a “gluten free” marketing claim.
How to Make Gluten Free Chili
Step 1: Sauté the Onion
Heat the olive oil in a large pot or Dutch oven over medium-high heat. Add the diced onion and sauté for 2 to 5 minutes, stirring occasionally, until softened and just starting to turn golden at the edges.
Step 2: Brown the Beef
Add the ground beef to the pot. Break it apart with a heatproof spatula and cook for 6 to 7 minutes, until no pink remains. If the beef released a lot of fat, you can spoon off the excess, but a little left behind adds flavor.
Step 3: Bloom the Spices
Add the certified gluten free chili powder, cumin, oregano, garlic powder, brown sugar, tomato paste, salt, and pepper directly to the beef and onion. Stir constantly for about 60 seconds so the spices toast and the tomato paste darkens slightly. This step is where the flavor really builds: toasting the spices in fat releases oil-soluble compounds that stay locked away in liquid. Do not walk away here, since the spices can scorch quickly.
Step 4: Add the Liquids and Beans
Pour in the certified gluten free beef broth, the diced tomatoes with their juice, and both cans of drained beans. Add the tomato sauce, then stir well to combine, scraping up any browned bits from the bottom of the pot.
Step 5: Simmer Uncovered
Bring the gluten free chili to a low boil, then reduce the heat to medium-low. Simmer uncovered for 20 to 25 minutes, stirring occasionally, leaving the lid off. As the liquid reduces, the tomato and bean starches concentrate and thicken the chili naturally, with no flour or roux required. You are looking for a chili that coats the back of a spoon.
Step 6: Rest and Serve
Remove the pot from heat and let the gluten free chili rest for 5 to 10 minutes before serving. It will continue to thicken slightly as it sits. Ladle into bowls and add your favorite toppings.
Expert Tips for Best Results
Skip the seasoning packet. After testing both approaches, individually measured spices consistently outperformed packaged blends on flavor and gave me full control over the certified GF status of every ingredient.
Do not skip the spice bloom. Sixty seconds in the hot pan before adding liquid makes a noticeable difference in depth of flavor. It is the single easiest way to make this taste slow-cooked.
Leave the lid off while simmering. Covering the pot traps steam and keeps the gluten free chili thin. Uncovered simmering is what thickens it properly.
Rinse the beans well. Canned bean liquid can make the gluten free chili starchy in a way that clouds the flavor. A thorough rinse under cold water fixes this.
Taste before serving. Depending on your brand of chili powder, you may want an extra half teaspoon of salt at the end. Certified GF brands vary slightly in intensity.
Use dedicated GF equipment. A pot, spatula, and can opener used only for gluten free cooking eliminate any risk of cross-contact from shared equipment.
Let it rest. Gluten free chili always tastes better after five to ten minutes off the heat, and it is even better the next day once the flavors have had time to meld.
Substitutions and Variations
Ground turkey or chicken: Swap in an equal amount of ground turkey or chicken for a leaner gluten free chili. Reduce the browning time in Step 2 to about 5 minutes, since poultry cooks faster than beef.
Extra heat: Add a diced jalapeño with the onion in Step 1. Or, stir in ¼ teaspoon of cayenne pepper along with the other spices in Step 3.
Bean-free version: Omit both cans of beans and add an extra ½ pound of ground beef to keep the texture hearty. This is a good option if you are watching carbohydrates.
Slow cooker adaptation: Brown the beef and onion on the stovetop first, following Steps 1 and 2. Transfer everything to a slow cooker with the remaining ingredients and cook on low for 6 to 7 hours.
Dairy-free toppings: This gluten free chili itself contains no dairy. If you top it with cheese or sour cream, choose dairy-free versions of each. That keeps the whole bowl dairy-free as well as celiac-safe.
What to Serve With Gluten Free Chili
Gluten free chili is one of those meals that gets even better with the right side dish. A few pairings that work well in my kitchen:
Warm biscuits: A batch of gluten free biscuits is my favorite pairing for chili. Split one open and ladle chili right over the top, or serve it on the side for dipping.
Crusty bread: A loaf of gluten free bread, sliced thick and lightly toasted, is perfect for scooping up every last bit of sauce.
Rice: A scoop of steamed white or brown rice under a ladle of chili turns this into a heartier, stretch-the-leftovers meal.
Toppings bar: Shredded cheese, sour cream, sliced green onion, diced avocado, and GF-labeled tortilla chips all make great toppings. Check pre-shredded cheese for starch-based anti-caking agents and confirm tortilla chips carry a gluten free label before adding them to a shared toppings bar.
Cornbread: If you have a favorite certified GF cornbread mix, it is a classic chili partner and worth keeping on hand for chili nights.
Storage and Make-Ahead Instructions
Refrigerator: Store leftovers in an airtight container in the refrigerator for up to 5 days. Like most gluten free chili, the flavor actually improves after a day or two as the spices continue to meld.
Freezer: Let the gluten free chili cool completely, then freeze in an airtight, freezer-safe container for up to 3 months. Leave a little headspace in the container, since the liquid will expand slightly as it freezes.
Reheating: Thaw frozen chili overnight in the refrigerator, then reheat on the stovetop over medium-low heat, stirring occasionally, or in the microwave in 60-second increments. Add a splash of certified gluten free beef broth if it has thickened more than you would like.
Make-ahead tip: This gluten free chili is an excellent make-ahead dinner. Cook it a day in advance, refrigerate, and simply reheat before serving. The flavor is noticeably deeper on day two.
Why Trust This Recipe
I develop recipes the same way I approached lab work, with documented testing and controlled variables. The results hold up in any kitchen, not just mine.
This recipe has been tested multiple rounds in my dedicated gluten free kitchen. I have noted what fails, what works, and why, so you are not just following steps but understanding the process.
What that means for you:
Multiple test batches before publishing
Science-based notes on key steps throughout
Honest substitution guidance, not guesswork
Safe for celiac disease, with cross-contamination taken seriously at every step
Frequently Asked Questions
Is chili safe for celiac disease?
Yes, homemade gluten free chili built from certified gluten free ingredients is safe for celiac disease. The main risks are hidden gluten in packaged seasoning blends or non-certified broth, and cross-contact from shared equipment or a shared toppings bar at gatherings. This recipe addresses both by using individual certified GF spices and naming specific certified brands for broth and beans.
Which chili is gluten free?
Chili made from scratch with individually sourced spices, a certified gluten free broth, and plain canned beans is gluten free. Pre-made seasoning packets are the main risk factor across most brands, since many use wheat starch or flour as an anti-caking agent.
How can I make chili gluten free?
Use a certified gluten free beef broth and individual spices instead of a blended seasoning packet. Choose plain canned beans instead of pre-seasoned “chili beans.” Double-checking these three ingredients covers most of the hidden-gluten risk in a typical chili recipe.
Which spices are not gluten free?
Pure ground spices like cumin, chili powder, and paprika are naturally gluten free on their own. The risk comes from pre-blended seasoning packets, which often contain wheat starch or flour as a thickening or anti-caking agent. Always look for a certified GF label on any blended spice mix.
How do you thicken chili without gluten?
Simmering this gluten free chili uncovered thickens it naturally as the liquid reduces and the starches concentrate. A cornstarch slurry, or masa harina stirred in during the last few minutes, are both gluten free options if you want it even thicker.
Can I make this chili in a slow cooker?
Yes. Brown the beef and onion on the stovetop first, following Steps 1 and 2. Then transfer everything to a slow cooker with the remaining ingredients and cook on low for 6 to 7 hours. Browning the beef first still gives you that same depth of flavor from the spice bloom.
Final Thoughts
This gluten free chili has become one of my go-to weeknight dinners precisely because it does not ask you to sacrifice flavor for safety. Thirty minutes, one pot, and a handful of certified gluten free ingredients get you a bowl that tastes like it simmered all afternoon. Make a batch this week, and keep the leftovers in mind: this is one of those recipes that only gets better by day two.
The recipes on this site come from a scientist who went gluten-free and refused to settle for dense, gummy results. BSc in Molecular Biology & Genetics. Former laboratory analyst. Full-time founder of Gluten Free Feast.
Every recipe is mine, developed, tested and written by me.
My Commitment: Every recipe on Gluten Free Feast is created with gluten-free ingredients and thoroughly tested. Because brands and manufacturing practices can change, always verify that your ingredients are certified gluten-free if you have celiac disease.
Molecular Biologist · Laboratory Analyst · GF Recipe Developer 🎓 BSc Molecular Biology & Genetics — Boğaziçi University, Istanbul, Turkey Former Biological Laboratory Analyst Founder & Recipe Developer — Gluten Free Feast Claire's scientific background means every recipe on this site is built on a genuine understanding of food science — from why gluten-free flours absorb moisture differently, to how specific binding agents replicate gluten's structural role in baking. Read Claire's full story →